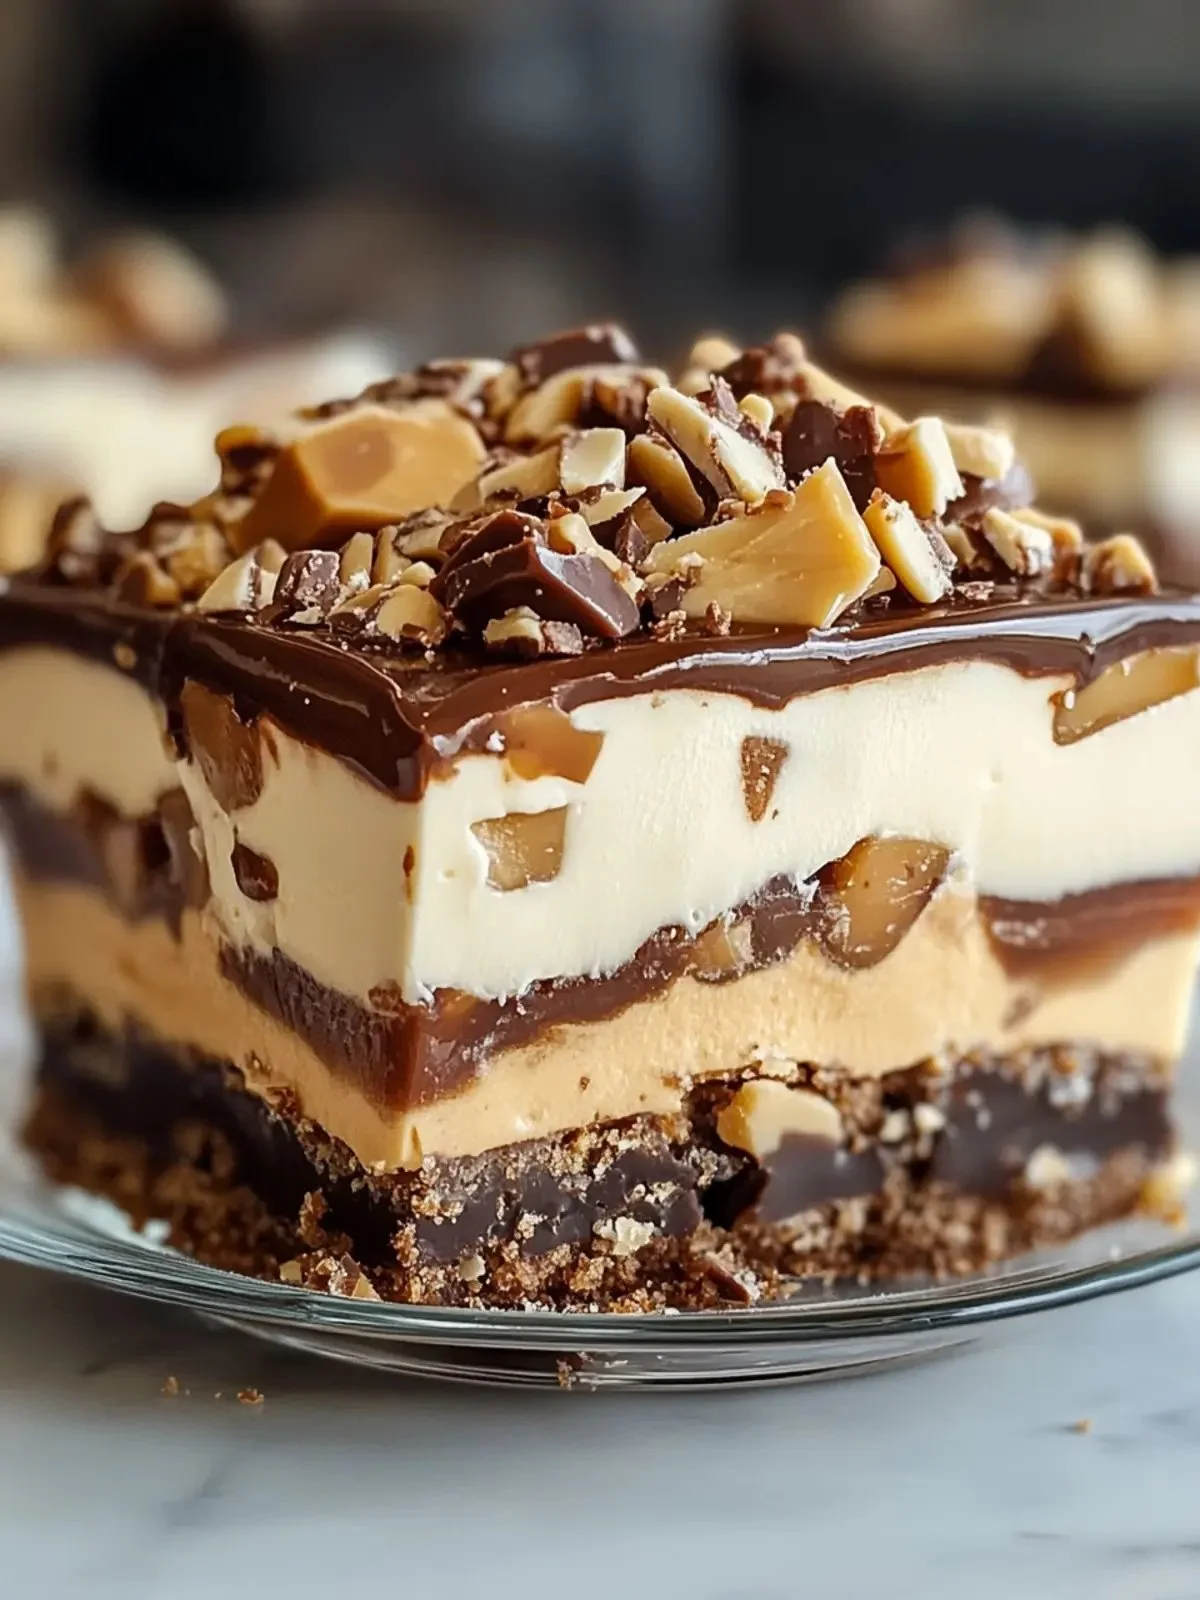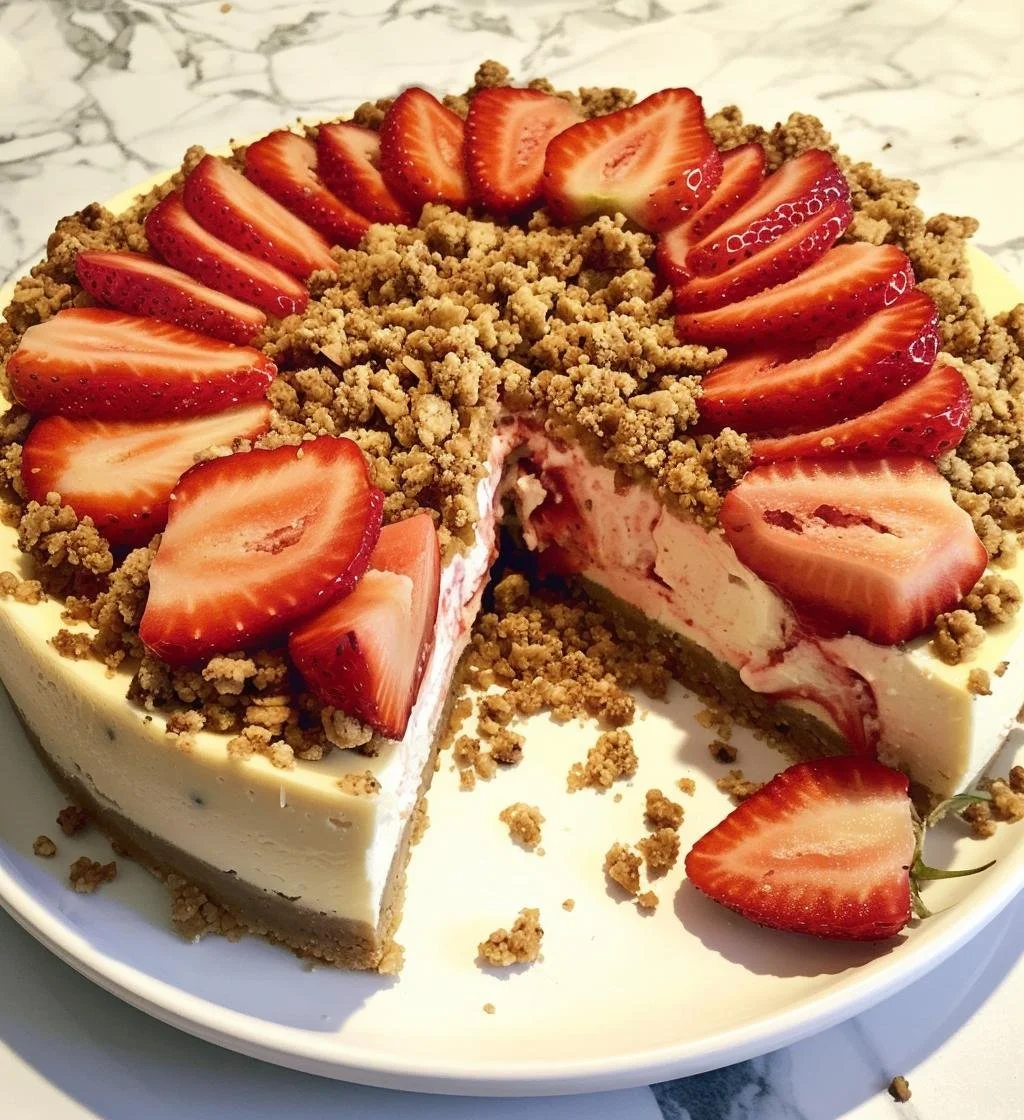
Butterfinger Pie

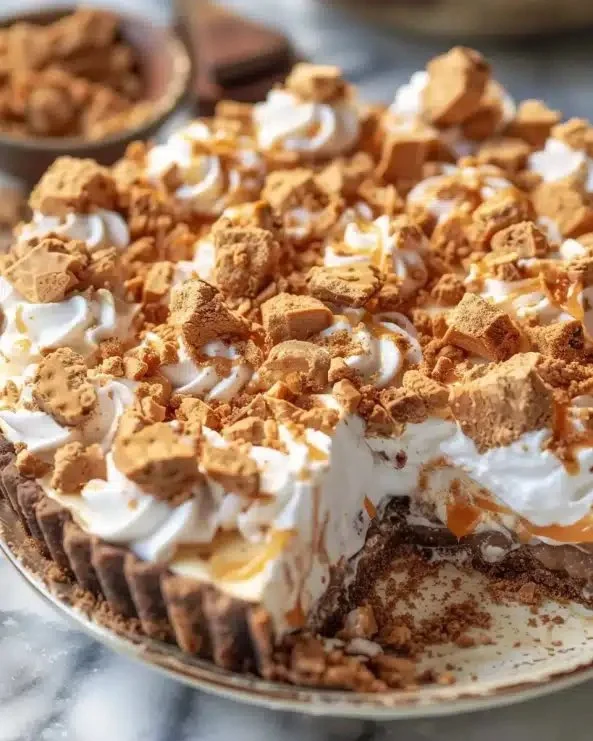
Delicious Butterfinger Pie with crispy Butterfinger candy topping

Butterfinger Pie is a delightful dessert that brings together the creamy goodness of peanut butter and the crunchy sweetness of Butterfinger candy bars. This pie is not just a treat for your taste buds, but also a feast for the eyes. With its rich layers and a graham cracker crust, it has everything you need to impress friends and family. It’s a perfect dessert for any occasion, whether it’s a holiday gathering or a casual get-together. Just one bite of this pie will make you understand why it’s a crowd-pleaser! You’ll want to dive right in and make it yourself after hearing how simple it is to whip up.

How to prepare Butterfinger Pie

To make this delicious Butterfinger Pie, you will need the following ingredients:

Ingredients

  • 1 (9-inch) graham cracker crust
  • 1 cup creamy peanut butter
  • 1 cup powdered sugar
  • 1 (8-ounce) package cream cheese, softened
  • 1 (12-ounce) container whipped topping
  • 2-3 Butterfinger candy bars, crushed (plus extra for garnish)
  • Chocolate syrup for drizzling (optional)

Directions

  1. In a large bowl, mix together the peanut butter, powdered sugar, and softened cream cheese until smooth and creamy.
  2. Gently fold in the whipped topping until it’s well combined.
  3. Add the crushed Butterfinger candy bars and mix them into the filling.
  4. Pour the mixture into the graham cracker crust and spread it evenly.
  5. Refrigerate for at least 4 hours, or overnight for best results.
  6. Before serving, drizzle chocolate syrup on top and sprinkle with extra crushed Butterfinger bars.

Butterfinger Pie

Why You’ll Love Butterfinger Pie

You will love Butterfinger Pie for its incredible flavor and texture. The combination of creamy peanut butter and crunchy candy is simply irresistible. It’s not too sweet, making it perfect for those who enjoy a well-balanced dessert. Plus, it’s a no-bake recipe, which means less time in the kitchen and more time enjoying your pie! Whether you are a peanut butter fan or just love a good dessert, this pie is sure to become a favorite in your household.

Tips for success

To make your Butterfinger Pie even better, consider these tips:

  • Allow the cream cheese to soften completely for a smoother filling.
  • Use fresh whipped topping rather than a thawed version for the best texture.
  • If you prefer a stronger chocolate flavor, feel free to add more chocolate syrup on top.
  • To make it even more festive, try adding whipped cream decorations around the edges before serving.

Serving Suggestions

This pie is perfect as a standalone dessert. However, you can take it to the next level by serving it with a scoop of vanilla ice cream on the side or fresh whipped cream on top. A sprinkle of crushed Butterfinger makes for a delightful garnish, and a drizzle of chocolate sauce can make it look extra special.

FAQs

1. How long can Butterfinger Pie be stored in the fridge?

Butterfinger Pie can be stored in the refrigerator for up to 5 days. Just make sure to cover it well so it stays fresh.

2. Can I use a different candy bar?

Absolutely! Feel free to swap out Butterfinger for your favorite candy bar, such as Reese’s or Snickers for a fun twist.

3. Is it necessary to refrigerate before serving?

Yes, refrigerating the pie is important because it helps set the filling, giving it the perfect texture when you slice into it.

Butterfinger Pie

Now that you have all the information you need to make this delightful Butterfinger Pie, why not give it a try? Its rich flavors and creamy texture make it a perfect choice for any gathering. For more ideas on fun desserts, check out this amazing recipe on Butterfinger Pie for some inspiration! Enjoy your baking adventure!

Butterfinger Pie
A delightful no-bake dessert combining creamy peanut butter with crunchy Butterfinger candy bars, perfect for any occasion.

Crust

  • 1 9-inch graham cracker crust

Filling

  • 1 cup creamy peanut butter (Use smooth peanut butter for the best texture.)
  • 1 cup powdered sugar
  • 1 8-ounce package cream cheese, softened (Allow to soften completely for a smoother filling.)
  • 1 12-ounce container whipped topping (Use fresh whipped topping for best results.)
  • 2-3 pieces Butterfinger candy bars, crushed (Plus extra for garnish.)
  • to taste chocolate syrup (For drizzling (optional).)

Preparation

  1. In a large bowl, mix together the peanut butter, powdered sugar, and softened cream cheese until smooth and creamy.
  2. Gently fold in the whipped topping until well combined.
  3. Add the crushed Butterfinger candy bars and mix them into the filling.
  4. Pour the mixture into the graham cracker crust and spread it evenly.
  5. Refrigerate for at least 4 hours, or overnight for best results.
  6. Before serving, drizzle chocolate syrup on top and sprinkle with extra crushed Butterfinger bars.

Butterfinger Pie can be stored in the refrigerator for up to 5 days. Consider serving with a scoop of vanilla ice cream or whipped cream on top.

Dessert
American
Butterfinger Pie, Chocolate Dessert, Crowd-Pleaser, No-Bake Dessert, Peanut Butter Dessert

Butterfinger Balls

Delicious Butterfinger Balls dessert made with chocolate and peanut butter.

There’s something truly magical about the combination of chocolate and peanut butter that takes us back to our childhood. I still remember the first time I bit into a Butterfinger candy bar; the crunchy, peanut-buttery goodness exploded in my mouth, leaving a lasting impression. Now, imagine transforming that classic candy into bite-sized wonders that you can make at home! Butterfinger Balls bring back those nostalgic flavors in an easy-to-make treat that everyone will love.

Why Make This Recipe

Butterfinger Balls are simple to prepare and require no baking. They are perfect for sharing at family gatherings, potlucks, or holiday parties. Plus, they’re incredibly delicious and satisfying, who doesn’t love the combination of chocolate, peanut butter, and the crunchy goodness of Butterfinger? They are also fun to make with kids, allowing them to get involved in the kitchen and create a tasty treat that they can enjoy.

How to Make Butterfinger Balls

Ingredients:

  • 4 tablespoons of softened butter (equivalent to ½ stick)
  • 1 teaspoon of vanilla extract
  • 8 ounces of chocolate bark or chocolate chips
  • ½ cup of crushed Butterfinger bars
  • 1 cup of powdered sugar
  • 1 cup of peanut butter (avoid using all-natural varieties)
  • ¾ cup of graham cracker crumbs
  • Optional garnishes: more crushed Butterfinger bars, festive sprinkles, or coarse sea salt

Directions:

  1. Ensure all ingredients are ready before you start.
  2. Use a ziplock bag and a rolling pin to crush the Butterfinger bars into fine grounds.
  3. In a mixing bowl, blend the softened butter, peanut butter, powdered sugar, vanilla extract, and graham cracker crumbs until you achieve a smooth mixture.
  4. Roll the dough into walnut-sized pieces and place them on a baking sheet lined with parchment paper.
  5. Melt the chocolate bark or chocolate chips in a double boiler or microwave, stirring often to prevent burning.
  6. Once melted, coat each ball in the chocolate and place them back on the baking sheet.
  7. Refrigerate for about an hour to allow them to set.

How to Serve Butterfinger Balls

Serve Butterfinger Balls chilled or at room temperature. You can place them in a festive bowl or on a decorative platter. For a fun twist, sprinkle some extra crushed Butterfinger bars, colorful sprinkles, or coarse sea salt on top before serving.

How to Store Butterfinger Balls

Store any leftover Butterfinger Balls in an airtight container in the refrigerator. They will stay fresh for up to one week. For longer storage, you can freeze them for up to three months. Just be sure to separate the layers with parchment paper to prevent sticking.

Tips to Make Butterfinger Balls

  • Make sure your butter is softened for easier mixing.
  • Use a good quality chocolate for coating to enhance the flavor of the balls.
  • If the mixture feels too sticky, you can add a little more graham cracker crumbs to help with rolling.
  • Have fun with the toppings! Get creative with different decorations to suit any occasion.

Variation

For a twist on the classic Butterfinger Balls, try adding a pinch of sea salt to the chocolate coating. You can also mix in other crushed candies or nuts for added flavor and texture.

FAQ SECTION

1. Can I use natural peanut butter for this recipe?
No, it’s best to avoid all-natural peanut butter as it can have a different texture and consistency that affects the dough.

2. How can I make these gluten-free?
You can use gluten-free graham crackers or crushed gluten-free cookies as a substitute for graham cracker crumbs.

3. Can I make Butterfinger Balls ahead of time?
Absolutely! You can make them a few days in advance and store them in the fridge or freezer until you’re ready to serve them.

With this easy recipe, you can impress family and friends with a delightful treat that’s sure to bring back sweet memories! Enjoy making and sharing your Butterfinger Balls.

[tasty-recipe id=”3297″]

Butterfinger Balls

A delightful no-bake treat that combines chocolate and peanut butter in bite-sized pieces, reminiscent of the classic Butterfinger candy bar.

Main Ingredients

  • 4 tablespoons softened butter (½ stick)
  • 1 teaspoon vanilla extract
  • 8 ounces chocolate bark or chocolate chips
  • ½ cup crushed Butterfinger bars
  • 1 cup powdered sugar
  • 1 cup peanut butter (Avoid using all-natural varieties)
  • ¾ cup graham cracker crumbs

Optional Garnishes

  • more crushed Butterfinger bars (For topping)
  • festive sprinkles (For topping)
  • coarse sea salt (For topping)

Preparation

  1. Ensure all ingredients are ready before you start.
  2. Use a ziplock bag and a rolling pin to crush the Butterfinger bars into fine grounds.
  3. In a mixing bowl, blend the softened butter, peanut butter, powdered sugar, vanilla extract, and graham cracker crumbs until you achieve a smooth mixture.
  4. Roll the dough into walnut-sized pieces and place them on a baking sheet lined with parchment paper.

Coating

  1. Melt the chocolate bark or chocolate chips in a double boiler or microwave, stirring often to prevent burning.
  2. Once melted, coat each ball in the chocolate and place them back on the baking sheet.

Setting

  1. Refrigerate for about an hour to allow them to set.

Serve chilled or at room temperature. Store any leftovers in an airtight container in the refrigerator for up to one week, or freeze for up to three months. Use parchment paper to separate layers when freezing. Tips include ensuring butter is softened for easier mixing and using good quality chocolate for coating.

Dessert, Snack
American
Butterfinger Balls, Chocolate and Peanut Butter, Easy Desserts, Kid-Friendly Treats, No-Bake Treats

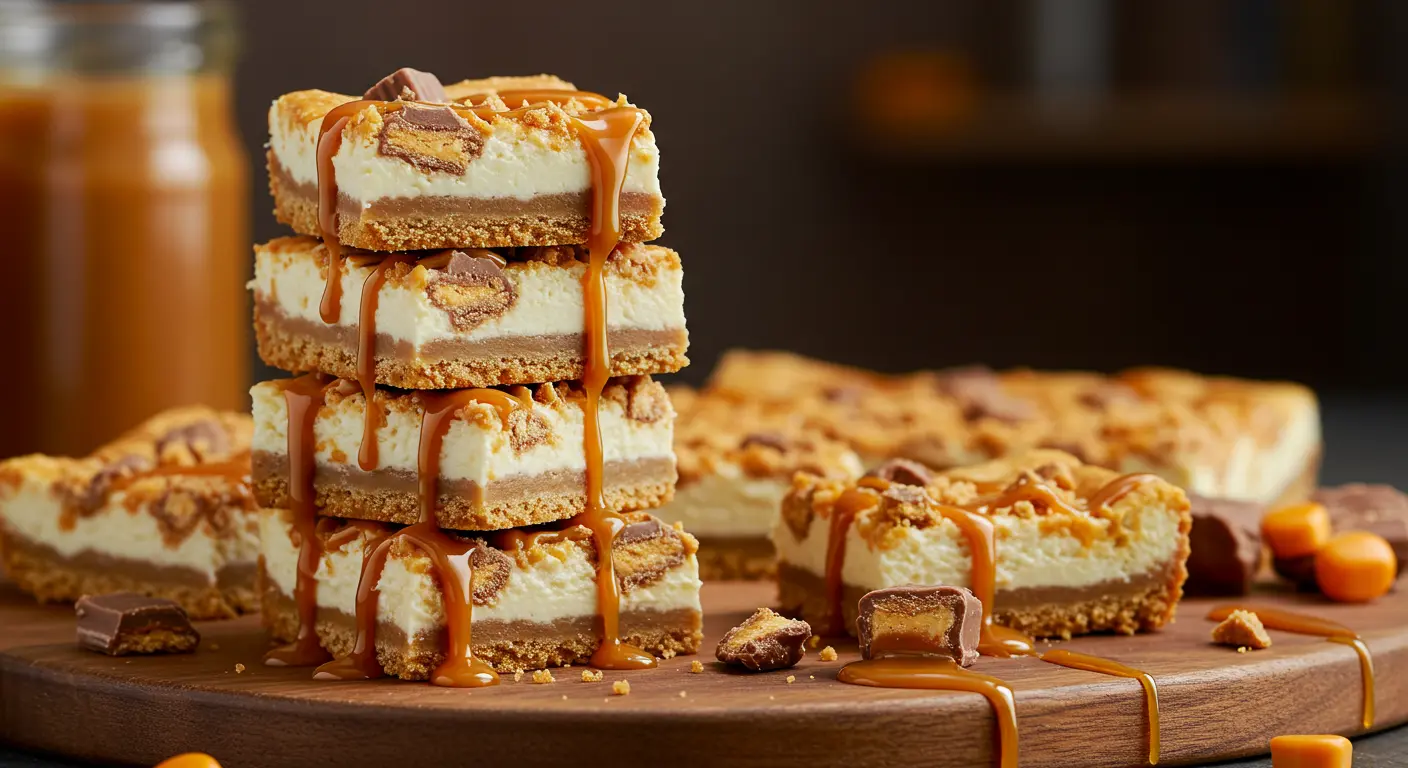
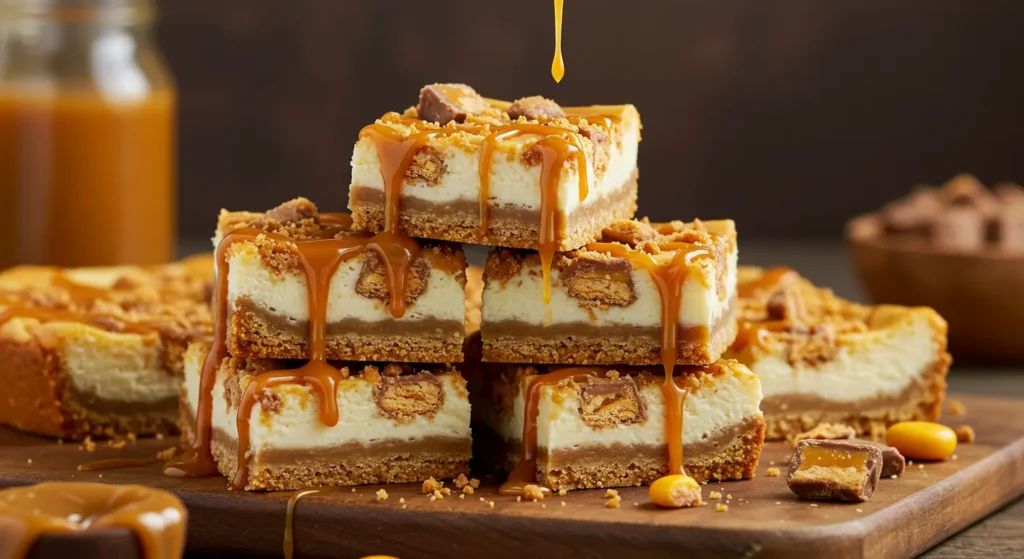
Butterfinger Caramel Cheesecake Bars

cheesecake bars

Butterfinger Caramel Cheesecake Bars are a delightful treat that combines the creaminess of cheesecake with the crunch of Butterfinger candy bars and the sweet drizzle of caramel. These bars are perfect for any occasion, from family gatherings to a simple afternoon snack. The combination of flavors and textures creates a dessert that is not only satisfying but also incredibly fun to make. If you love the classic combination of chocolate and caramel, these bars are sure to become a favorite!

How to Make Butterfinger Caramel Cheesecake Bars

cheesecake bars

Ingredients

  • 1 1/2 cups graham cracker crumbs
  • 1/4 cup granulated sugar
  • 1/2 cup unsalted butter, melted
  • 2 (8 ounce) packages cream cheese, softened
  • 3/4 cup granulated sugar
  • 1 teaspoon vanilla extract
  • 2 large eggs
  • 1 cup caramel sauce, divided
  • 5 fun-size Butterfinger candy bars, chopped

Directions

  1. Preheat your oven to 325°F (160°C). Line an 8×8-inch pan with parchment paper for easy removal.
  2. In a bowl, combine graham cracker crumbs, sugar, and melted butter. Press this mixture into the bottom of the prepared pan. Bake for 10 minutes.
  3. In another bowl, beat the cream cheese until it’s fluffy. Slowly add in 3/4 cup sugar, mixing until well combined. Stir in the vanilla extract.
  4. Add the eggs one at a time to the mixture, mixing minimally after each addition to keep the eggs from being overmixed.
  5. Fold in 1/2 cup of the caramel sauce into the cream cheese mixture.
  6. Pour this mixture over the baked crust. Sprinkle half of the chopped Butterfinger candy bars on top.
  7. Bake in the oven for 35-40 minutes until the center is slightly jiggly.
  8. Let the bars cool completely at room temperature before refrigerating for at least 3 hours.
  9. Before serving, drizzle the remaining caramel sauce and top with the remaining Butterfinger pieces.

How to Serve Butterfinger Caramel Cheesecake Bars

Once your Butterfinger Caramel Cheesecake Bars are chilled and set, cut them into squares. They can be served directly from the refrigerator for a refreshing treat. You might want to add an extra drizzle of caramel on top to enhance the presentation and flavor!

How to Store Butterfinger Caramel Cheesecake Bars

Store the leftover bars in an airtight container in the refrigerator. They will keep well for up to a week, making them a great choice for meal prep or to satisfy your sweet tooth throughout the week.

Tips to Make Butterfinger Caramel Cheesecake Bars

  • Make sure your cream cheese is really softened before mixing. This will help you achieve a smooth and creamy filling.
  • If you prefer a thicker crust, add a bit more graham cracker crumbs or reduce the butter slightly.
  • To beat the heat, try serving these bars chilled right out of the fridge.

Variation

For a twist on this recipe, you can substitute the Butterfinger candy bars with other favorite candies, such as Snickers or Reese’s Peanut Butter Cups. Each variation gives a unique flavor while maintaining the creamy cheesecake base.

FAQs

1. Can I use store-bought caramel sauce?
Yes, store-bought caramel sauce works perfectly in this recipe. Just make sure it’s nice and smooth for drizzling.

2. Can I freeze these cheesecake bars?
Yes, they can be frozen! Wrap them tightly in plastic wrap and place them in an airtight container. They should be good for about 2-3 months in the freezer.

3. What can I use instead of graham cracker crumbs?
You can use crushed vanilla wafers or Oreos as an alternative for the crust if you want different flavors!

[tasty-recipe id=”4405″]

Butterfinger Caramel Cheesecake Bars

Butterfinger Caramel Cheesecake Bars combine creamy cheesecake with crunchy Butterfinger candy bars and a sweet caramel drizzle, making for a delightful dessert.

Crust Ingredients

  • 1.5 cups graham cracker crumbs
  • 0.25 cups granulated sugar
  • 0.5 cups unsalted butter, melted

Filling Ingredients

  • 2 packages (8 ounces each) cream cheese, softened (Make sure it’s really softened for smooth mixing.)
  • 0.75 cups granulated sugar
  • 1 teaspoon vanilla extract
  • 2 large eggs (Add eggs one at a time.)
  • 1 cup caramel sauce, divided (Use half in the filling and half for drizzling.)
  • 5 fun-size Butterfinger candy bars, chopped (Divide for topping and mixing.)

Preparation

  1. Preheat your oven to 325°F (160°C). Line an 8×8-inch pan with parchment paper.
  2. In a bowl, combine graham cracker crumbs, sugar, and melted butter. Press this mixture into the bottom of the prepared pan. Bake for 10 minutes.

Mixing Filling

  1. In another bowl, beat the cream cheese until it’s fluffy. Add 3/4 cup sugar and mix well. Stir in vanilla extract.
  2. Add the eggs one at a time, mixing minimally after each addition.
  3. Fold in 1/2 cup of caramel sauce.

Baking

  1. Pour the cream cheese mixture over the baked crust. Sprinkle half of the chopped Butterfinger candy bars on top.
  2. Bake for 35-40 minutes until the center is slightly jiggly.

Cooling and Serving

  1. Let the bars cool completely at room temperature before refrigerating for at least 3 hours.
  2. Before serving, drizzle the remaining caramel sauce and top with the remaining Butterfinger pieces.
  3. Cut into squares and serve chilled.

Store leftover bars in an airtight container in the refrigerator for up to a week. For variations, substitute Butterfinger with Snickers or Reese’s Peanut Butter Cups.

Dessert, Snack
American
Butterfinger, Caramel, Cheesecake Bars, Chocolate, Dessert

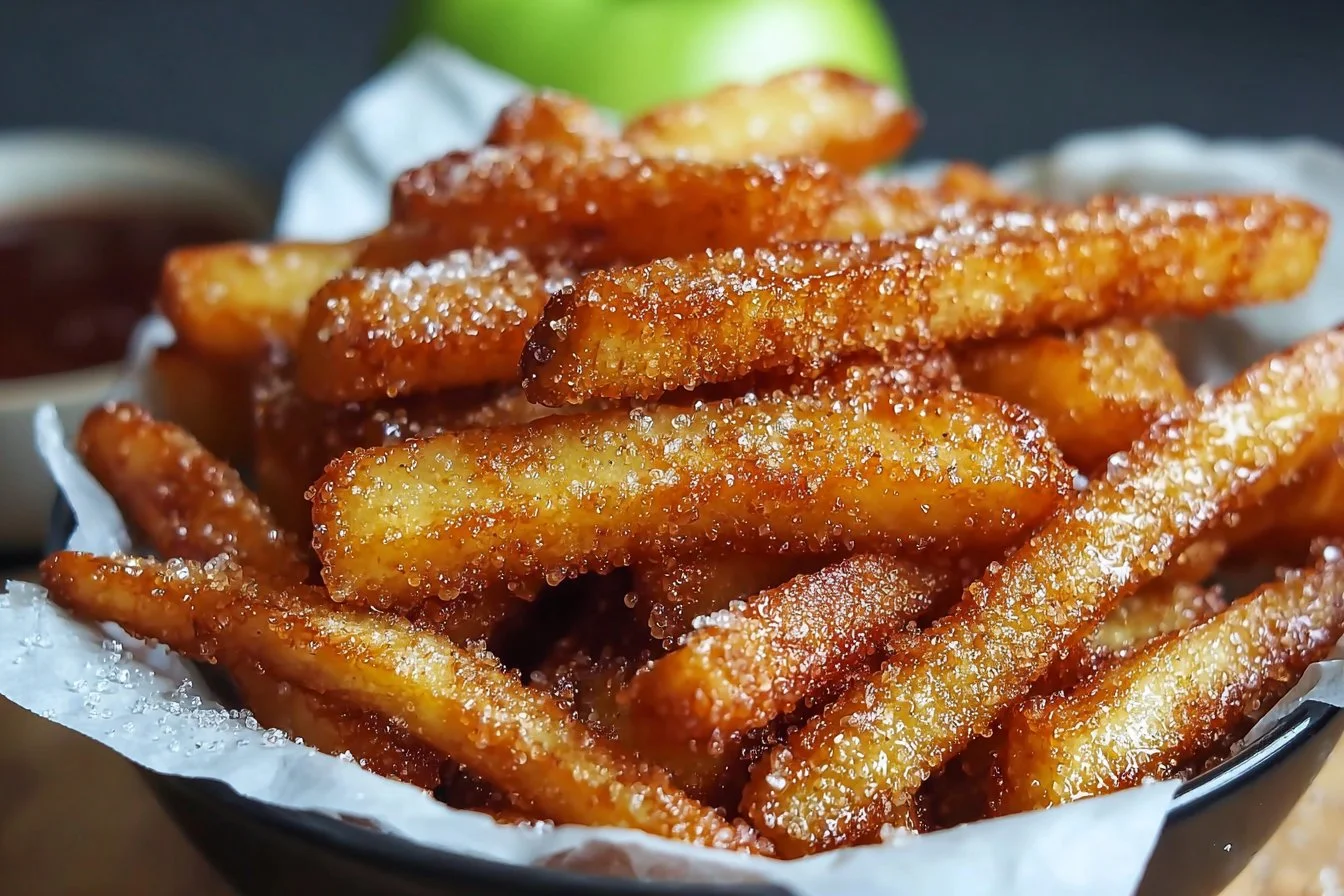
Crispy Air Fryer Apple Fries

Crispy air fryer apple fries garnished and ready to serve.

Making Crispy Air Fryer Apple Fries is a delightful experience you won’t want to miss. These treats are sweet, crunchy, and perfect for both kids and adults alike. Whether you’re looking for a fun snack or a creative way to use up those apples, this recipe is sure to become a favorite. With every bite, you’ll get a delicious taste of warm apples enveloped in a crispy coating, giving you both comfort and joy. Plus, because they are made in an air fryer, you can enjoy a lighter version without sacrificing any flavor. So, roll up your sleeves and get ready to make a treat that is not only easy to prepare but also sure to impress your friends and family!

How to Prepare Crispy Air Fryer Apple Fries

To make Crispy Air Fryer Apple Fries, start by gathering your ingredients. You will need 2 large apples, 1 cup of all-purpose flour, 2 large eggs, 1 cup of breadcrumbs, 1 teaspoon of cinnamon, and a pinch of salt. First, peel and core the apples, then slice them into thin strips, resembling fries. In three separate bowls, place the flour in one bowl, beat the eggs in another, and mix breadcrumbs with cinnamon and salt in the third.

Next, take each apple strip and dip it into the flour, then the eggs, and finally coat it with the breadcrumb mixture. Make sure each strip is well coated for that perfect crunch. Place the coated apple fries in the air fryer basket in a single layer. Set the temperature to 375°F and cook for about 10-12 minutes or until golden brown and crispy, shaking the basket halfway through to ensure even cooking. Once done, let them cool for a few moments, and they are ready to enjoy!

Why You’ll Love Crispy Air Fryer Apple Fries

There are so many reasons to love Crispy Air Fryer Apple Fries! First of all, they are incredibly easy to whip up, making them a perfect go-to snack or dessert. The combination of sweet apples with a crunchy coating is simply irresistible. These apple fries are not only tasty but also offer a healthier alternative to traditional fried desserts, as they are made with minimal oil.

Moreover, they are versatile! You can serve them as a dessert or a quick snack and even dip them in caramel sauce or yogurt for an extra treat. Kids will enjoy helping in the kitchen, making it a fun cooking experience for the whole family. Best of all, these fries look impressive, making them a great crowd-pleaser at gatherings. Who wouldn’t want to dive into a plate of warm, crispy apple fries?

Tips for Success

To ensure your Crispy Air Fryer Apple Fries turn out perfect, here are some helpful tips. First, choose the right apples. Varieties like Fuji or Honeycrisp work best because they hold their shape and sweetness well when cooked. Make sure to slice the apple strips evenly so they cook uniformly.

Don’t overcrowd the air fryer basket; give the fries some space to crisp up nicely. If you have a lot, consider cooking in batches. Another tip is to spray the apple fries with a light coating of cooking oil before air frying. This will help them achieve a beautifully golden and crispy texture. Lastly, serve them immediately after cooking for the best taste and texture. Enjoying them warm is part of the fun!

Serving Suggestions

Crispy Air Fryer Apple Fries lend themselves well to a variety of serving suggestions. For a fun twist, serve them with a side of caramel sauce or chocolate dip; kids love it! You can also pair them with yogurt or whipped cream for a light dessert option. For added flair, dust the apple fries with powdered sugar or a sprinkle of cinnamon after they’re cooked.

These apple fries are great as a playful snack for gatherings, picnics, or even movie nights at home. You can serve them on a festive platter, adding slices of fresh fruit or nuts for color. They also make a tasty addition to brunch, offering something sweet alongside savory dishes. No matter how you serve them, these apple fries are sure to bring a smile!

FAQs

1. Can I use other types of fruit?

Yes! You can try using pears or even bananas for a different take on this recipe. Just be mindful of the cooking time, as softer fruits may require less time in the air fryer.

2. How do I store leftover apple fries?

Store any leftover apple fries in an airtight container in the refrigerator. They are best enjoyed fresh, but you can reheat them for a quick snack the next day.

3. Can I make these apple fries gluten-free?

Absolutely! Replace all-purpose flour with your favorite gluten-free flour and use gluten-free breadcrumbs. They will still taste delicious!

4. What can I add to the coating for more flavor?

You could mix in some sugar, nutmeg, or even vanilla extract to the egg mixture for added flavor. Experimenting with spices can give your fries a unique twist!

5. Can I make these without an air fryer?

Yes, you can bake them in a traditional oven. Preheat the oven to 400°F and bake them on a parchment-lined baking sheet for about 15-20 minutes, flipping halfway through.

[tasty-recipe id=”5039″]

Crispy Air Fryer Apple Fries

Enjoy these delightful, crunchy apple fries, made healthier in an air fryer without sacrificing flavor. Perfect as a snack or dessert for all ages.

Main Ingredients

  • 2 large apples (Varieties like Fuji or Honeycrisp are recommended for their sweetness and ability to hold shape.)
  • 1 cup all-purpose flour (Can be substituted with gluten-free flour for a gluten-free version.)
  • 2 large eggs (Beaten for coating.)
  • 1 cup breadcrumbs (Use gluten-free breadcrumbs for a gluten-free version.)
  • 1 teaspoon cinnamon (For flavor enhancement.)
  • 1 pinch salt (To taste.)

Optional Serving Suggestions

  • caramel sauce (For dipping.)
  • yogurt or whipped cream (For a lighter dessert option.)
  • powdered sugar (For dusting on cooked fries.)
  • chocolate dip (Another fun dipping option.)

Preparation

  1. Peel and core the apples, then slice them into thin strips resembling fries.
  2. In the first bowl, place the flour. In the second bowl, beat the eggs. In the third bowl, mix breadcrumbs with cinnamon and salt.

Coating

  1. Dip each apple strip into the flour, then the eggs, and finally coat with the breadcrumb mixture, ensuring each strip is well coated.

Cooking

  1. Place the coated apple fries in the air fryer basket in a single layer.
  2. Set the temperature to 375°F (190°C) and cook for about 10-12 minutes or until golden brown and crispy, shaking the basket halfway through.
  3. Let the apple fries cool for a few moments before serving.

For best results, do not overcrowd the air fryer basket. If needed, cook in batches. Spray the apple fries lightly with cooking oil before air frying for added crispiness. These fries are best served warm.

Dessert, Snack
American
Air Fryer, Apple Fries, Dessert, Easy Recipe, Healthy Snack

No Bake Turtle Lush: The Decadent Dessert You’ll Adore

No Bake Turtle Lush dessert featuring layers of chocolate, caramel, and cream

No Bake Turtle Lush is a sweet, layered no-bake dessert that mixes chocolate, caramel, and crunchy pecans. It feels rich but it is easy to make. Friends and family will love its creamy layers and nutty crunch. This crowd-pleaser has a simple graham cracker base, a creamy filling, warm caramel, melted chocolate, and chopped pecans on top. If you like quick, tasty treats, you will want to try this one soon. For another simple fruit dessert idea, see this easy blueberry crisp recipe for a different, homey option.

How to prepare No Bake Turtle Lush

  1. Make the crust, press it into a pan, and chill. A crust of crushed graham crackers, melted butter, and a bit of sugar works well.
  2. Mix a creamy layer, such as cream cheese with powdered sugar and a light whipped topping, or use a pudding layer for extra smoothness. Spread this over the chilled crust.
  3. Add a caramel layer, either canned caramel sauce or a simple homemade caramel, spooned in an even layer.
  4. Drizzle melted chocolate over the caramel, or add a layer of chocolate pudding for a softer bite.
  5. Sprinkle a generous amount of chopped pecans for that turtle crunch.
  6. Chill the dessert for at least 2 to 4 hours so the layers set well. Cut into squares and serve cold.

No Bake Turtle Lush: The Decadent Dessert You'll Adore

Why You’ll Love No Bake Turtle Lush

  • It is fast to make, no oven needed.
  • The mix of chocolate, caramel, and pecans gives a classic turtle flavor you know and love.
  • Layers make it look fancy, but the steps are simple.
  • It stores well in the fridge, so you can make it ahead for a party.
  • The dessert is easy to change, swap the cream layer for pudding, or use different nuts for variety.

Tips for success

  • Press the crust firmly into the pan for a stable base.
  • Use full chill time so the layers hold when you cut them.
  • Warm caramel slightly if it is too thick, but do not make it hot. Spread it gently.
  • Toast pecans lightly for more flavor, let them cool before adding.
  • Use a sharp knife dipped in hot water and wiped dry between cuts for neat slices.

Serving Suggestions

  • Serve chilled on small plates with extra caramel drizzled on top.
  • Add a dollop of whipped cream and a sprinkle of extra pecans for a pretty finish.
  • Pair with coffee or a glass of milk to balance the sweetness.
  • For a party, cut into bite-size squares for easy finger food.

No Bake Turtle Lush: The Decadent Dessert You'll Adore

FAQs

Q: Can I make No Bake Turtle Lush ahead of time?

A: Yes, make it a day ahead and keep it covered in the fridge. Chilling helps the layers set and the flavors meld.

Q: Can I use store-bought ingredients to save time?

A: Yes, ready-made caramel sauce and whipped topping save time and still give great taste.

Q: How long does this dessert last in the fridge?

A: It stays good for 3 to 4 days in an airtight container. Nuts may soften over time, so best eaten within a few days.

Q: Can I freeze this dessert?

A: You can freeze it, but textures may change slightly. Wrap well and thaw in the fridge before serving.

Conclusion

No Bake Turtle Lush is a simple, tasty dessert that looks and tastes like a special treat. It mixes easy layers of crust, cream, caramel, chocolate, and pecans for a dessert many will ask for again. For another delicious, no-bake style inspiration that mixes cream and fruit, try this Strawberry Cheesecake Dream Bars – 365 Days of Baking.

No Bake Turtle Lush

A sweet, layered no-bake dessert that combines chocolate, caramel, and crunchy pecans. Easy to make and perfect for any gathering.

For the crust

  • 2 cups crushed graham crackers (Use finely crushed for a stable base.)
  • 1/2 cup melted butter (Melt before mixing with graham crackers.)
  • 1/4 cup sugar (Adjust to taste.)

For the creamy layer

  • 8 oz cream cheese (Softened for easier mixing.)
  • 1/2 cup powdered sugar (Adjust sweetness as desired.)
  • 1 cup whipped topping (Light version for fluffiness.)

For the caramel layer

  • 1 cup canned caramel sauce (Or use homemade caramel.)

For the chocolate layer

  • 1 cup melted chocolate (Can also use chocolate pudding for a softer texture.)

For topping

  • 1 cup chopped pecans (Toast for enhanced flavor if desired.)

Preparation

  1. In a mixing bowl, combine crushed graham crackers, melted butter, and sugar until well mixed.
  2. Press the mixture firmly into the bottom of a 9×13-inch pan to form the crust.
  3. Chill the crust in the refrigerator while preparing the filling.

Creamy Layer

  1. In another bowl, beat the cream cheese and powdered sugar until smooth.
  2. Fold in the whipped topping until combined.
  3. Spread this mixture evenly over the chilled crust.

Caramel Layer

  1. Spoon the caramel sauce evenly over the cream layer.

Chocolate Layer

  1. Drizzle the melted chocolate over the caramel layer evenly.

Topping

  1. Sprinkle the chopped pecans generously over the top.

Chilling

  1. Chill the dessert for at least 2 to 4 hours until set.
  2. Cut into squares and serve cold.

Chill for the full time to ensure layers hold together when cutting. Use a warm, dry sharp knife for neat slices.

Dessert, No-Bake
American
Chocolate Dessert, easy dessert, No Bake Dessert, pecan dessert, Turtle Lush

Strawberry Crumble Cheesecake: 7 Steps to Pure Bliss

Delicious strawberry crumble cheesecake topped with fresh strawberries and crumbs

Making a Strawberry Crumble Cheesecake is easier than you think! Follow these simple steps to create a dessert that will impress your family and friends.

  1. Gather Your Ingredients: You will need graham cracker crumbs, butter, cream cheese, sugar, eggs, vanilla extract, fresh strawberries, and crumble topping ingredients.
  2. Prepare the Crust: Start by mixing the graham cracker crumbs and melted butter in a bowl. Press this mixture firmly into the bottom of a greased springform pan to create a solid crust.
  3. Make the Cheesecake Filling: In another bowl, beat the cream cheese and sugar until smooth. Add in the eggs one at a time, mixing well after each addition. Stir in the vanilla extract until everything is well combined.
  4. Add the Strawberries: Gently fold in fresh strawberries, ensuring they are evenly distributed throughout the cheesecake filling.
  5. Layer the Filling: Pour the cheesecake mixture over the prepared crust in the springform pan. Smooth the top with a spatula.
  6. Prepare the Crumble Topping: In a separate bowl, mix flour, sugar, and butter until you get a crumbly texture. Sprinkle this mixture over the cheesecake.
  7. Bake: Place the springform pan in a preheated oven and bake until the cheesecake is set and the crumble is golden brown. Let it cool before refrigerating for a few hours. Slice and enjoy!

Strawberry Crumble Cheesecake: 7 Steps to Pure Bliss

Why You’ll Love Strawberry Crumble Cheesecake

This Strawberry Crumble Cheesecake is not just a treat for the eyes, but its taste is truly irresistible! The creamy cheesecake pairs perfectly with fresh strawberries, and the crumble topping adds a delicious crunch. Each bite is a delightful mix of textures and flavors. It’s great for any occasion, whether it is a birthday party, family gathering, or just a simple dessert at home. Everyone will be raving about this dessert once they try it!

tips for success

To make sure your Strawberry Crumble Cheesecake turns out perfectly, keep these tips in mind:

  • Room Temperature Ingredients: Let your cream cheese and eggs sit out for a bit before mixing. This helps them blend more easily and makes the cheesecake smooth.
  • Don’t Overmix: When adding the eggs, mix just until combined. Overmixing can make your cheesecake dense.
  • Chill Properly: Let your cheesecake cool to room temperature before refrigerating. Allow it to chill for at least 4 hours, or overnight for the best texture.

Serving Suggestions

Serve your Strawberry Crumble Cheesecake chilled, and consider adding a dollop of whipped cream on top. You can also sprinkle some extra fresh strawberries around the plate for a beautiful presentation. A drizzle of strawberry sauce would make it even more tempting!

FAQs

Can I make this cheesecake in advance?
Yes, it’s perfect for making ahead! Just store it in the refrigerator.

Can I use frozen strawberries instead?
Yes, you can use frozen strawberries, but be sure to thaw and drain them well before adding to the cheesecake.

How do I store leftovers?
Keep any leftovers in an airtight container in the fridge. Enjoy them within 3-4 days for the best taste!

Get ready to bake, slice, and share this Strawberry Crumble Cheesecake, and let the flavors whisk you away to dessert heaven!

Strawberry Crumble Cheesecake

A delightful Strawberry Crumble Cheesecake, featuring a creamy filling with fresh strawberries and a crunchy crumble topping, perfect for impressing guests.

For the crust

  • 1 cup graham cracker crumbs
  • 5 tablespoons butter, melted

For the cheesecake filling

  • 16 ounces cream cheese, softened (Let it sit at room temperature before mixing.)
  • 3/4 cup sugar
  • 3 eggs (Use room temperature eggs.)
  • 1 teaspoon vanilla extract
  • 2 cups fresh strawberries, chopped (Fold into the cheesecake batter.)

For the crumble topping

  • 1 cup flour
  • 1/2 cup sugar
  • 5 tablespoons butter, softened (Mix until crumbly.)

Preparation

  1. Preheat your oven to 350°F (175°C).
  2. In a bowl, mix graham cracker crumbs and melted butter together until combined.
  3. Press the mixture firmly into the bottom of a greased springform pan.

Cheesecake Filling

  1. In another bowl, beat cream cheese and sugar until smooth.
  2. Add eggs one at a time, mixing well after each addition.
  3. Stir in vanilla extract.
  4. Gently fold in chopped strawberries.

Assembly

  1. Pour the cheesecake mixture over the prepared crust and smooth the top with a spatula.
  2. In a separate bowl, mix flour, sugar, and butter until you achieve a crumbly texture.
  3. Sprinkle the crumble mixture over the cheesecake.

Baking

  1. Bake in the preheated oven until the cheesecake is set and the crumble is golden brown, approximately 50 minutes.
  2. Let cool before refrigerating for a few hours.
  3. Slice and serve chilled.

For best results, chill the cheesecake for at least 4 hours or overnight. Serve with whipped cream and additional strawberries if desired.

Dessert
American
Baking, cheesecake, Dessert, strawberry, Strawberry Crumble Cheesecake