Air Fryer Grilled Cheese Hot Dogs

grilled cheese hot dogs

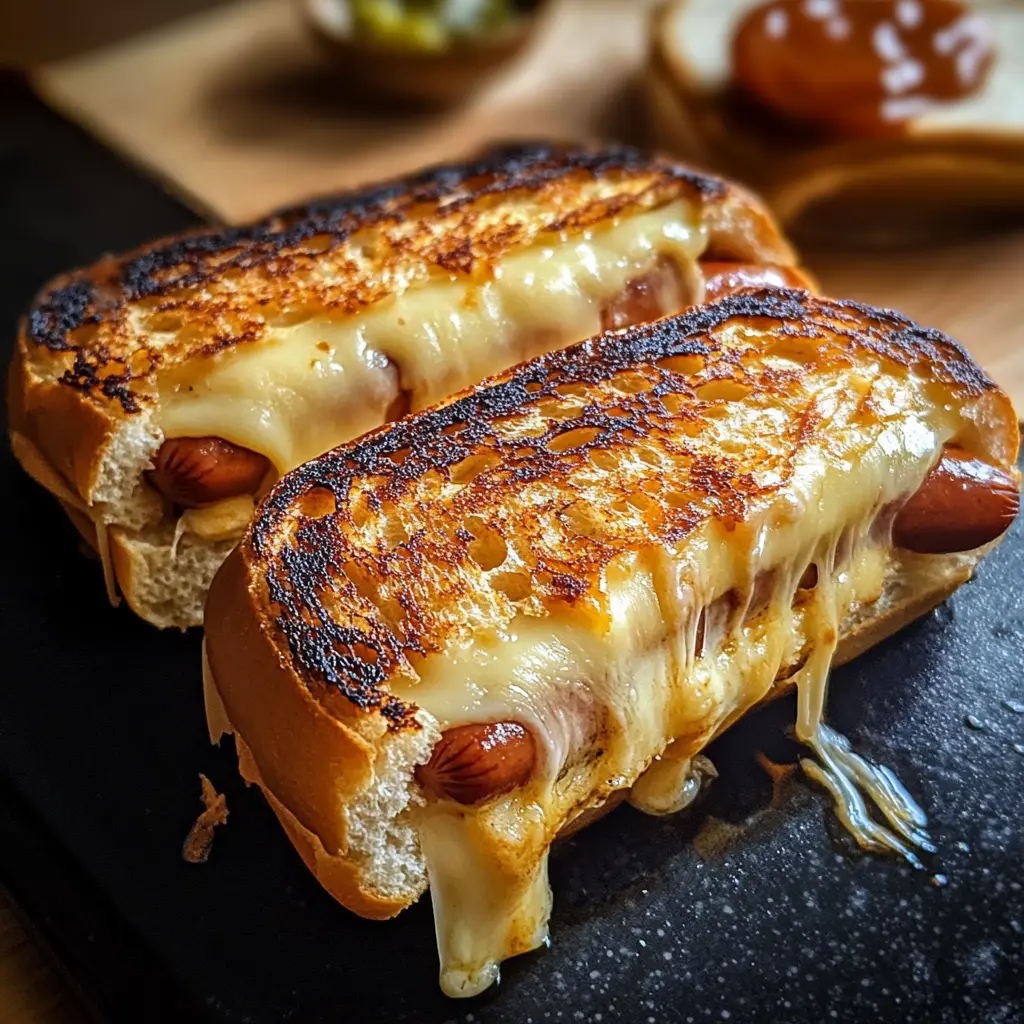
Get ready to experience the ultimate comfort food mashup that’s taking kitchens by storm, grilled cheese hot dogs that combine everything you love about two classic favorites into one irresistible bite. Imagine biting into golden, buttery bread that gives way to perfectly melted cheese and a juicy hot dog at the center, creating a harmony of textures and flavors that’s pure nostalgic bliss.

This isn’t just another hot dog recipe or a simple grilled cheese variation, it’s a game-changing fusion that elevates both dishes to new heights. The concept is beautifully simple: wrap a hot dog in cheese and bread, then cook it until the outside is perfectly crispy and the inside becomes a molten, savory paradise. It’s comfort food innovation at its finest, delivering that satisfying crunch followed by the creamy, meaty goodness that makes every bite memorable.

Whether you’re feeding hungry kids after school, looking for a quick and satisfying lunch, or wanting to add some playful creativity to dinner time, grilled cheese hot dogs offer the perfect solution. They’re easy enough for beginners yet delicious enough to impress, proving that sometimes the most brilliant culinary ideas come from combining the foods we already love most.

Why Make This Recipe

Air Fryer Grilled Cheese Hot Dogs are a fun twist on two classic favorites: grilled cheese sandwiches and hot dogs. Combining both into one delicious snack makes for a comforting meal that’s perfect for lunch, dinner, or a late-night craving. They are quick to prepare, packed with cheesy goodness, and sure to satisfy your taste buds. Plus, making them in the air fryer gives you the crispiness without all the extra oil.

How to Make Air Fryer Grilled Cheese Hot Dogs

Ingredients:

  • 4 hot dog buns
  • 4 hot dogs
  • 8 slices of cheddar cheese (or your preferred cheese)
  • 2 tablespoons butter (softened)
  • Optional: ketchup, mustard, relish, or any desired toppings

Directions:

  1. Butter the outside of each hot dog bun generously.
  2. Place one cheese slice inside each bun.
  3. Add a hot dog on top of the cheese slice.
  4. Place a second cheese slice over the hot dog to create a cheesy layer.
  5. If needed, secure the buns closed with toothpicks.
  6. Preheat the air fryer to 350°F (175°C).
  7. Cook the hot dogs in the air fryer for about 4-5 minutes, or until they turn golden brown.
  8. Once cooked, let them rest for 1 minute before serving.
  9. Serve with your favorite condiments like ketchup, mustard, or relish.

How to Serve Air Fryer Grilled Cheese Hot Dogs

You can serve Air Fryer Grilled Cheese Hot Dogs as a fun meal or snack at any time of the day. Pair them with chips, fries, or a fresh salad for a complete meal. They are also a great addition to parties or game days. Make sure to provide a selection of condiments so everyone can customize their hot dog to their taste.

How to Store Air Fryer Grilled Cheese Hot Dogs
grilled cheese hot dogs

If you have any leftovers, let them cool completely before storing. Place the grilled cheese hot dogs in an airtight container and keep them in the refrigerator for up to 3 days. To reheat, you can use the air fryer again to restore their crispiness.

Tips to Make Air Fryer Grilled Cheese Hot Dogs

  • Use your favorite cheese. While cheddar works great, you can experiment with mozzarella, pepper jack, or any cheese that melts well.
  • Don’t overstuff the buns. Keep the fillings balanced to ensure even cooking.
  • Try different toppings! Adding jalapeños, onions, or even sautéed mushrooms can elevate the flavor.

Variation

You can switch up this recipe by using sausages instead of hot dogs. Additionally, you can use different types of bread like slices of sourdough or even pretzel buns for a unique taste.

FAQs

Can I make these ahead of time?
Yes, you can prepare the hot dogs and buns ahead of time and assemble them. Then you can cook them in the air fryer just before serving.

What else can I add to my hot dogs?
Feel free to add ingredients like diced onions, pickles, or spicy sauces for extra flavor. The options are endless!

Can I freeze them?
It’s best to avoid freezing these hot dogs once cooked, as they may lose their texture. However, you can freeze the assembled un-cooked hot dogs and air fry them directly from frozen. Just increase the cooking time by a couple of minutes.

[tasty-recipe id=”4385″]

Air Fryer Grilled Cheese Hot Dogs

Experience the ultimate comfort food mashup with Air Fryer Grilled Cheese Hot Dogs, combining melted cheese and juicy hot dogs inside crispy buns for an irresistible treat.

Main Ingredients

  • 4 pieces hot dog buns
  • 4 pieces hot dogs
  • 8 slices cheddar cheese (or your preferred cheese) (You can use mozzarella, pepper jack, or any cheese that melts well.)
  • 2 tablespoons butter (softened) (Generously butter the outside of each bun.)

Optional Toppings

  • ketchup (For serving.)
  • mustard (For serving.)
  • relish (For serving.)

Preparation

  1. Butter the outside of each hot dog bun generously.
  2. Place one cheese slice inside each bun.
  3. Add a hot dog on top of the cheese slice.
  4. Place a second cheese slice over the hot dog to create a cheesy layer.
  5. If needed, secure the buns closed with toothpicks.

Cooking

  1. Preheat the air fryer to 350°F (175°C).
  2. Cook the hot dogs in the air fryer for about 4-5 minutes, or until they turn golden brown.
  3. Once cooked, let them rest for 1 minute before serving.

Serve with your favorite condiments and pair them with chips, fries, or a fresh salad. They are perfect for parties or game days. You can prepare the hot dogs and buns ahead of time and assemble them before cooking.
Dinner, lunch, Snack
American
Air Fryer Recipes, Comfort Food, Easy Snack, Grilled Cheese Hot Dogs, Hot Dog Recipe

Savory Cheesy Pepperoni Pizza Roll Ups for Quick Snacks

Savory cheesy pepperoni pizza roll ups ready to enjoy as quick snacks.

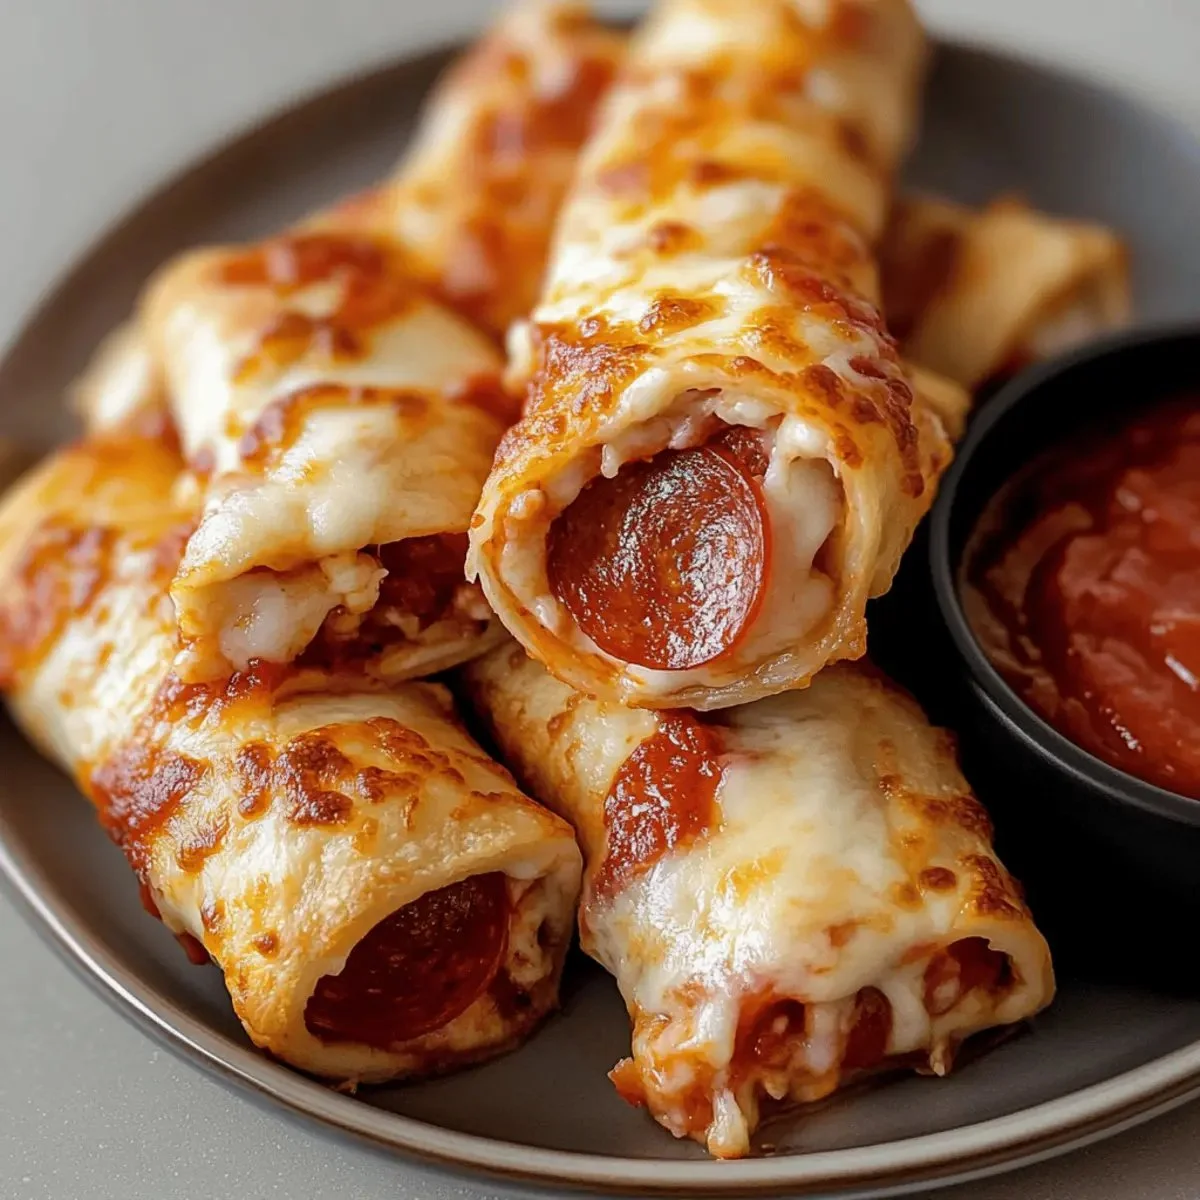
Cheesy Pepperoni Pizza Roll Ups for Quick Snacks pack all the fun of pizza into a small, easy bite. They are great for hungry kids, quick parties, or when you want a simple snack that feels special. The dough wraps warm cheese and spicy pepperoni, so each roll gives a soft outside, melty inside, and a satisfying crunch on the edges. This recipe is a crowd-pleaser, full of familiar pizza flavors but ready in minutes, and it makes snack time feel like a mini celebration. Get your oven ready, because once you try them, you will want to make them again and again.

I like to share simple ideas, and if you enjoy similar bites, check this easy cheesy garlic rolls for another quick snack twist.

How to prepare Pepperoni Pizza Roll Ups

  1. Preheat the oven to 400°F, and line a baking sheet with parchment or lightly oil it.
  2. Lay out store-bought pizza dough or crescent roll dough on a clean board, roll it thin into a rectangle.
  3. Spread a thin layer of pizza sauce over the dough, leaving a small border at the far edge.
  4. Sprinkle shredded mozzarella evenly, add sliced pepperoni in a single layer, and sprinkle a little grated Parmesan or Italian seasoning if you like.
  5. Starting from the near edge, roll the dough tightly into a log. Seal the edge by pinching the dough.
  6. Cut the log into 1 to 1.5 inch slices and place them cut-side up on the baking sheet, a little space between each.
  7. Brush the tops with a bit of olive oil or melted butter and sprinkle with extra cheese or dried herbs.
  8. Bake 12 to 18 minutes, until golden brown and cheese melts. Let cool a minute before serving, so the cheese does not spill out.

Savory Cheesy Pepperoni Pizza Roll Ups for Quick Snacks

Why You’ll Love Pepperoni Pizza Roll Ups

  • They are fast to make, ready in about 20 minutes.
  • Kids and adults both love the familiar pizza taste in a hand-held form.
  • You can change fillings, add veggies, or make them spicy, so they fit any mood.
  • They freeze well, so you can bake a few now and store some for later.
  • They are perfect for parties, game nights, or a quick after-school snack.

Tips for success

  • Use room temperature dough, it rolls easier and bakes more evenly.
  • Don’t overfill, or cheese will leak while baking. A light layer of sauce is enough.
  • Seal the roll edge well, pressing and tucking so slices hold shape.
  • Brush the tops with butter or oil for a golden, shiny crust.
  • If slices spread, chill the log 10 minutes before slicing to keep neat rounds.

Serving Suggestions

  • Serve with warm marinara or ranch for dipping.
  • Pair with a simple green salad for a light meal.
  • Add a side of pickles or olives to cut the richness.
  • Bring them to parties on a platter, they fill a table fast and vanish faster.

Savory Cheesy Pepperoni Pizza Roll Ups for Quick Snacks

FAQs

Q: Can I make these ahead and bake later?

A: Yes, you can slice and freeze the unbaked rolls on a tray, then store in a freezer bag. Bake from frozen, adding a few extra minutes.

Q: Can I use whole wheat or gluten free dough?

A: Yes, both work. Baking time may change a little, so watch for golden color and melted cheese.

Q: How do I keep the bottoms from getting soggy?

A: Bake on a preheated sheet or stone, and don’t add too much sauce. A small shake of cornmeal on the pan helps too.

Q: Can I make them vegetarian?

A: Yes, swap pepperoni for roasted veggies, sliced mushrooms, or plant-based pepperoni.

Conclusion

These Savory Cheesy Pepperoni Pizza Roll Ups for Quick Snacks are an easy, tasty treat for any day you want pizza in a hurry. For another take on rolled pizza snacks and ideas to vary fillings, see Pepperoni Pizza Rolls – Sally’s Baking Addiction.

Pepperoni Pizza Roll Ups

These Pepperoni Pizza Roll Ups are a fun, easy snack that combines warm cheese and spicy pepperoni in a quick preparation. Perfect for parties or an after-school treat!

For the Roll Ups

  • 1 package store-bought pizza dough or crescent roll dough (can use room temperature dough for easier rolling)
  • 1/2 cup pizza sauce (spread a thin layer)
  • 1 cup shredded mozzarella cheese (sprinkle evenly over the sauce)
  • 1/2 cup sliced pepperoni (lay in a single layer)
  • 1/4 cup grated Parmesan cheese or Italian seasoning (optional toppings)
  • 1 tablespoon olive oil or melted butter (for brushing the tops)

Preparation

  1. Preheat the oven to 400°F (200°C) and line a baking sheet with parchment or lightly oil it.
  2. Lay out the pizza dough or crescent roll dough on a clean board and roll it thin into a rectangle.
  3. Spread a thin layer of pizza sauce over the dough, leaving a small border at the far edge.
  4. Sprinkle shredded mozzarella evenly over the sauce, add sliced pepperoni in a single layer, and sprinkle with grated Parmesan or Italian seasoning if desired.
  5. Starting from the near edge, roll the dough tightly into a log and seal the edge by pinching the dough.
  6. Cut the log into 1 to 1.5 inch slices and place them cut-side up on the baking sheet, leaving space between each.
  7. Brush the tops with olive oil or melted butter and sprinkle with extra cheese or dried herbs.
  8. Bake for 12 to 18 minutes, until golden brown and cheese melts. Let cool for a minute before serving.

Use room temperature dough for easier rolling and don’t overfill to prevent cheese leakage. Chill the log for neat slices if spreading occurs.

Appetizer, Snack
American, Italian
Cheesy Pizza Rolls, Easy Recipes, Party Food, Pepperoni Rolls, Quick Snacks

Chicken Caesar Wraps

Delicious Chicken Caesar Wraps with crisp lettuce and grilled chicken

Chicken Caesar Wraps are simple, fresh, and full of flavor. Warm grilled chicken meets crisp romaine lettuce and creamy Caesar dressing, all wrapped in a soft tortilla. This recipe is a real crowd pleaser, good for a quick lunch, a picnic, or an easy weeknight dinner. It tastes like a classic Caesar salad, but you can eat it with your hands, which makes it even more fun. Give it a try, and get ready to make it again and again.

How to prepare Chicken Caesar Wraps

  1. Cook the chicken, season with salt and pepper, then slice or chop. Use grilled or pan seared chicken for extra flavor.
  2. Toss chopped romaine lettuce with Caesar dressing, a little lemon juice, and grated Parmesan cheese. Add freshly ground black pepper if you like.
  3. Warm the tortilla for a few seconds in a pan or microwave so it folds easily.
  4. Place some dressed lettuce in the center of the tortilla, add the sliced chicken, and sprinkle with extra Parmesan and croutons for crunch.
  5. Fold the sides over, then roll the wrap tightly from one end to the other. Cut in half if you want.
  6. Serve right away, or wrap in foil to take on the go.

Chicken Caesar Wraps

Why You’ll Love Chicken Caesar Wraps

  • They are quick to make, great for an easy lunch or fast dinner.
  • The flavors are familiar and comforting, with tangy Caesar dressing and savory grilled chicken.
  • They are easy to change, use leftover chicken, rotisserie chicken, or make a lighter version with Greek yogurt.
  • Wraps are portable, so they are perfect for work lunches, school, or a packed picnic.

tips for success

  • Use good quality Caesar dressing, or make a small batch at home for better taste.
  • Dry the lettuce well, so the tortilla does not get soggy.
  • Warm the tortilla before rolling, it will fold without cracking.
  • Add crunch with croutons or toasted breadcrumbs right before serving.
  • If you plan to store the wraps, wrap each one in parchment or foil, and keep the dressing separate if you want extra crispness.

Serving Suggestions

  • Serve with a side of kettle chips, sweet potato fries, or a light soup.
  • Pair with a simple fruit salad for a fresh contrast.
  • Offer lemon wedges for a bright squeeze of juice.
  • Try adding roasted red peppers, bacon, or sliced avocado for variety.

Chicken Caesar Wraps

FAQs

Q: Can I use rotisserie chicken for these wraps?

A: Yes, rotisserie chicken works great, it saves time and adds good flavor.

Q: How long can I store Chicken Caesar Wraps?

A: Store in the fridge for up to 24 hours. For best texture, keep dressing or croutons separate until ready to eat.

Q: Can I make the dressing lighter?

A: Yes, swap half the mayonnaise for plain Greek yogurt to cut calories and keep creaminess.

Q: Are these wraps good warm or cold?

A: Both work well. Warm chicken makes them cozy, cold makes them crisp and refreshing.

Q: Can I make them gluten free?

A: Yes, use a gluten free tortilla and gluten free croutons or omit the croutons.

Conclusion

If you want another clear recipe idea and step by step photos for Chicken Caesar Wraps, see Chicken Caesar Wrap – Tastes Better From Scratch for more tips and a photo guide.

Chicken Caesar Wraps

Chicken Caesar Wraps are simple, fresh, and full of flavor. This recipe combines warm grilled chicken with crisp romaine lettuce and creamy Caesar dressing, all wrapped in a soft tortilla, making it a perfect quick lunch or easy weeknight dinner.

Main Ingredients

  • 2 pieces chicken breasts (Use grilled or pan-seared for extra flavor.)
  • 4 cups romaine lettuce, chopped (Dry the lettuce well to prevent sogginess.)
  • 1/2 cup Caesar dressing (Use good quality or homemade dressing.)
  • 1 tablespoon lemon juice (Add a bright flavor.)
  • 1/4 cup grated Parmesan cheese (Add more for topping if desired.)
  • 8 pieces tortillas (Warm before rolling.)
  • 1/2 cup croutons (For added crunch.)

Preparation

  1. Cook the chicken, season with salt and pepper, then slice or chop.
  2. Toss chopped romaine lettuce with Caesar dressing, lemon juice, and grated Parmesan cheese. Add freshly ground black pepper if desired.
  3. Warm the tortilla in a pan or microwave for a few seconds so it folds easily.

Assembly

  1. Place some dressed lettuce in the center of the tortilla.
  2. Add the sliced chicken and sprinkle with extra Parmesan and croutons.
  3. Fold the sides over, then roll the wrap tightly from one end to the other.
  4. Cut in half if desired, and serve immediately or wrap in foil to take on the go.

Store in the fridge for up to 24 hours. For best texture, keep dressing or croutons separate until ready to eat. You can use rotisserie chicken for convenience, try adding roasted red peppers, bacon, or sliced avocado for variation.

Dinner, lunch
American
Chicken Caesar Wrap, Easy Lunch, Healthy Wrap, Quick Dinner, Tortilla Wrap