No-Bake Cheesecake

No-Bake Cheesecake is a delightful dessert that manages to be both simple and impressive. This creamy treat is perfect for any gathering, as it combines the rich flavors of cream cheese and sweetness without the need for an oven. Best of all, it’s a crowd-pleaser, making it an ideal choice for parties, gatherings, or a sweet treat after dinner. If you’re looking for a fun and delicious dessert to make at home, this no-bake cheesecake is just what you need. Get ready to satisfy your sweet tooth and impress your friends and family with this delightful recipe!

How to Prepare No-Bake Cheesecake

  1. Start by crushing your favorite cookies for the crust. Mix the crushed cookies with melted butter until combined. Press the mixture firmly into the bottom of a springform pan.
  2. In a bowl, beat the cream cheese until it’s smooth. Gradually add sugar and vanilla extract, mixing well.
  3. Fold in whipped cream until the mixture is fluffy and well combined.
  4. Pour the cream cheese filling over the crust and spread it evenly.
  5. Refrigerate for at least four hours, or until set.

No-Bake Cheesecake

Why You’ll Love No-Bake Cheesecake

You’ll absolutely love this No-Bake Cheesecake for many reasons. Firstly, it is extremely easy to prepare, making it perfect even for novice bakers. Moreover, it’s wonderfully creamy and can be topped with an array of fruits or sauces to suit your taste. It’s a versatile dessert that can change depending on the season or your preference. Additionally, if you’re looking to inspire your baking adventures, check out this No-Bake Pastel Oreo Cheesecake Cups for a colorful twist on the classic.

Tips for Success

  • Always use room temperature cream cheese for the best texture. Cold cream cheese will create lumps in your filling.
  • Whip the cream until stiff peaks form for a light and airy cheesecake.
  • You can experiment with different flavors by adding fruit purees or extracts into the filling.

No-Bake Cheesecake

Serving Suggestions

Serve your No-Bake Cheesecake chilled, topped with fresh fruits like strawberries or blueberries. You can also add a drizzle of chocolate or caramel sauce for extra flavor. Consider pairing it with a scoop of vanilla ice cream for an extra indulgent treat.

FAQs

1. How long does a No-Bake Cheesecake last in the fridge?

A No-Bake Cheesecake can last up to five days in the refrigerator if properly covered.

2. Can I freeze No-Bake Cheesecake?

Yes, you can freeze it! Wrap it tightly in plastic wrap and store it in an airtight container. It can last for about a month in the freezer.

3. What can I use for the crust besides cookies?

You can use graham crackers, crushed nuts, or even a combination of oats and nuts for a gluten-free option.

No-Bake Cheesecake

A delightful and simple dessert that combines rich cream cheese flavors without the need for baking, making it perfect for any gathering.

For the crust

  • 1 cup Crushed cookies (your favorite)
  • 1/4 cup Melted butter

For the filling

  • 16 oz Cream cheese, room temperature (Using room temperature ensures the best texture.)
  • 2/3 cup Sugar
  • 1 tsp Vanilla extract
  • 1 cup Whipped cream (Whip until stiff peaks form.)

Preparation

  1. Crush your favorite cookies for the crust.
  2. Mix the crushed cookies with melted butter until combined.
  3. Press the mixture firmly into the bottom of a springform pan.
  4. In a bowl, beat the cream cheese until smooth.
  5. Gradually add sugar and vanilla extract, mixing well.
  6. Fold in whipped cream until the mixture is fluffy and well combined.
  7. Pour the cream cheese filling over the crust and spread it evenly.
  8. Refrigerate for at least four hours, or until set.

Serve chilled, topped with fresh fruits or sauces. Can be frozen for about a month in an airtight container.
Dessert
American
Cream Cheese Dessert, Easy Cheesecake, No-Bake Cheesecake

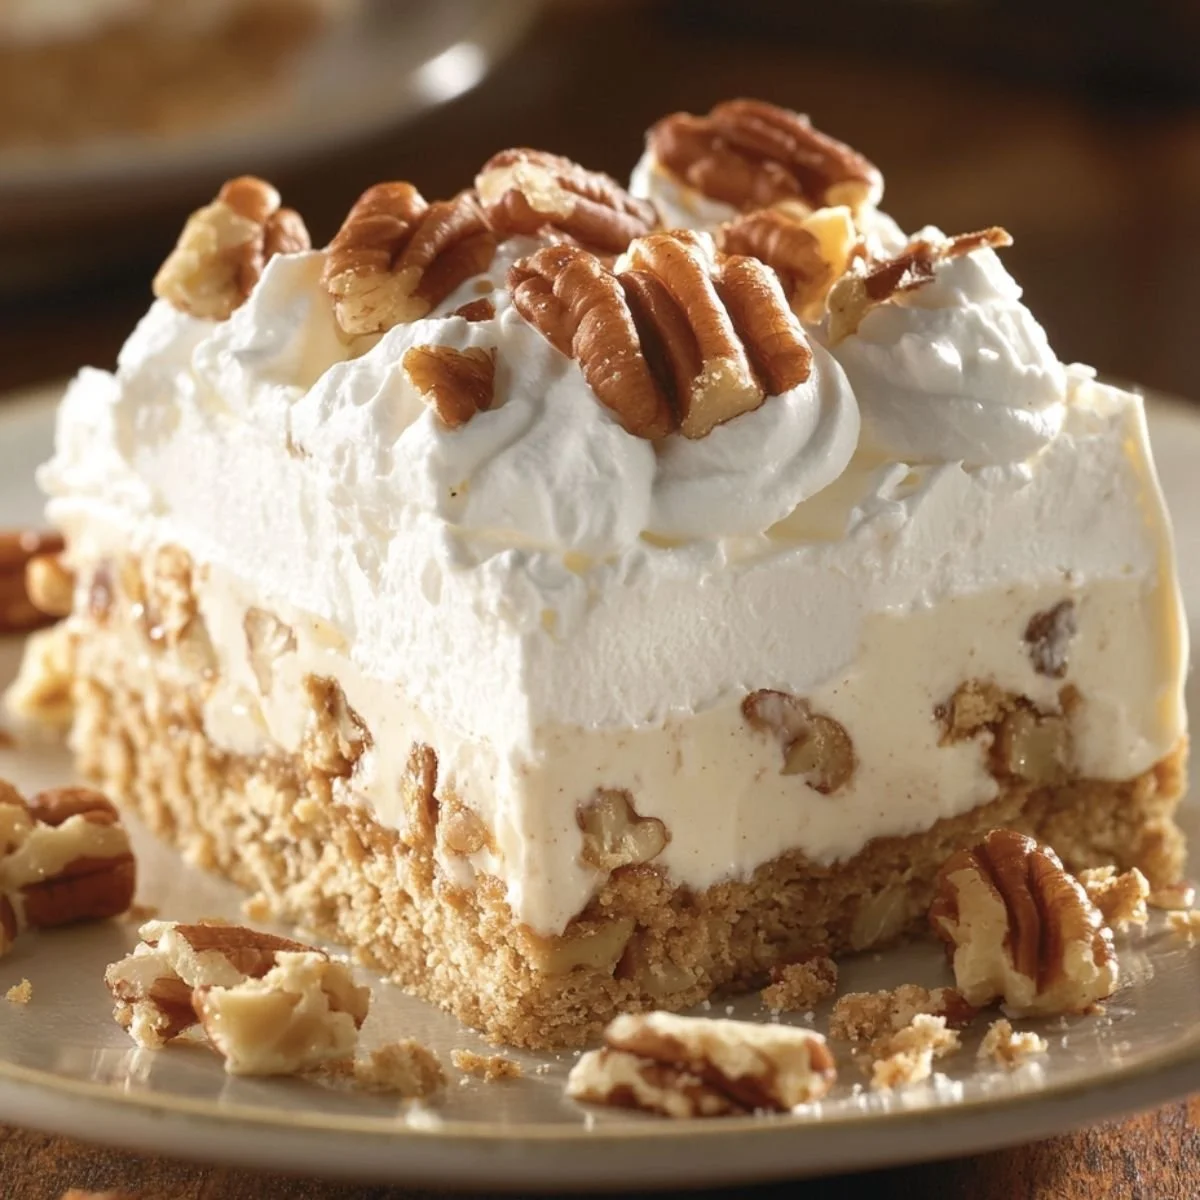
Irresistible Butter Pecan Delight

butter pecan

Butter Pecan lovers, this one’s for you. Imagine the rich aroma of toasted pecans swirling through your kitchen, warm butter bubbling on the stove, and that first bite, nutty, sweet, buttery perfection. This isn’t just dessert. It’s nostalgia in every spoonful, a taste that takes you straight back to grandma’s kitchen on a Sunday afternoon. Whether you’re craving comfort or impressing guests, this butter pecan treat delivers every single time.

Why Make This Recipe

Butter Pecan Delight is irresistible in every way. With its creamy layers and crunchy crust, it’s a treat that can brighten up any day. You might have fond memories of indulging in something sweet while sitting around the table with family or friends. This recipe captures that feeling perfectly. It’s not just a dessert; it’s an experience to share, making memories while enjoying every heavenly bite.

How to Make Irresistible Butter Pecan Delight

Creating Butter Pecan Delight is easy and fun. Here’s how you can make it at home.

Ingredients

  • 2 cups of all-purpose flour
  • 2 sticks of butter, melted
  • 1 cup of pecans, chopped
  • 8 oz package of cream cheese
  • 1 cup of powdered sugar
  • 1 cup of Cool Whip
  • 1 teaspoon of vanilla extract
  • 2 large boxes of butter pecan instant pudding mix
  • 3 cups of milk
  • 1 1/2 cups of Cool Whip (for topping)
  • Chopped nuts for garnish

Directions

  1. Preheat your oven to 350°F (175°C).
  2. In a bowl, mix the melted butter into the flour until it forms a coarse meal. Now, add the chopped pecans.
  3. Press the dough evenly into your baking dish.
  4. Bake for 15 minutes until golden and then cool completely. This will create a crisp, sturdy base.
  5. In another bowl, blend cream cheese, powdered sugar, and 1 cup of Cool Whip until creamy. Spread this mixture over the cooled crust.
  6. In a large bowl, whisk the butter pecan pudding mixes with milk until thick.
  7. Layer this pudding over the cream layer, then top with the remaining Cool Whip and some toasted pecans.
  8. Chill in the refrigerator before serving.

How to Serve Irresistible Butter Pecan Delight

When you are ready to serve, slice the Butter Pecan Delight into squares. You can add a sprinkle of chopped nuts on each piece for extra crunch. This dessert is perfect for gatherings, parties, or just for a special family treat.

How to Store Irresistible Butter Pecan Delight

To store any leftovers, cover the dish tightly with plastic wrap or place it in an airtight container. It can stay in the fridge for about 3-4 days. Just remember to keep it chilled until you are ready to enjoy it again!

Tips to Make Irresistible Butter Pecan Delight

  • Make sure the butter is melted but not too hot before mixing it with the flour.
  • Let the crust cool completely before adding the cream cheese layer to prevent it from melting.
  • For an extra touch, toast your pecans in a pan for a few minutes to enhance their flavor.

Variation

You can experiment by adding a layer of chocolate pudding mixed with whipped cream on top, giving it a delicious twist!

FAQs

1. Can I use other nuts instead of pecans?
Yes, you can substitute pecans with walnuts or almonds if you prefer.

2. Can I make this dessert ahead of time?
Absolutely! It’s best to chill the dessert for a few hours or overnight, allowing the flavors to meld together beautifully.

3. Is there a dairy-free version of this recipe?
Yes, you can use dairy-free cream cheese, almond milk, and a dairy-free whipped topping to create a dairy-free version.

[tasty-recipe id=”3309″]

Butter Pecan Delight

A creamy, layered dessert featuring a crunchy pecan crust and rich butter pecan pudding, perfect for any gathering or family treat.

For the crust

  • 2 cups all-purpose flour
  • 2 sticks butter, melted (Make sure the butter is melted but not too hot.)
  • 1 cup chopped pecans (Consider toasting for enhanced flavor.)

For the filling

  • 8 oz package of cream cheese
  • 1 cup powdered sugar
  • 1 cup Cool Whip (For blending into the cream cheese mixture.)
  • 2 large boxes butter pecan instant pudding mix (Ensure to mix well.)
  • 3 cups milk

For topping

  • 1.5 cups Cool Whip (Used as a topping.)
  • Chopped nuts for garnish (Use additional toasted nuts for extra crunch.)

Preparation

  1. Preheat your oven to 350°F (175°C).
  2. In a bowl, mix the melted butter into the flour until it forms a coarse meal. Now, add the chopped pecans.
  3. Press the dough evenly into your baking dish.
  4. Bake for 15 minutes until golden and then cool completely.

Cream Layer

  1. In another bowl, blend cream cheese, powdered sugar, and 1 cup of Cool Whip until creamy.
  2. Spread this mixture over the cooled crust.

Pudding Layer

  1. In a large bowl, whisk the butter pecan pudding mixes with milk until thick.
  2. Layer this pudding over the cream layer, then top with the remaining Cool Whip and some toasted pecans.

Chill and Serve

  1. Chill in the refrigerator before serving.
  2. When ready to serve, slice the Butter Pecan Delight into squares and add a sprinkle of chopped nuts.

Store any leftovers tightly covered with plastic wrap or in an airtight container in the fridge for about 3-4 days. Keep it chilled until serving again.

Dessert
American
Butter Pecan Dessert, Creamy Delight, Easy Recipe, Nostalgic treat, pecan dessert

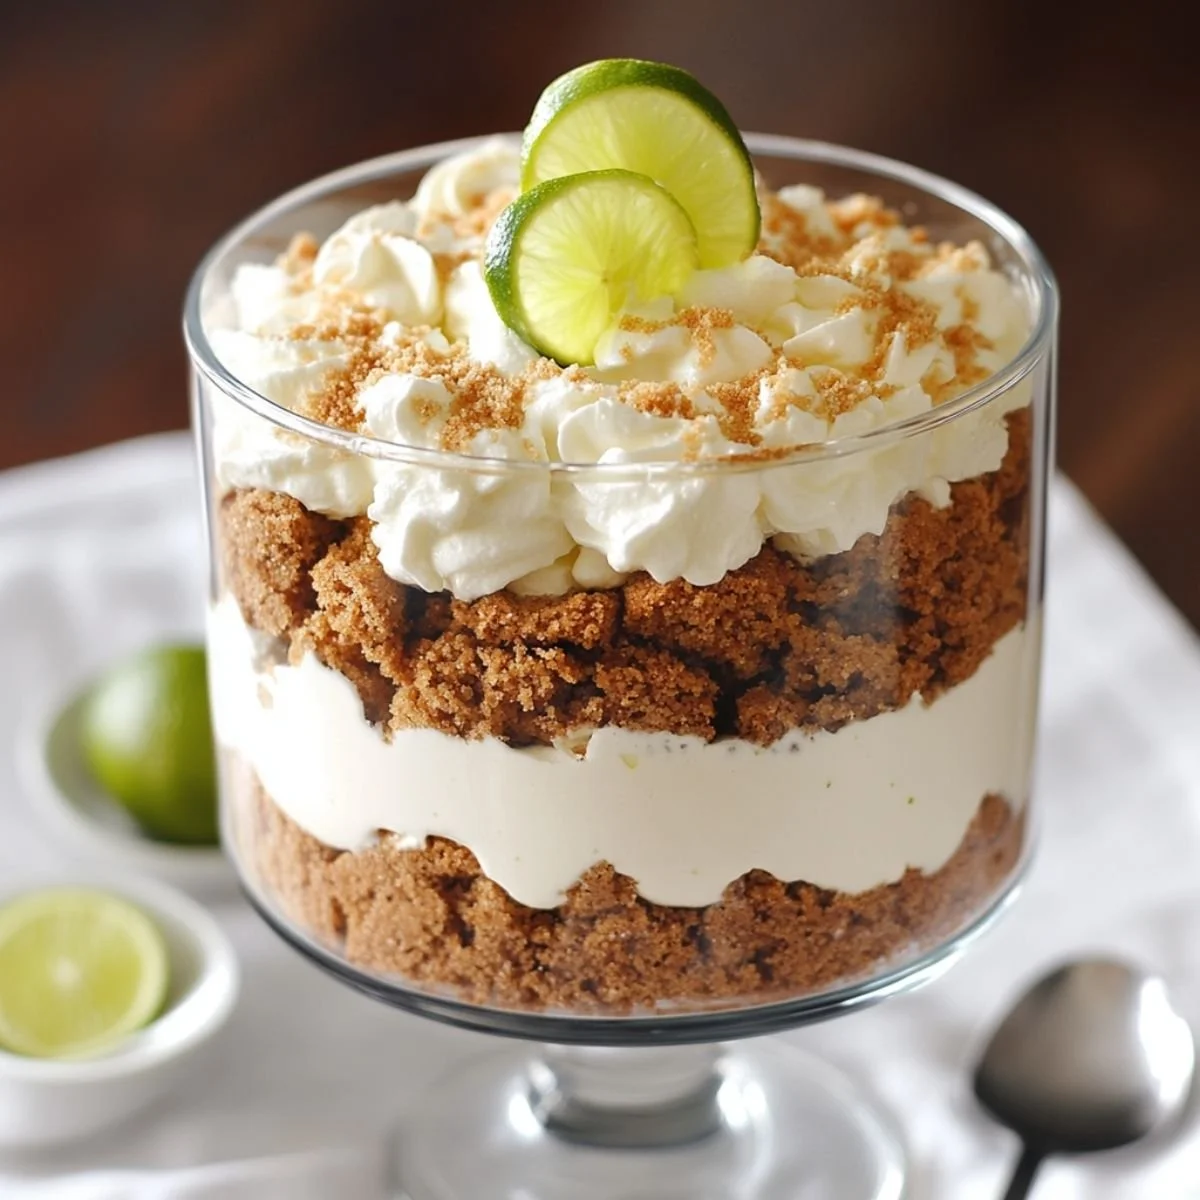
Key Lime Pie Trifle

Delicious Key Lime Pie Trifle dessert with layers of lime cream and graham crackers

Every summer, my family and I gather for a big barbecue. As the sun begins to set, we always look forward to one treat that everyone loves Key Lime Pie Trifle. This delightful dessert brings the zing of key lime combined with the sweetness of whipped cream and cake, creating a layered experience that’s both refreshing and satisfying. There’s something special about sharing a dessert that not only tastes good but also tells a story of sunny days and family fun.

Why Make This Recipe

This Key Lime Pie Trifle is perfect for any gathering. It’s easy to make, and you can prepare it in advance, letting the flavors meld and improve over time. The creamy, tart filling pairs wonderfully with the crunchy graham cracker layers and airy angel food cake. Not only is it delicious, but it also looks stunning when served, making it a fantastic centerpiece for your table. Plus, it captures the essence of a classic key lime pie in a fun and shareable way!

How to Make Key Lime Pie Trifle

Ingredients:

  • 13 full graham crackers, crushed finely
  • 6 tablespoons of brown sugar
  • 1 teaspoon of cinnamon
  • 8 tablespoons of salted butter, melted
  • 2 cups of heavy cream
  • 8 ounces of cream cheese, softened
  • 2 cans (14 oz each) of sweetened condensed milk
  • ¾ cup of key lime juice
  • 1 tablespoon of key lime zest
  • 16 ounces of angel food cake, diced into cubes
  • Whipped cream to top

Directions:

  1. Begin by preparing the graham cracker crumble. In a medium bowl, mix together the crushed graham crackers, brown sugar, and cinnamon. Pour in the melted butter and stir until everything looks like wet sand and smells wonderfully sweet and buttery.
  2. Next, make the key lime cream filling. Beat the softened cream cheese until it is smooth and creamy. Gradually add in the sweetened condensed milk, mixing until everything is smooth. Slowly pour in the key lime juice and zest, enjoying the fresh citrusy scent. Then, whip the heavy cream until soft peaks form and gently fold it into the cream cheese mixture until light and fluffy.
  3. To assemble your trifle, start with a layer of the graham cracker crumble in a serving dish. Add a layer of angel food cake cubes, then spoon on some of the key lime cream filling. Repeat these layers, pressing down gently, and finish with a final layer of cream filling on top.
  4. For a beautiful presentation, top the trifle with whipped cream and a sprinkle of graham cracker crumbs. You can also add lime slices or some zest for extra flair and flavor. The final dessert is both pretty and delicious, capturing the spirit of a classic key lime pie.

How to Serve Key Lime Pie Trifle

Serve the Key Lime Pie Trifle chilled, allowing it to be refreshing on warm days. You can use individual cups or a large bowl for sharing. Just make sure to have spoons handy to scoop out the delicious layers!

How to Store Key Lime Pie Trifle

Store any leftover trifle in the refrigerator. Cover it well with plastic wrap or a lid to keep it fresh. It should stay good for up to 2 to 3 days, but it’s always best enjoyed fresh.

Tips to Make Key Lime Pie Trifle

  • For an easier assembly, consider pre-crumbing the graham crackers and cubing the angel food cake beforehand.
  • Make sure your cream cheese is at room temperature to avoid lumps in the filling.
  • Use fresh key lime juice for the best flavor, but bottled juice works in a pinch.

Variation

You can easily switch up the ingredients! Try using lemon juice instead of key lime for a different citrus flavor. You can also experiment with different cake bases, like pound cake or a chocolate cake for a unique twist.

FAQ SECTION

1. Can I use a different type of cake for this trifle?
Yes, you can use a different type of cake! Pound cake or sponge cake also works well.

2. How long does this trifle last in the fridge?
The trifle can last for about 2 to 3 days in the refrigerator if stored properly.

3. Can I make this trifle vegan?
To make a vegan version, use coconut cream instead of heavy cream, and a non-dairy cream cheese substitute. Make sure to find a vegan graham cracker for the crumble.

[tasty-recipe id=”3285″]

Key Lime Pie Trifle

A refreshing layered dessert combining the zing of key lime with whipped cream, graham crackers, and angel food cake, perfect for summer gatherings.

Graham Cracker Crumble

  • 13 full full graham crackers, crushed finely
  • 6 tablespoons brown sugar
  • 1 teaspoon cinnamon
  • 8 tablespoons salted butter, melted

Key Lime Cream Filling

  • 2 cups heavy cream
  • 8 ounces cream cheese, softened (Make sure it’s at room temperature.)
  • 2 cans (14 oz each) sweetened condensed milk
  • ¾ cup key lime juice (Use fresh for best flavor.)
  • 1 tablespoon key lime zest

Assembly Ingredients

  • 16 ounces angel food cake, diced into cubes
  • to taste Whipped cream to top (Can add lime slices or more zest for garnish.)

Prepare Graham Cracker Crumble

  1. In a medium bowl, mix together the crushed graham crackers, brown sugar, and cinnamon.
  2. Pour in the melted butter and stir until everything looks like wet sand.

Make Key Lime Cream Filling

  1. Beat the softened cream cheese until smooth.
  2. Gradually add in the sweetened condensed milk, mixing until smooth.
  3. Slowly pour in the key lime juice and zest.
  4. Whip the heavy cream until soft peaks form and gently fold into the cream cheese mixture.

Assemble the Trifle

  1. Start with a layer of the graham cracker crumble in a serving dish.
  2. Add a layer of angel food cake cubes, then spoon on some of the key lime cream filling.
  3. Repeat these layers, pressing down gently, and finish with a final layer of cream filling on top.

Serve

  1. Top with whipped cream and a sprinkle of graham cracker crumbs.
  2. Serve chilled. You can use individual cups or a large bowl for sharing.

Store leftovers in the refrigerator, covered for 2 to 3 days. Use fresh ingredients for best flavor. Consider pre-crumbing graham crackers and cubing angel food cake beforehand for easier assembly.

Dessert
American
Family Gatherings, Key Lime Pie Trifle, Layered Dessert, No-Bake Dessert, Summer Dessert


Key Lime Pie Trifle

A refreshing layered dessert combining the zing of key lime with whipped cream, graham crackers, and angel food cake, perfect for summer gatherings.

Graham Cracker Crumble

  • 13 full full graham crackers, crushed finely
  • 6 tablespoons brown sugar
  • 1 teaspoon cinnamon
  • 8 tablespoons salted butter, melted

Key Lime Cream Filling

  • 2 cups heavy cream
  • 8 ounces cream cheese, softened (Make sure it’s at room temperature.)
  • 2 cans sweetened condensed milk (14 oz each)
  • ¾ cup key lime juice (Use fresh for best flavor.)
  • 1 tablespoon key lime zest

Assembly Ingredients

  • 16 ounces angel food cake, diced into cubes
  • to taste Whipped cream to top (Can add lime slices or more zest for garnish.)

Prepare Graham Cracker Crumble

  1. In a medium bowl, mix together the crushed graham crackers, brown sugar, and cinnamon.
  2. Pour in the melted butter and stir until everything looks like wet sand.

Make Key Lime Cream Filling

  1. Beat the softened cream cheese until smooth.
  2. Gradually add in the sweetened condensed milk, mixing until smooth.
  3. Slowly pour in the key lime juice and zest.
  4. Whip the heavy cream until soft peaks form and gently fold into the cream cheese mixture.

Assemble the Trifle

  1. Start with a layer of the graham cracker crumble in a serving dish.
  2. Add a layer of angel food cake cubes, then spoon on some of the key lime cream filling.
  3. Repeat these layers, pressing down gently, and finish with a final layer of cream filling on top.

Serve

  1. Top with whipped cream and a sprinkle of graham cracker crumbs.
  2. Serve chilled. You can use individual cups or a large bowl for sharing.

Store leftovers in the refrigerator, covered for 2 to 3 days. Use fresh ingredients for best flavor. Consider pre-crumbing graham crackers and cubing angel food cake beforehand for easier assembly.

Dessert
American
Dessert, Key Lime Pie, Layered Dessert, Summer, Trifle

Whipped Shortbread Cookies

Delicious whipped shortbread cookies arranged on a plate

Whipped shortbread cookies are a delightful treat that brings warmth and nostalgia with every bite. These cookies are smooth, buttery, and melt in your mouth. With their simple ingredients and easy preparation, they’re perfect for both novice bakers and seasoned pros. Imagine serving these delicate treats at holiday gatherings or enjoying them with a cup of tea. They are a total crowd-pleaser, charming everyone with their sweet flavor and crumbly texture. If you’re looking for a recipe that is as enjoyable to make as it is to savor, whipped shortbread cookies are calling your name, ready to be whisked up in your kitchen!

How to Prepare Whipped Shortbread Cookies

Preparing whipped shortbread cookies is a breeze. Start by gathering your ingredients: 1 cup of softened butter, ½ cup of powdered sugar, 2 cups of all-purpose flour, and 1 teaspoon of vanilla extract.

  1. Begin by creaming the butter and powdered sugar in a large mixing bowl until light and fluffy.
  2. Add in the vanilla extract and mix well.
  3. Gradually sift in the flour, mixing until just combined. The dough should be soft and smooth.
  4. Preheat your oven to 350°F (175°C) and line a baking sheet with parchment paper.
  5. Using a piping bag or a cookie scoop, shape the cookies onto the prepared baking sheet.
  6. Bake for 15-20 minutes, or until the edges are lightly golden.
  7. Allow them to cool on the sheet for 5 minutes before transferring them to a wire rack.

Why You’ll Love Whipped Shortbread Cookies

These whipped shortbread cookies are beloved for their incredible taste and texture. They are rich in butter and have a subtly sweet flavor that everyone adores. The light and airy feel makes them perfect for any occasion, whether it’s a holiday celebration or just a cozy night in. Additionally, they are easy to customize; you can add chocolate chips, nuts, or even dip them in chocolate for an extra treat. What’s more, these cookies do not require chilling time, making them a quick and convenient dessert option. Once you try them, you’ll understand why they have become a favorite for cookie enthusiasts everywhere!

Tips for Success

To ensure your whipped shortbread cookies turn out perfectly, follow these handy tips:

  1. Butter Temperature: Make sure your butter is softened to room temperature, as this helps create a light texture.
  2. Mixing Method: Beat the butter and sugar well until fluffy. This adds air to the mixture, contributing to the cookies’ lightness.
  3. Avoid Over-Mixing: Once you add the flour, mix just until combined. Over-mixing can lead to dense cookies.
  4. Piping Tips: If using a piping bag, choose a star tip for beautiful cookie shapes that look as good as they taste.
  5. Storage: Store your cookies in an airtight container to keep them fresh, and enjoy them within a week for the best flavor.

By following these tips, your whipped shortbread cookies will be a hit every time!

Serving Suggestions

Whipped shortbread cookies can be enjoyed in many delightful ways. Here are some serving suggestions to elevate your cookie experience:

  1. Tea Time Treat: Pair these cookies with a warm cup of tea for a charming afternoon snack.
  2. Gifting: Package them in a cute box or jar with a ribbon. They make a wonderful gift for holidays or special occasions.
  3. Decoration: Dust with extra powdered sugar or drizzle with chocolate for a fancy touch when hosting parties.
  4. Dessert Platter: Serve them on a dessert platter alongside other treats like brownies or fruit for a fun dessert table.

These little cookies have a charm that makes them perfect for sharing and enjoying in every situation.

FAQs

1. Can I use salted butter for these cookies?
Yes, you can use salted butter, just skip adding any extra salt to the recipe.

2. How should I store the cookies?
Store your whipped shortbread cookies in an airtight container at room temperature for up to a week.

3. Can I freeze the dough?
Absolutely! You can freeze the cookie dough for up to three months. Just thaw it in the refrigerator before baking.

4. What can I add to the recipe for variety?
Feel free to mix in chocolate chips, nuts, or dried fruit to add different flavors and textures to your cookies.

These FAQs will help you navigate any questions as you whip up your delicious shortbread cookies!

Whipped Chocolate Chip Shortbread

A delightful combination of buttery shortbread and sweet chocolate chips, perfect for any gathering.

Main Ingredients

  • 1 cup unsalted butter, softened (Make sure butter is at room temperature.)
  • ½ cup powdered sugar
  • 2 cups all-purpose flour
  • ½ cup chocolate chips (Feel free to use different types of chocolate.)
  • 1 teaspoon vanilla extract
  • 1 pinch salt (Reduce or skip if using salted butter.)

Preparation

  1. Preheat your oven to 325°F (160°C).
  2. In a large mixing bowl, beat the softened butter and powdered sugar together until light and fluffy.
  3. Add in the vanilla extract and salt, mixing until combined.
  4. Gradually add the all-purpose flour, mixing until the dough just comes together.
  5. Fold in the chocolate chips gently.
  6. Scoop out small portions of the dough and shape them into balls. Place them on a baking sheet lined with parchment paper.
  7. Gently flatten each ball with a fork or your hand.

Baking

  1. Bake in the preheated oven for 15-18 minutes, or until the edges are lightly golden.
  2. Let the cookies cool on the baking sheet for a few minutes before transferring them to a wire rack to cool completely.

These cookies are perfect for quick baking sessions, and they store well for several days. You can freeze the dough for up to three months. For different flavor options, consider adding nuts or using various types of chocolate chips.

Dessert, Snack
American
Baking, Chocolate Chip Cookies, Dessert, Easy Cookies, shortbread