No Bake Cookie Recipe

Delicious no bake cookie recipe displayed on a plate.

No bake cookie recipe is a classic, easy treat that feels like a hug in cookie form. These chocolate oatmeal no-bake cookies are sweet, chewy, and fast to make. They are a great choice when you want cookies but do not want to heat the oven. If you like quick no bake sweets, you might also enjoy a similar twist like no-bake preacher cookies for more ideas. This recipe is a crowd-pleaser, tasty, and very simple, so get ready to make a batch and share.

How to prepare No Bake Cookie Recipe

Ingredients

  • 2 cups granulated sugar
  • 1/2 cup unsweetened cocoa powder
  • 1/2 cup butter
  • 1/2 cup milk
  • 1 teaspoon vanilla extract
  • 3 cups old fashioned oats
  • 1/2 cup peanut butter, optional
  • Pinch of salt

Directions

  1. In a medium pot, combine sugar, cocoa powder, butter, and milk. Stir over medium heat until the butter melts and the sugar dissolves.
  2. Bring the mixture to a rolling boil, and let it boil for 1 minute, stirring so it does not burn.
  3. Remove the pot from heat. Stir in peanut butter if using, and add vanilla extract and a pinch of salt.
  4. Add the oats and mix well until all oats are coated with the chocolate mix.
  5. Drop spoonfuls of the mixture onto a sheet of parchment paper or wax paper. Let them sit at room temperature until set, about 20 to 30 minutes.
  6. Store cookies in an airtight container once they are firm.

No Bake Cookie Recipe

Why You’ll Love No Bake Cookie Recipe

  • No oven needed, you make them on the stove.
  • Fast to make, ready in under 30 minutes.
  • Chewy oats with rich chocolate taste, a simple favorite.
  • Flexible, you can add peanut butter, nuts, or coconut for variety.

Tips for success

  • Boil for the full minute, so cookies set well and do not stay sticky.
  • Use old fashioned oats for best texture, not quick oats.
  • Stir constantly at boil stage to avoid burning the mix.
  • If cookies are too soft, let them cool longer, or chill briefly in the fridge.
  • For a nut-free version, skip the peanut butter and add extra oats.

Serving Suggestions

  • Serve with a cold glass of milk for a classic combo.
  • Add a scoop of vanilla ice cream for a simple dessert.
  • Pack them in lunch boxes or bring to potlucks, they travel well.
  • Plate with fresh fruit for a balanced snack plate.

No Bake Cookie Recipe

FAQs

Q: Can I use quick oats instead of old fashioned oats? A: Yes, you can, but quick oats make a softer cookie. Old fashioned oats give a better chewy texture.

Q: How long do these cookies keep? A: Keep them in an airtight container at room temperature for up to 5 days, or in the fridge for up to 2 weeks.

Q: Can I make these without peanut butter? A: Yes, you can skip peanut butter. The cookies still set and taste great with just the chocolate and oats.

Q: Can I freeze these cookies? A: Yes, freeze flat in a single layer on a tray, then move to a freezer bag. They last up to 3 months.

Q: What if my mixture is grainy or oily? A: If it is grainy, it may not have boiled long enough. If oily, you may have too much peanut butter, add more oats to absorb oil.

Conclusion

For another take on classic no bake cookies and extra tips, see this Classic No-Bake Cookies – Live Well Bake Often recipe, which may give you more ideas for flavors and textures.

No Bake Cookies
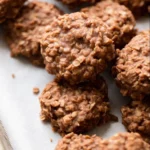
These chocolate oatmeal no-bake cookies are sweet, chewy, and quick to make, perfect for satisfying your sweet tooth without the oven.

Main Ingredients

  • 2 cups granulated sugar
  • 1/2 cup unsweetened cocoa powder
  • 1/2 cup butter
  • 1/2 cup milk
  • 1 teaspoon vanilla extract
  • 3 cups old fashioned oats (Use old fashioned oats for best texture.)
  • 1/2 cup peanut butter (Optional, for added flavor.)
  • 1 pinch salt

Preparation

  1. In a medium pot, combine sugar, cocoa powder, butter, and milk. Stir over medium heat until the butter melts and the sugar dissolves.
  2. Bring the mixture to a rolling boil, and let it boil for 1 minute, stirring so it does not burn.
  3. Remove the pot from heat. Stir in peanut butter if using, and add vanilla extract and a pinch of salt.
  4. Add the oats and mix well until all oats are coated with the chocolate mix.
  5. Drop spoonfuls of the mixture onto a sheet of parchment paper or wax paper. Let them sit at room temperature until set, about 20 to 30 minutes.
  6. Store cookies in an airtight container once they are firm.

Boil for the full minute for best results. You can also serve with a cold glass of milk or add a scoop of vanilla ice cream. For nut-free, skip the peanut butter and add extra oats.
Dessert, Snack
American
chocolate cookies, easy dessert, no bake cookies, no bake treats, Oatmeal Cookies

Brown Butter Brookies

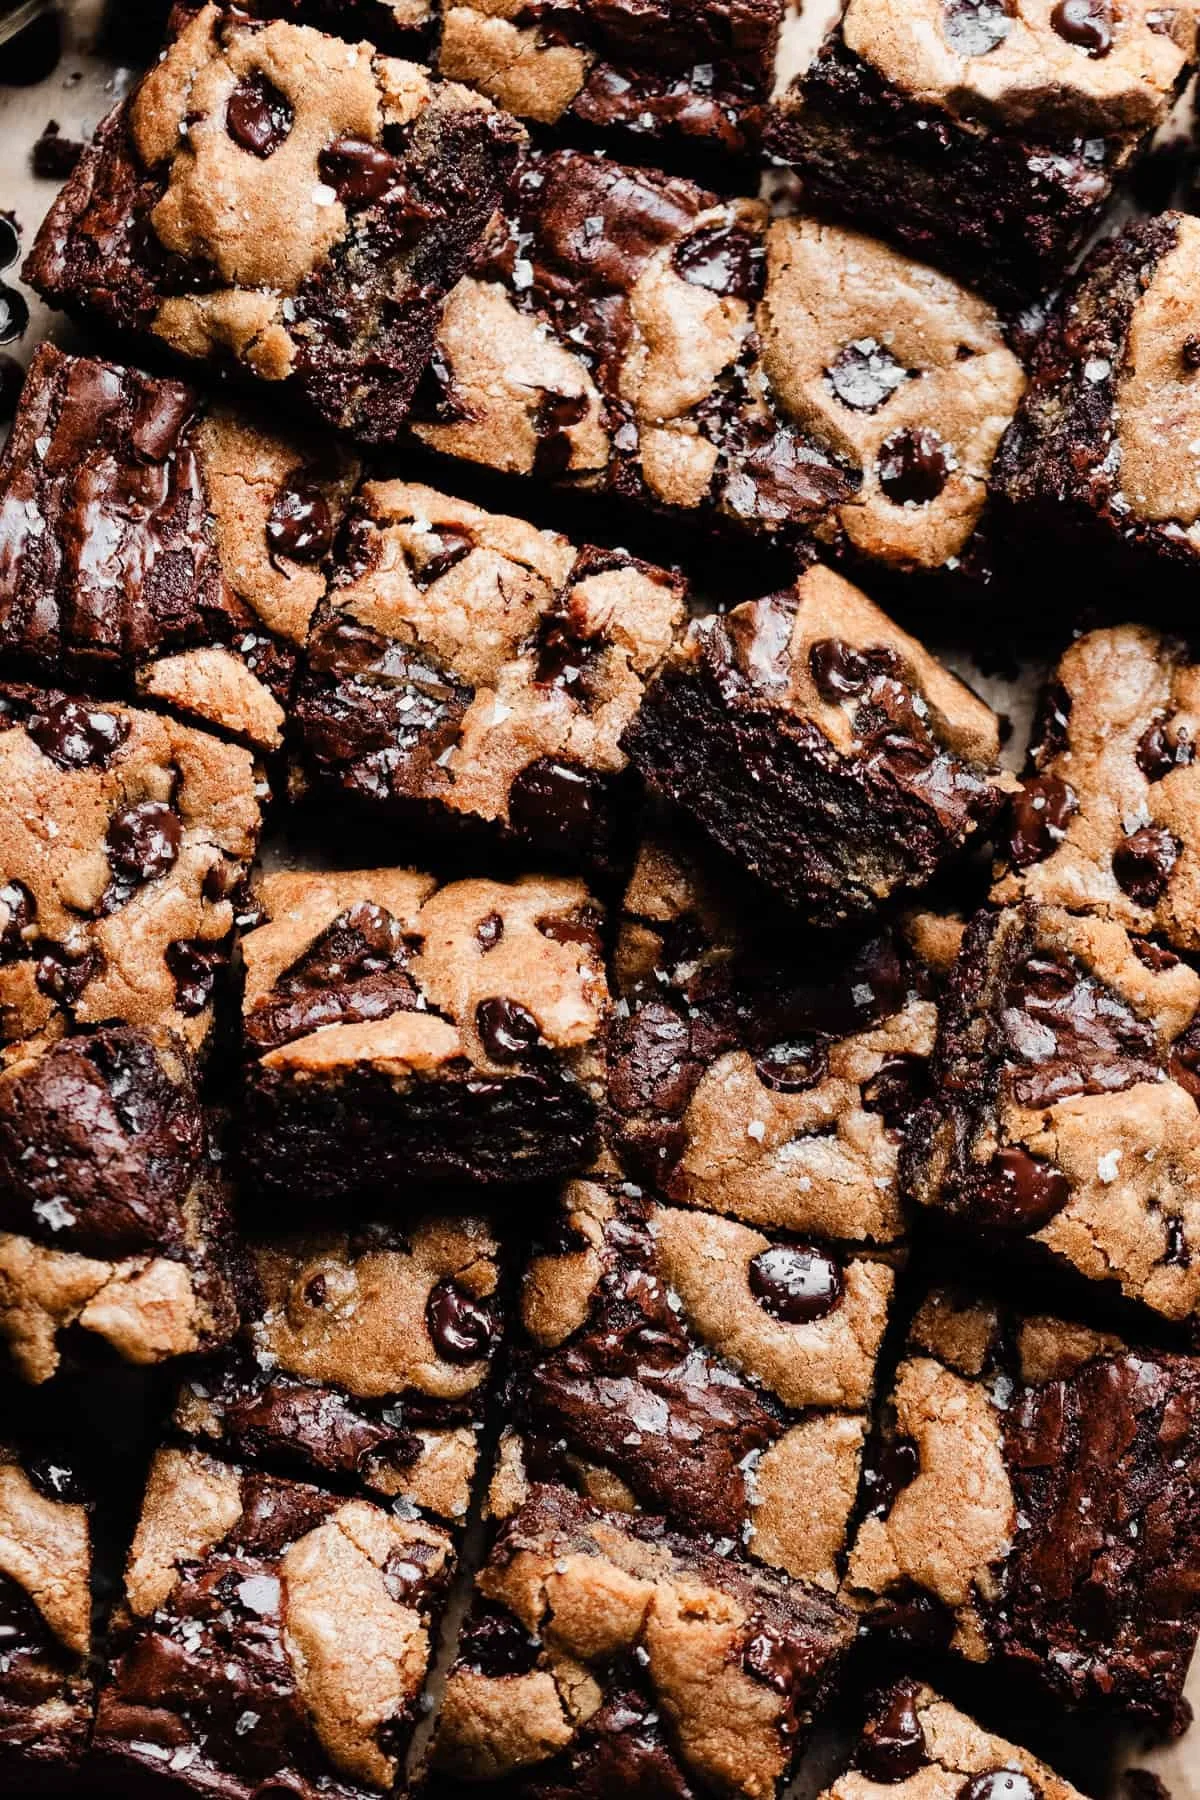
Delicious Brown Butter Brookies stacked on a plate, showcasing rich chocolate and fudgy texture.

Brown butter brookies are the ultimate desserts. They are fudgy brownies and chewy cookies in one bite. The brown butter adds a deep, nutty flavor that lifts both the chocolate and the cookie dough. This recipe is an easy crowd-pleaser for family nights, potlucks, or a sweet weeknight bake. If you love browned butter treats, also try fluffy honey butter pull apart rolls with browned butter glaze for another tasty twist. Get your oven ready, because these brookies are fun to make and even more fun to eat, you might not share more than a piece or two.

How to prepare Brown Butter Brookies

Ingredients

  • 1 cup unsalted butter
  • 1 cup brown sugar
  • 1/2 cup white sugar
  • 2 large eggs
  • 1 tsp vanilla
  • 1 cup all purpose flour
  • 1/3 cup cocoa powder
  • 1 tsp baking powder
  • 1/4 tsp salt
  • 1 cup chocolate chips
  • 1 cup cookie dough, homemade or store bought (plain or chocolate chip)

Directions

  1. Preheat oven to 350°F, line an 8×8 inch pan with parchment and set aside.
  2. Brown the butter, melt the butter in a light pan over medium heat, stir as the milk solids darken and smell nutty, cool slightly.
  3. In a bowl, mix cooled brown butter with both sugars until smooth.
  4. Add eggs one at a time, then stir in vanilla.
  5. In another bowl, whisk flour, cocoa powder, baking powder, and salt.
  6. Add dry mix to wet mix until just combined, fold in chocolate chips for the brownie batter.
  7. Press half the brownie batter into the pan, spread cookie dough over it in an even layer, then dollop and spread the remaining brownie batter on top, swirl gently if you like a marbled look.
  8. Bake for 25 to 30 minutes, a toothpick should come out with a few moist crumbs, do not overbake to keep the brownies fudgy.
  9. Cool in the pan for 15 minutes, then lift out on parchment and cool more before cutting.

Brown Butter Brookies

Why You’ll Love Brown Butter Brookies

These brookies bring two favorite textures together, fudgy brownies and chewy cookies, with a rich, nutty twist from the brown butter. The brown butter deepens the flavor, making chocolate and butter notes pop, while the cookie layer gives a nice chew and extra sweetness. They look special but are simple to make, perfect for a bake that feels homemade and a little fancy at the same time.

Tips for success

  • Brown the butter slowly and watch it, stop when it smells nutty, do not burn it.
  • Let the brown butter cool a bit before mixing with eggs, this prevents scrambling.
  • Use room temperature eggs for easy mixing.
  • Press the first brownie layer gently but evenly for a flat base.
  • If cookie dough is too stiff, warm it a little to spread easily.
  • Check for doneness early, ovens vary, and you want fudgy brownies not dry ones.
  • Chill the brookies briefly before cutting for cleaner slices.

Serving Suggestions

  • Warm a piece and add a scoop of vanilla ice cream on top.
  • Dust with powdered sugar or drizzle melted chocolate.
  • Serve with a glass of cold milk or a cup of strong coffee.
  • Cut into small squares for a party plate, they are rich so small bites work well.

Brown Butter Brookies

FAQs

Q: Can I use store bought cookie dough? A: Yes, store bought cookie dough works well and saves time, use a plain or chocolate chip dough.

Q: Can I make these ahead? A: Yes, you can bake them a day ahead, store in an airtight container at room temperature for up to 2 days, or freeze for longer.

Q: How do I keep the brookies fudgy? A: Do not overbake, remove when a few moist crumbs cling to a toothpick, and cool before cutting.

Q: Can I add nuts? A: Yes, fold chopped nuts into the batter or sprinkle on top before baking for extra crunch.

Q: What pan size should I use? A: An 8×8 inch pan makes thick brookies, a 9×9 pan will make them slightly thinner, adjust bake time by a few minutes.

Conclusion

For a trusted version of brown butter brookies with step by step photos and a tested method, see this detailed recipe, it brings the same fudgy brownies and chewy cookies together with browned butter for great flavor brown butter brookies, fudgy brownies & chewy cookies.

Brown Butter Brookies

Brown butter brookies combine fudgy brownies and chewy cookies in one delicious bite, enhanced by a rich, nutty flavor from browned butter.

For the brownie batter

  • 1 cup unsalted butter (Browned)
  • 1 cup brown sugar
  • 1/2 cup white sugar
  • 2 large eggs (Use room temperature)
  • 1 tsp vanilla
  • 1 cup all purpose flour
  • 1/3 cup cocoa powder
  • 1 tsp baking powder
  • 1/4 tsp salt
  • 1 cup chocolate chips

For the cookie layer

  • 1 cup cookie dough (homemade or store-bought (plain or chocolate chip))

Preparation

  1. Preheat oven to 350°F, line an 8×8 inch pan with parchment and set aside.
  2. Brown the butter by melting it in a light pan over medium heat, stirring as the milk solids darken and smell nutty, then cool slightly.
  3. In a bowl, mix the cooled brown butter with both sugars until smooth.
  4. Add eggs one at a time, then stir in vanilla.
  5. In another bowl, whisk flour, cocoa powder, baking powder, and salt.
  6. Add the dry mix to the wet mix until just combined, then fold in chocolate chips for the brownie batter.
  7. Press half the brownie batter into the pan, spread cookie dough evenly over it, then dollop and spread the remaining brownie batter on top.
  8. Swirl gently if desired for a marbled look.

Baking

  1. Bake for 25 to 30 minutes, until a toothpick comes out with a few moist crumbs. Do not overbake to keep the brownies fudgy.
  2. Cool in the pan for 15 minutes, then lift out with parchment and cool more before cutting.

Brown the butter slowly and watch it closely; stop when it smells nutty, do not burn it. Let the brown butter cool a bit before mixing with eggs to prevent scrambling. Use room temperature eggs for easier mixing. Press the first brownie layer gently but evenly for a flat base. If the cookie dough is too stiff, warm it slightly for easier spreading. Check for doneness early as ovens vary, aiming for fudgy brownies. Chill the brookies briefly before cutting for cleaner slices.

Dessert, Snack
American
Brown Butter, Brown Butter Brookies, Chewy Cookies, dessert recipe, Fudgy Brownies

Raspberry Filled Almond Snowball Cookies

Raspberry filled almond snowball cookies on a decorative plate

Raspberry Filled Almond Snowball Cookies are delightful little treats that combine the rich flavors of almonds with the tartness of fresh raspberries, all wrapped up in a soft, buttery cookie. These cookies are perfect for any occasion, whether you’re hosting a holiday party or simply want a sweet snack with your afternoon tea. With their unique flavor and pretty presentation, they’re sure to impress family and friends. The cookies have a soft center filled with a burst of raspberry and a light, crumbly exterior dusted with powdered sugar, making every bite a delightful experience.

Why Make This Recipe

Making Raspberry Filled Almond Snowball Cookies is a joy for several reasons. Firstly, they are simple to make and require only a few ingredients. This means that even beginner bakers can feel confident whipping up a batch. The combination of almond flavor and raspberry filling gives these cookies a unique taste that stands out from regular sugar cookies. They not only look beautiful but also make fantastic gifts. Who wouldn’t love receiving a box of these snowy, sweet treats?

Moreover, these cookies are perfect for many occasions. Whether it’s a festive holiday gathering, a birthday party, or just because you want something sweet, these cookies fit the bill perfectly. The versatility of this recipe allows you to experiment with other fruit fillings as well, making it easy to innovate and personalize to your preferences. Lastly, they bring a touch of elegance to any dessert table, making them a fantastic choice to impress guests. Therefore, making Raspberry Filled Almond Snowball Cookies is not just about baking; it’s about creating delightful memories.

How to Make Raspberry Filled Almond Snowball Cookies

Creating Raspberry Filled Almond Snowball Cookies is an enjoyable and straightforward process. First, gather your ingredients: almond flour, butter, sugar, vanilla extract, salt, and raspberry preserves. Start by creaming the butter and sugar together until it becomes light and fluffy. This will give your cookies a wonderful base.

Next, mix in the almond flour, vanilla extract, and a pinch of salt. Once the dough comes together, cover it and place it in the fridge to chill for about 30 minutes. This step is essential as it helps to firm up the dough, making it easier to handle later.

After chilling, preheat your oven to 350°F (175°C). While the oven warms, take small portions of the dough and roll them into small balls. Make an indentation in the center of each ball and add a spoonful of raspberry preserves. Carefully encase the filling with the dough and roll it into a smooth ball again. Place them on a baking sheet lined with parchment paper.

Bake for roughly 12-15 minutes, or until they are lightly golden. Once they cool, dust them with powdered sugar for that snowy appearance. Enjoy your homemade Raspberry Filled Almond Snowball Cookies!

How to Serve Raspberry Filled Almond Snowball Cookies

Raspberry Filled Almond Snowball Cookies can be served in many delightful ways! For the perfect presentation, arrange the cookies on a beautiful platter or cake stand. This lets the snowy exterior catch the eye of your guests. You might even want to dust them with a little extra powdered sugar right before serving to enhance their delicious look.

They pair wonderfully with tea or coffee, making them a great accompaniment for afternoon gatherings or brunch. If you’re hosting a festive event, consider serving these cookies alongside other holiday treats for a colorful dessert table.

For a special touch, you could also offer a side of whipped cream or a scoop of vanilla ice cream to dip or serve alongside the cookies. This added indulgence will surely surprise your guests. Lastly, these cookies also make great gifts; wrap them in a clear bag with a ribbon for a personal touch that is sure to please.

How to Store Raspberry Filled Almond Snowball Cookies

Storing Raspberry Filled Almond Snowball Cookies is simple if you follow a few easy steps. To keep them fresh, allow the cookies to cool completely after baking. Once cooled, store them in an airtight container. This will help maintain their texture and flavor for several days.

For longer storage, consider placing a sheet of wax paper between layers of cookies in the container. This prevents them from sticking together and maintains their delicate shape. Stored this way, the cookies can last up to a week at room temperature.

If you need to store them for an even longer period, freeze the cookies. Before freezing, arrange them in a single layer on a baking sheet and pop them in the freezer until they are firm. Once frozen, place them in a freezer-safe bag or container. When you’re ready to enjoy them, thaw them at room temperature for a few hours, and they will taste just as delicious!

Tips to Make Raspberry Filled Almond Snowball Cookies

Making the perfect Raspberry Filled Almond Snowball Cookies can be easy with a few helpful tips! First, choose high-quality raspberry preserves to get a rich, fruity filling. This will enhance the overall flavor of your cookies.

Be sure to chill the cookie dough adequately before shaping the cookies. This makes handling the dough easier and helps keep them from spreading too much during baking. If the dough feels too sticky, add a bit more almond flour until you reach the right consistency.

When shaping your cookies, make sure to seal the raspberry filling completely within the dough. This will prevent any leakage while baking. Also, keep an eye on the baking time. Every oven can be different, so practice will help you find the right time for perfectly baked cookies.

Lastly, don’t skip the powdered sugar coating! It gives the cookies a lovely snowy appearance and adds an extra layer of sweetness that complements the tart raspberry filling perfectly. Enjoy the baking process!

Variation

You can easily customize Raspberry Filled Almond Snowball Cookies! If raspberries aren’t your favorite, feel free to swap the berry preserves for other flavors like strawberry, blueberry, or even lemon curd for a citrusy twist. You can also experiment with nut flavors; using hazelnut flour in place of almond flour can create a delightful variation!

FAQs

1. Can I use fresh raspberries instead of preserves?
Using fresh raspberries is not recommended, as they can make the cookie dough too wet. Stick with preserves for the best results.

2. Can I make the dough ahead of time?
Yes! You can prepare the dough a day ahead and store it in the refrigerator until ready to bake.

3. How can I tell when the cookies are done baking?
The cookies are done when they are lightly golden around the edges. They may look slightly underbaked in the center, but they will firm up as they cool!

4. Can I freeze these cookies?
Absolutely! Once cooled, you can freeze the cookies in an airtight container. Just be sure to thaw them at room temperature before serving.

5. What if I don’t have almond flour?
If you don’t have almond flour, you can substitute it with all-purpose flour, but keep in mind that the texture and flavor may differ slightly.

[tasty-recipe id=”4945″]

Raspberry Filled Almond Snowball Cookies

Delightful treats combining rich almond flavors with tart raspberry preserves, wrapped in soft, buttery cookies.

Main Ingredients

  • 1 cup Almond flour
  • 1/2 cup Butter, softened (Use high-quality butter for best flavor.)
  • 1/2 cup Sugar
  • 1 tsp Vanilla extract
  • 1/4 tsp Salt
  • 1/2 cup Raspberry preserves (Choose high-quality preserves for richer flavor.)
  • Powdered sugar for dusting (For a snowy appearance after baking.)

Preparation

  1. Cream the butter and sugar together until light and fluffy.
  2. Mix in the almond flour, vanilla extract, and a pinch of salt.
  3. Cover the dough and chill in the fridge for about 30 minutes.

Baking

  1. Preheat your oven to 350°F (175°C).
  2. Roll small portions of chilled dough into balls and make an indentation in the center.
  3. Add a spoonful of raspberry preserves and encase the filling with the dough.
  4. Place on a baking sheet lined with parchment paper.
  5. Bake for 12-15 minutes or until lightly golden.
  6. Dust with powdered sugar after cooling.

These cookies can be stored in an airtight container for up to a week. Place wax paper between layers to prevent sticking. These cookies are also great for freezing.

Dessert, Snack
American, Holiday
Almond Snowball Cookies, Baking Recipes, Easy Cookies, Holiday Treats, Raspberry Cookies

Soft Buttercream Bunny Cookies

Soft buttercream bunny cookies decorated for Easter celebration

Soft Buttercream Bunny Cookies are sweet, soft, and fun to make. These cookies have a tender bite and a creamy buttercream top that melts in your mouth. They look like little bunnies, so they bring smiles at parties, school treats, and holiday tables. The mix of soft cookie and smooth buttercream makes them a crowd-pleaser that kids and adults both love.

If you enjoy soft cookie recipes, try this gentle twist on spring treats and see how easy decorating can be, and for another soft cookie idea see this banana bread cookies soft chewy recipe. You will love the sweet taste, light texture, and the cute bunny look, and you might make a batch just to see everyone smile.

How to prepare Soft Buttercream Bunny Cookies

  1. Make the soft sugar cookie dough, use butter, sugar, egg, vanilla, flour, baking powder, and a pinch of salt. Mix until creamy, do not overmix.
  2. Chill the dough 30 minutes to make it easy to shape.
  3. Roll small balls, then press and shape each into a simple bunny shape with fingers or a small cookie cutter.
  4. Bake at 350°F for 8 to 10 minutes, until edges are set but cookies stay soft. Let them cool on a rack.
  5. Make a smooth buttercream with butter, powdered sugar, a little milk, and vanilla. Beat until light and fluffy.
  6. Pipe or spread buttercream on cooled cookies. Use small candies, sprinkles, or edible markers to make bunny faces and ears.
  7. Let the buttercream set a bit before stacking or serving.

Soft Buttercream Bunny Cookies

Why You’ll Love Soft Buttercream Bunny Cookies

  • They stay soft, not hard, for days when stored right.
  • The buttercream adds creamy sweetness that pairs well with the soft cookie.
  • They look cute and bring joy to kids and grownups.
  • You can change colors and decorations to match a party, holiday, or mood.
  • They use common ingredients you likely have at home.

Tips for success

  • Chill the dough, it helps keep the shape while baking.
  • Do not overbake, take cookies out when the edges look set. They will finish baking on the tray a little.
  • Use room temperature butter for smooth buttercream.
  • If buttercream is too thick, add a little milk, one teaspoon at a time.
  • Practice simple bunny faces first, then try more detail when you feel ready.
  • Store in an airtight container with a layer of parchment between rows to keep them soft.

Serving Suggestions

  • Serve with milk or a mild tea for a simple snack.
  • Put them on a platter with pastel candies for a spring table.
  • Add a few to a lunch box for a sweet surprise.
  • Use as favors in small clear bags tied with ribbon for parties.

Soft Buttercream Bunny Cookies

FAQs

Q: How long do these cookies stay soft?

A: Stored in an airtight container, they stay soft for about 3 to 4 days.

Q: Can I freeze the cookies?

A: Yes, freeze plain baked cookies in a single layer, then stack with parchment between. Thaw, then add buttercream after they are fully thawed.

Q: Can I color the buttercream?

A: Yes, use a few drops of gel food color to get bright colors without thinning the frosting.

Q: Can I make the cookies without a bunny shape?

A: Yes, you can make rounds and still add bunny faces with the buttercream, they will still be cute.

Q: What if my buttercream is too runny?

A: Chill it in the fridge for 10 to 15 minutes and then beat again, or add a little more powdered sugar until it firms up.

Soft Buttercream Bunny Cookies

Soft Buttercream Bunny Cookies are sweet, soft, and fun to make, featuring a tender bite and a creamy buttercream top that melts in your mouth. Shaped like little bunnies, they are perfect for parties and holidays.

For the Cookie Dough

  • 1 cup butter (Room temperature)
  • 1 cup sugar
  • 1 large egg
  • 2 teaspoons vanilla extract
  • 2 cups all-purpose flour
  • 2 teaspoons baking powder
  • 1 pinch salt

For the Buttercream

  • 1 cup butter (Room temperature)
  • 4 cups powdered sugar
  • 2 tablespoons milk (Add more if needed)
  • 1 teaspoon vanilla extract

For Decoration

  • Small candies, sprinkles, or edible markers (For creating bunny faces and ears)

Preparation

  1. In a mixing bowl, cream the butter and sugar together until light and fluffy.
  2. Add the egg and vanilla extract, mixing until combined.
  3. In a separate bowl, whisk together the flour, baking powder, and salt.
  4. Gradually add the dry ingredients to the wet ingredients, mixing until just combined. Do not overmix.
  5. Chill the dough for 30 minutes to make it easier to shape.

Shaping and Baking

  1. Preheat the oven to 350°F (175°C).
  2. Roll small balls of dough and shape each into a bunny shape using fingers or a cookie cutter.
  3. Place shaped cookies on a baking tray and bake for 8 to 10 minutes, until edges are set but cookies remain soft.
  4. Let cookies cool on a rack.

Buttercream Preparation

  1. In a mixing bowl, beat the butter until smooth.
  2. Gradually add the powdered sugar, vanilla, and milk, mixing until light and fluffy.

Decorating

  1. Once cookies are cooled, pipe or spread the buttercream on top.
  2. Use candies, sprinkles, or edible markers for decoration to create bunny faces and ears.
  3. Let the buttercream set briefly before stacking or serving.

Chill dough to maintain shape while baking. Do not overbake; cookies will continue to bake on the tray after removal. Store cookies in an airtight container with parchment between layers to preserve softness.

Dessert, Treat
American
Bunny Cookies, Buttercream, Kids Snacks, Soft Cookies, Spring Treats