Lemon Curd Cookie Cups with Almond Twist

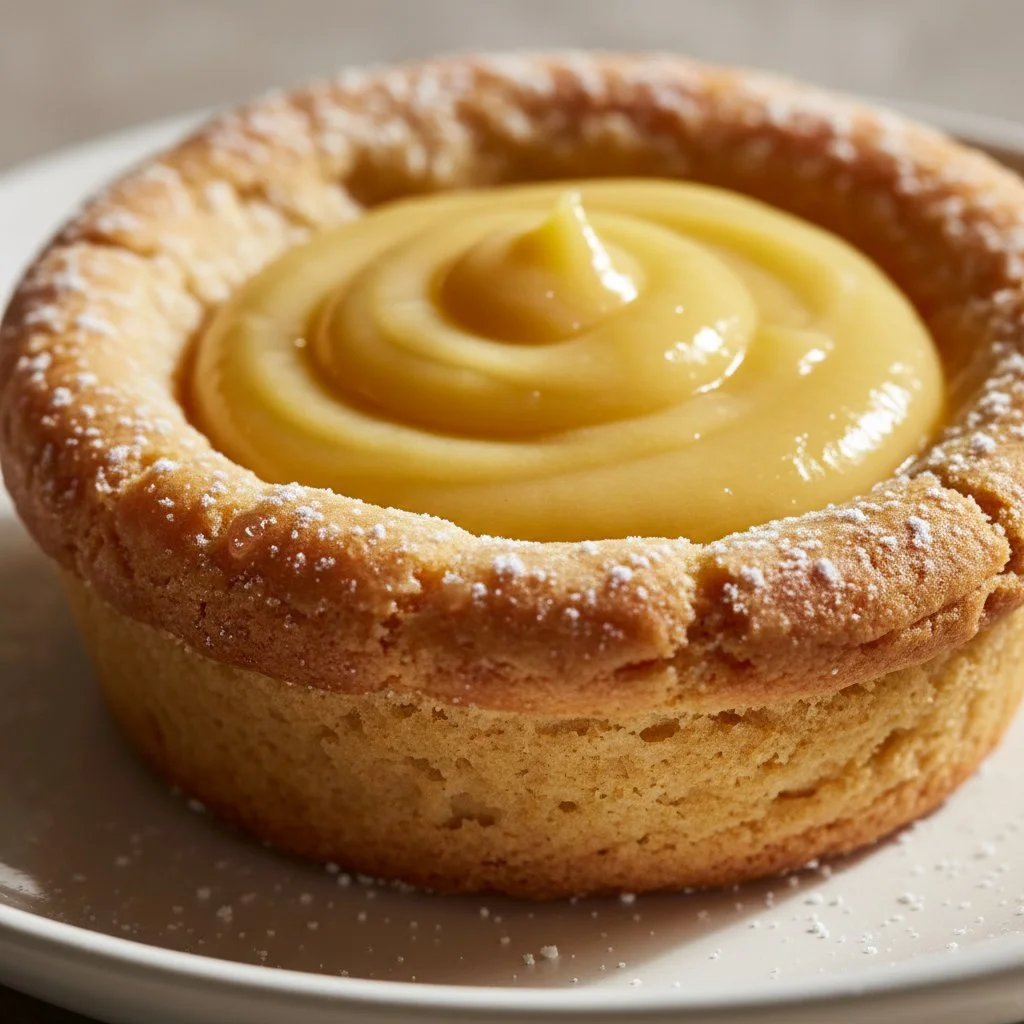
Delicious Lemon Curd Cookie Cups with an Almond Twist, garnished for dessert

Making Lemon Curd Cookie Cups with Almond Twist is a delightful and simple process that anyone can enjoy. Here’s how you can create these tasty treats in your own kitchen:

Ingredients

  • 1 cup of almond flour
  • 1 cup of all-purpose flour
  • 1/2 cup of butter, softened
  • 1/2 cup of sugar
  • 1/4 cup of powdered sugar
  • 1 egg
  • 1 teaspoon of vanilla extract
  • 1/2 teaspoon of almond extract
  • 1/2 teaspoon of baking powder
  • 1 cup of lemon curd (store-bought or homemade)
  • Fresh lemon zest and sliced almonds for garnish

Directions

  1. Preheat the oven to 350°F (175°C).
  2. In a large bowl, cream together the softened butter, sugar, and powdered sugar until light and fluffy.
  3. Beat in the egg, vanilla extract, and almond extract until well combined.
  4. Whisk together the almond flour, all-purpose flour, and baking powder in a separate bowl.
  5. Gradually add the dry ingredients to the wet ingredients, mixing until a dough forms.
  6. Scoop tablespoons of dough and press them into the bottom and up the sides of a muffin tin to create cups.
  7. Bake in the preheated oven for about 10-12 minutes, or until lightly golden.
  8. Remove the cookie cups from the oven and allow them to cool completely.
  9. Once cooled, fill each cookie cup with lemon curd.
  10. Garnish with fresh lemon zest and sliced almonds for added flavor and texture.

Lemon Curd Cookie Cups with Almond Twist (Easy Recipe)

Why You’ll Love Lemon Curd Cookie Cups with Almond Twist

These Lemon Curd Cookie Cups with Almond Twist are an absolute treat! The bright and zesty lemon curd pairs beautifully with the nutty flavors of almond, making each bite a refreshing experience. The cookie cups are tender and slightly crumbly, providing a perfect vessel for the smooth, tart lemon curd. They are great for any occasion, whether it’s a casual family get-together, a festive party, or just a sweet indulgence at home. Plus, they’re easy to make, which is a win for home bakers of any skill level.

tips for success

  1. Use fresh lemon curd if possible, as homemade adds a wonderful flavor. But store-bought works just fine too for convenience.
  2. Let the cookie cups cool completely before filling them, so the lemon curd doesn’t melt into the cookies.
  3. Experiment with flavors by adding a sprinkle of coconut or using different extracts, like lemon or vanilla, to suit your taste.

Serving Suggestions

These lovely cookie cups are perfect on their own, but you could serve them alongside a scoop of vanilla ice cream for a delightful dessert. They also pair well with a cup of herbal tea or coffee, making them a great addition to an afternoon snack or a dessert platter.

FAQs

1. Can I make the cookie cups ahead of time?

Absolutely! You can prepare the cookie cups a day before serving. Just fill them with lemon curd right before serving for the best taste.

2. How should I store leftover cookie cups?

Store any leftover cookie cups in an airtight container in the refrigerator. They can last for about 2-3 days. If possible, keep them unfilled until you’re ready to enjoy them again.

3. Can I use other fruit curds instead of lemon?

Yes indeed! Feel free to substitute lemon curd with other flavors like lime, orange, or even berry curds for a delicious twist.

Lemon Curd Cookie Cups with Almond Twist

Delightful cookie cups filled with zesty lemon curd and topped with sliced almonds, perfect for any occasion.

Cookie Cup Ingredients

  • 1 cup almond flour
  • 1 cup all-purpose flour
  • 1/2 cup butter, softened
  • 1/2 cup sugar
  • 1/4 cup powdered sugar
  • 1 large egg
  • 1 teaspoon vanilla extract
  • 1/2 teaspoon almond extract
  • 1/2 teaspoon baking powder

Filling and Garnish

  • 1 cup lemon curd (store-bought or homemade)
  • fresh lemon zest (for garnish)
  • sliced almonds (for garnish)

Preparation

  1. Preheat the oven to 350°F (175°C).
  2. In a large bowl, cream together the softened butter, sugar, and powdered sugar until light and fluffy.
  3. Beat in the egg, vanilla extract, and almond extract until well combined.
  4. Whisk together the almond flour, all-purpose flour, and baking powder in a separate bowl.
  5. Gradually add the dry ingredients to the wet ingredients, mixing until a dough forms.
  6. Scoop tablespoons of dough and press them into the bottom and up the sides of a muffin tin to create cups.
  7. Bake in the preheated oven for about 10-12 minutes, or until lightly golden.
  8. Remove the cookie cups from the oven and allow them to cool completely.
  9. Once cooled, fill each cookie cup with lemon curd.
  10. Garnish with fresh lemon zest and sliced almonds for added flavor and texture.

Use fresh lemon curd if possible for better flavor. Let the cookie cups cool completely before filling them to prevent the lemon curd from melting into the cookies. Experiment with flavors by adding coconut or using different extracts.
Dessert, Snack
American
almond, cookie cups, dessert recipe, lemon curd, quick dessert

Strawberry Crumble Cheesecake: 7 Steps to Pure Bliss

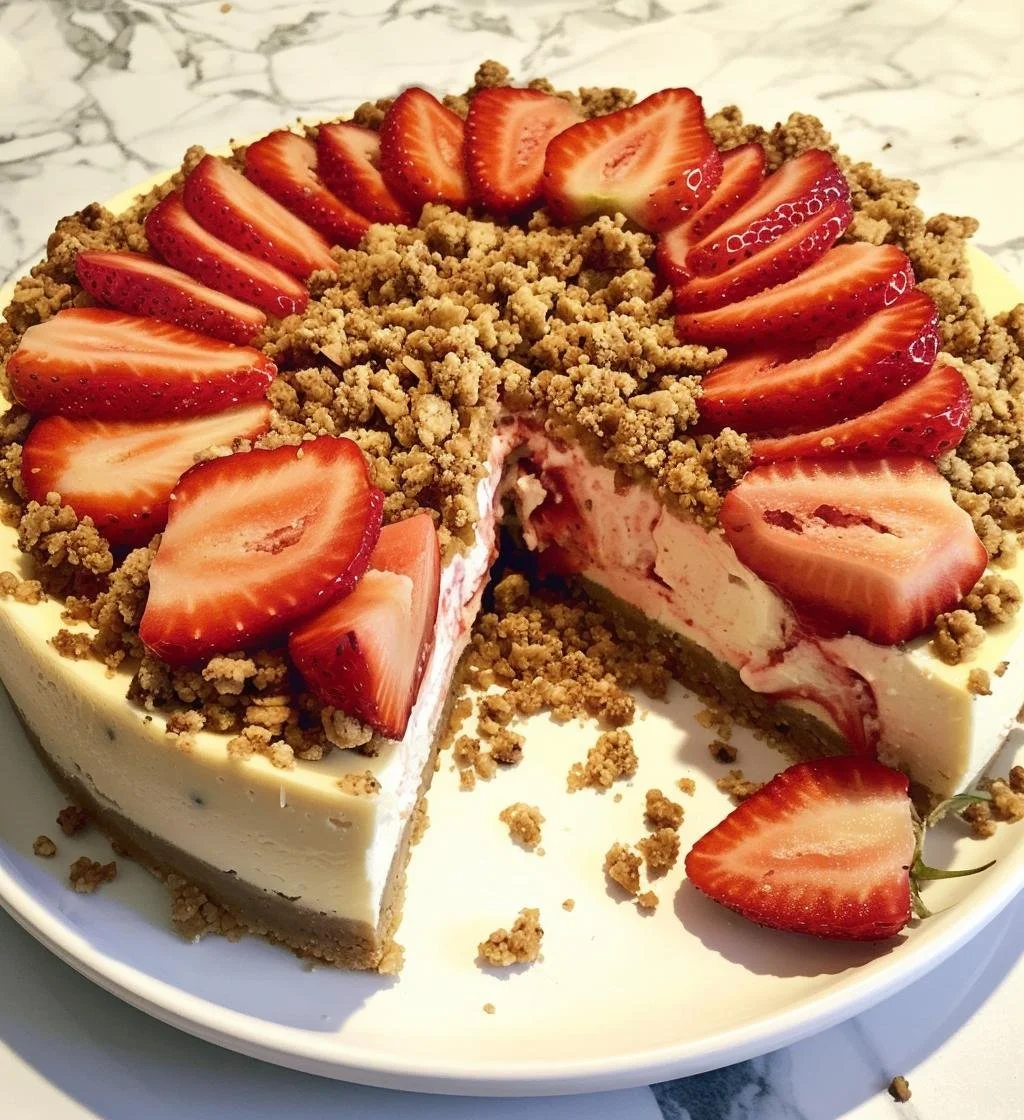
Delicious strawberry crumble cheesecake topped with fresh strawberries and crumbs

Making a Strawberry Crumble Cheesecake is easier than you think! Follow these simple steps to create a dessert that will impress your family and friends.

  1. Gather Your Ingredients: You will need graham cracker crumbs, butter, cream cheese, sugar, eggs, vanilla extract, fresh strawberries, and crumble topping ingredients.
  2. Prepare the Crust: Start by mixing the graham cracker crumbs and melted butter in a bowl. Press this mixture firmly into the bottom of a greased springform pan to create a solid crust.
  3. Make the Cheesecake Filling: In another bowl, beat the cream cheese and sugar until smooth. Add in the eggs one at a time, mixing well after each addition. Stir in the vanilla extract until everything is well combined.
  4. Add the Strawberries: Gently fold in fresh strawberries, ensuring they are evenly distributed throughout the cheesecake filling.
  5. Layer the Filling: Pour the cheesecake mixture over the prepared crust in the springform pan. Smooth the top with a spatula.
  6. Prepare the Crumble Topping: In a separate bowl, mix flour, sugar, and butter until you get a crumbly texture. Sprinkle this mixture over the cheesecake.
  7. Bake: Place the springform pan in a preheated oven and bake until the cheesecake is set and the crumble is golden brown. Let it cool before refrigerating for a few hours. Slice and enjoy!

Strawberry Crumble Cheesecake: 7 Steps to Pure Bliss

Why You’ll Love Strawberry Crumble Cheesecake

This Strawberry Crumble Cheesecake is not just a treat for the eyes, but its taste is truly irresistible! The creamy cheesecake pairs perfectly with fresh strawberries, and the crumble topping adds a delicious crunch. Each bite is a delightful mix of textures and flavors. It’s great for any occasion, whether it is a birthday party, family gathering, or just a simple dessert at home. Everyone will be raving about this dessert once they try it!

tips for success

To make sure your Strawberry Crumble Cheesecake turns out perfectly, keep these tips in mind:

  • Room Temperature Ingredients: Let your cream cheese and eggs sit out for a bit before mixing. This helps them blend more easily and makes the cheesecake smooth.
  • Don’t Overmix: When adding the eggs, mix just until combined. Overmixing can make your cheesecake dense.
  • Chill Properly: Let your cheesecake cool to room temperature before refrigerating. Allow it to chill for at least 4 hours, or overnight for the best texture.

Serving Suggestions

Serve your Strawberry Crumble Cheesecake chilled, and consider adding a dollop of whipped cream on top. You can also sprinkle some extra fresh strawberries around the plate for a beautiful presentation. A drizzle of strawberry sauce would make it even more tempting!

FAQs

Can I make this cheesecake in advance?
Yes, it’s perfect for making ahead! Just store it in the refrigerator.

Can I use frozen strawberries instead?
Yes, you can use frozen strawberries, but be sure to thaw and drain them well before adding to the cheesecake.

How do I store leftovers?
Keep any leftovers in an airtight container in the fridge. Enjoy them within 3-4 days for the best taste!

Get ready to bake, slice, and share this Strawberry Crumble Cheesecake, and let the flavors whisk you away to dessert heaven!

Strawberry Crumble Cheesecake

A delightful Strawberry Crumble Cheesecake, featuring a creamy filling with fresh strawberries and a crunchy crumble topping, perfect for impressing guests.

For the crust

  • 1 cup graham cracker crumbs
  • 5 tablespoons butter, melted

For the cheesecake filling

  • 16 ounces cream cheese, softened (Let it sit at room temperature before mixing.)
  • 3/4 cup sugar
  • 3 eggs (Use room temperature eggs.)
  • 1 teaspoon vanilla extract
  • 2 cups fresh strawberries, chopped (Fold into the cheesecake batter.)

For the crumble topping

  • 1 cup flour
  • 1/2 cup sugar
  • 5 tablespoons butter, softened (Mix until crumbly.)

Preparation

  1. Preheat your oven to 350°F (175°C).
  2. In a bowl, mix graham cracker crumbs and melted butter together until combined.
  3. Press the mixture firmly into the bottom of a greased springform pan.

Cheesecake Filling

  1. In another bowl, beat cream cheese and sugar until smooth.
  2. Add eggs one at a time, mixing well after each addition.
  3. Stir in vanilla extract.
  4. Gently fold in chopped strawberries.

Assembly

  1. Pour the cheesecake mixture over the prepared crust and smooth the top with a spatula.
  2. In a separate bowl, mix flour, sugar, and butter until you achieve a crumbly texture.
  3. Sprinkle the crumble mixture over the cheesecake.

Baking

  1. Bake in the preheated oven until the cheesecake is set and the crumble is golden brown, approximately 50 minutes.
  2. Let cool before refrigerating for a few hours.
  3. Slice and serve chilled.

For best results, chill the cheesecake for at least 4 hours or overnight. Serve with whipped cream and additional strawberries if desired.

Dessert
American
Baking, cheesecake, Dessert, strawberry, Strawberry Crumble Cheesecake

Thick Chocolate Chip Cookies

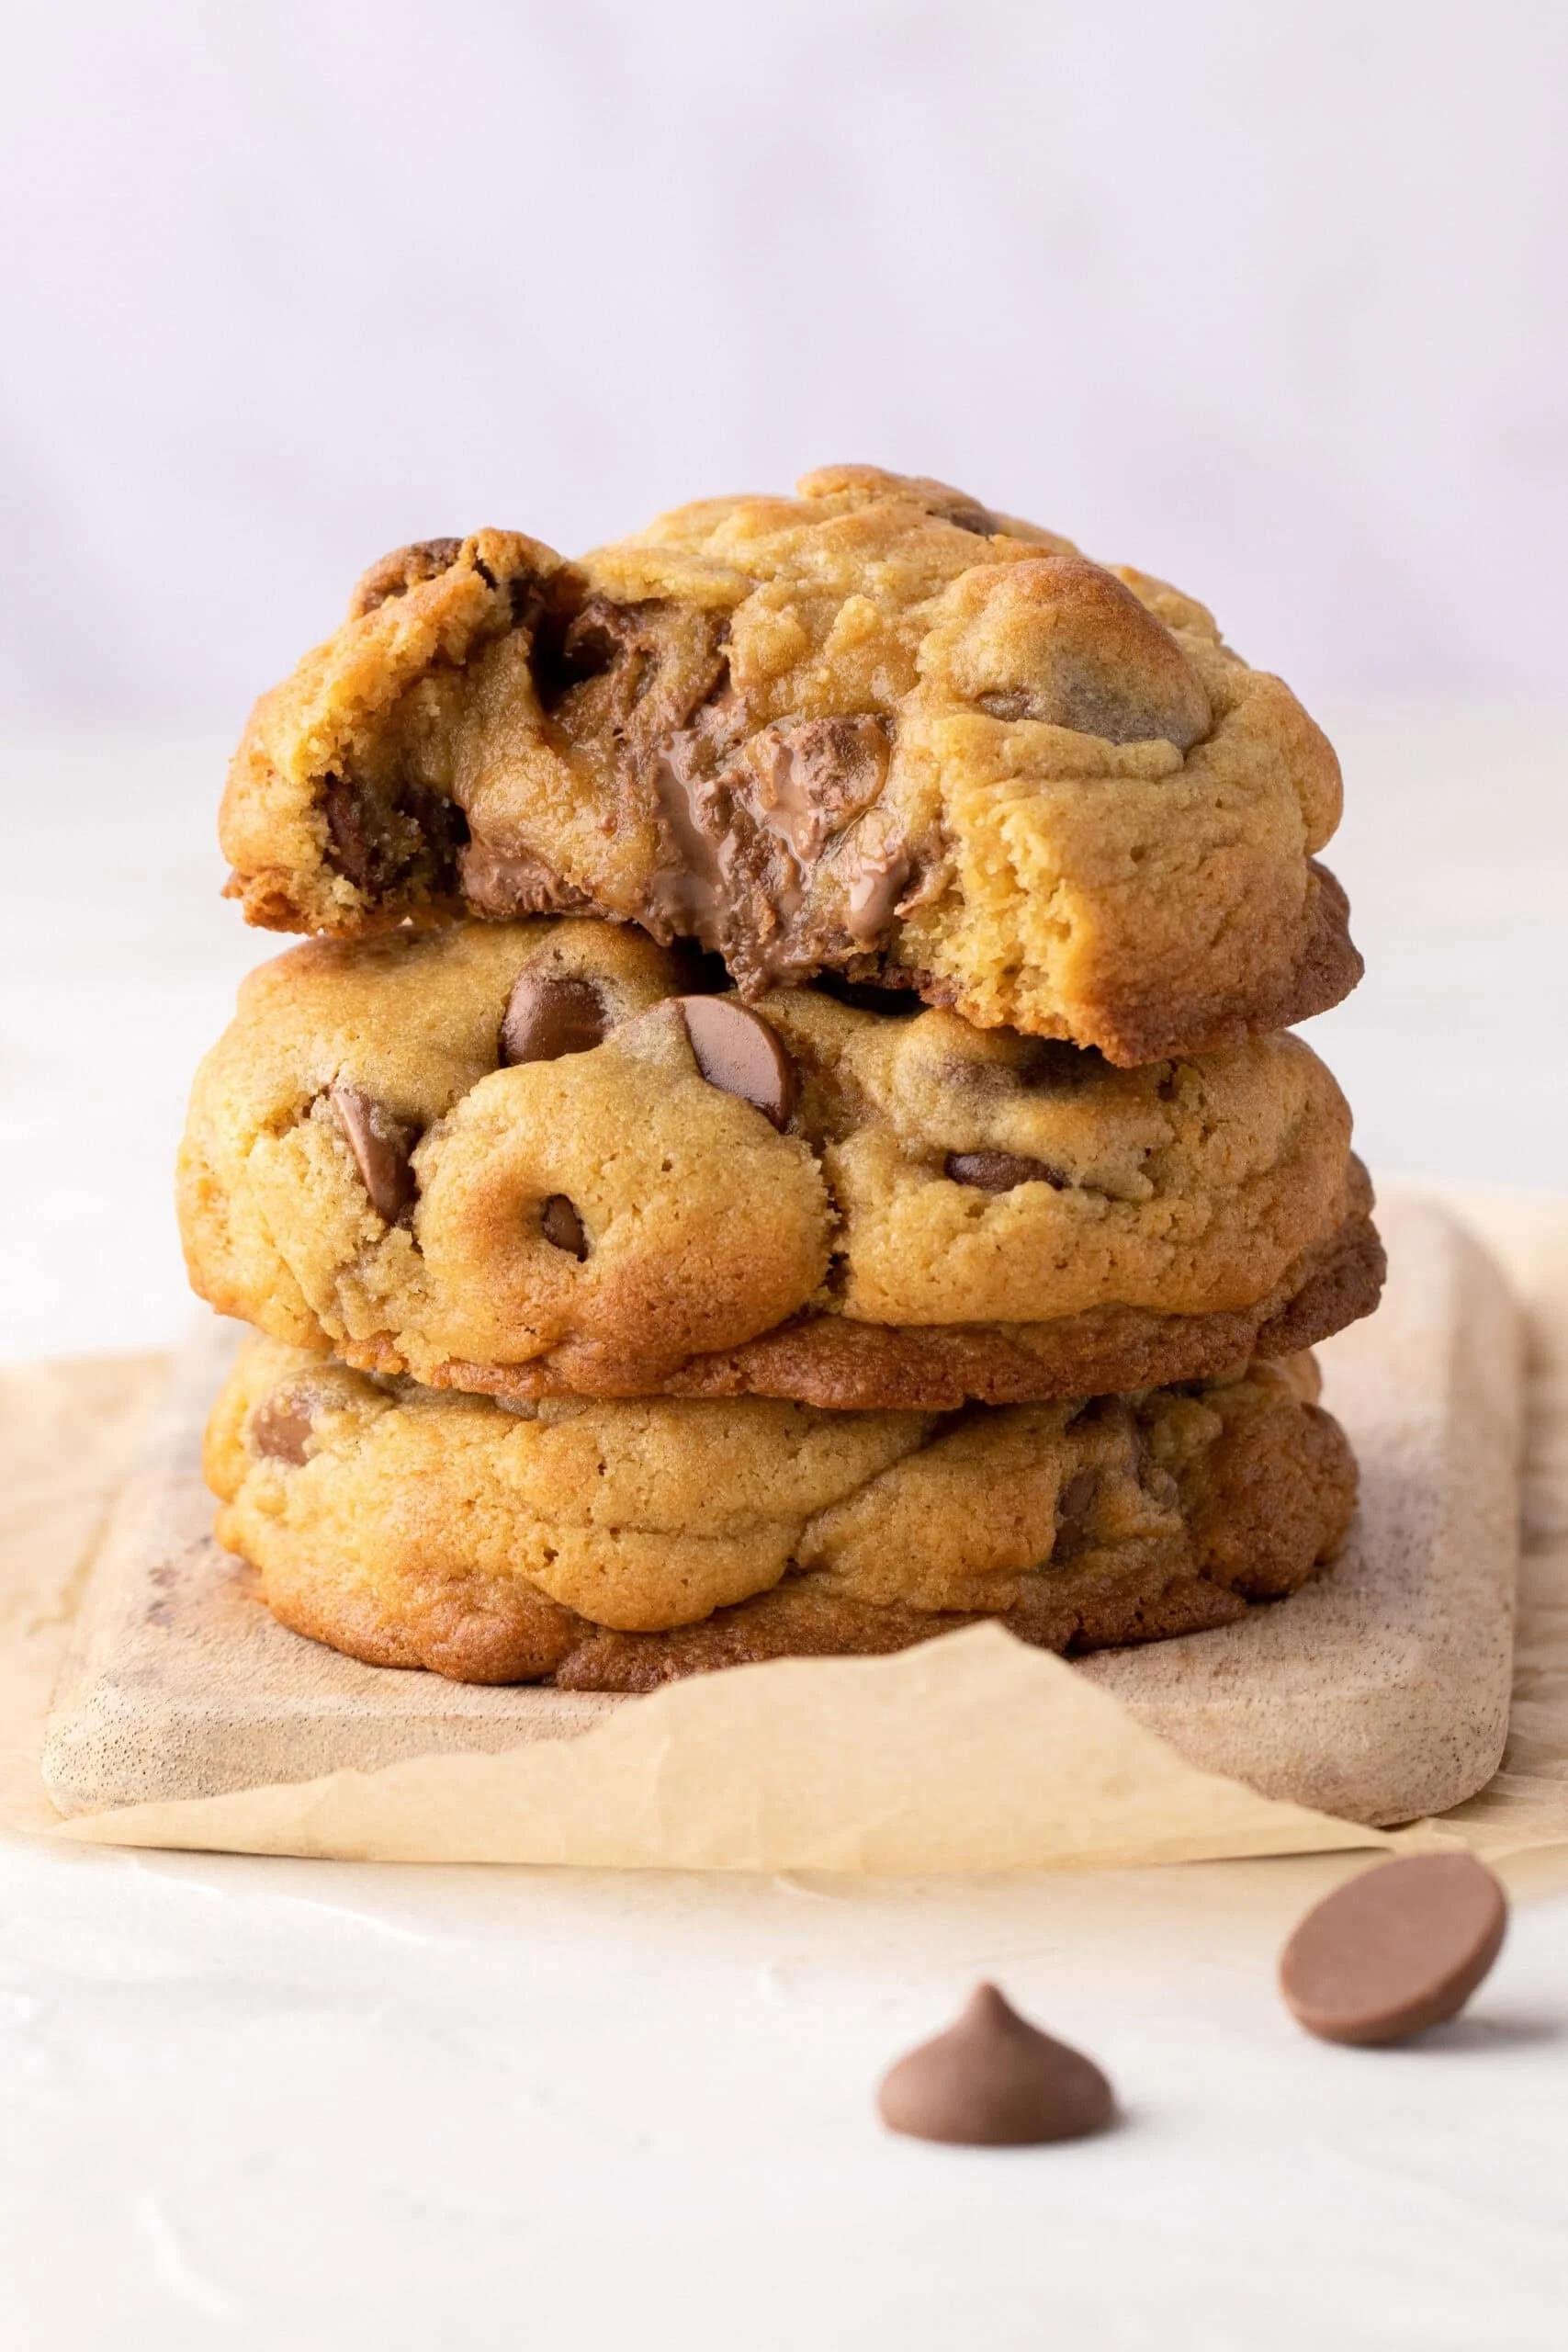
Thick, homemade chocolate chip cookies with melted chocolate chunks.

Thick Chocolate Chip Cookies are a classic treat that can warm anyone’s heart. There’s something special about biting into a soft, chewy cookie filled with gooey chocolate chips. These cookies are perfect for sharing with friends and family or enjoying all by yourself, maybe with a glass of cold milk. With their rich flavor and satisfying texture, it’s no wonder why they are a crowd-pleaser. Baking a batch of these cookies is an exciting experience that fills your kitchen with mouthwatering aromas. So grab your apron, and let’s get ready to whip up some delicious Thick Chocolate Chip Cookies!

how to prepare Thick Chocolate Chip Cookies

Start by gathering your ingredients. You will need all-purpose flour, baking soda, brown sugar, granulated sugar, salt, unsalted butter, vanilla extract, and chocolate chips. Here’s how to make them:

  1. Preheat your oven to 350°F (175°C).
  2. In a bowl, mix together the flour and baking soda, then set it aside.
  3. In a large mixing bowl, cream together the butter, brown sugar, and granulated sugar until it’s light and fluffy.
  4. Add in the vanilla extract and eggs, mixing well.
  5. Gradually add the dry ingredients to the wet ingredients, stirring until just combined.
  6. Fold in the chocolate chips.
  7. Scoop tablespoons of cookie dough onto a baking sheet lined with parchment paper.
  8. Bake for about 10-12 minutes, or until the edges are golden brown.
  9. Let them cool for a few minutes on the baking sheet before transferring to a wire rack to cool completely.

Thick Chocolate Chip Cookies

Why You’ll Love Thick Chocolate Chip Cookies

There are many reasons to love these cookies. The texture is chewy on the inside and slightly crispy on the edges. Each bite is packed with melted chocolate goodness that makes you want to reach for another cookie (or two!). These cookies are also incredibly easy to make. You don’t need fancy techniques or hard-to-find ingredients. Plus, the satisfaction of baking your treats is unmatched. Whether you’re baking for a special occasion or just because, these cookies will win everyone’s heart.

tips for success

  1. Use Room Temperature Ingredients: Make sure your butter and eggs are at room temperature as it helps in achieving a smooth dough.
  2. Don’t Overmix: Once you add the dry ingredients, mix until just combined. Overmixing can lead to tough cookies.
  3. Chill the Dough: For thicker cookies, chill the dough for about 30 minutes before baking. This helps them hold their shape better.
  4. Experiment with Chocolate: Feel free to mix in different types of chocolate chips, like dark chocolate or white chocolate, for extra flavor.

Serving Suggestions

Thick Chocolate Chip Cookies are great on their own, but you can take them to the next level! Serve them warm with a scoop of vanilla ice cream for a delicious dessert. Pair them with a cup of coffee or tea for an afternoon snack. You can also pack them up in a pretty box as a thoughtful gift for friends or family.

FAQs

  1. Can I use whole wheat flour?
    Yes, you can substitute some of the all-purpose flour with whole wheat flour, but it might change the texture slightly.

  2. How should I store the cookies?
    Store them in an airtight container at room temperature for up to a week. You can also freeze them for longer storage.

  3. Can I add nuts to the recipe?
    Absolutely! Feel free to add chopped nuts like walnuts or pecans to the dough for added crunch and flavor.

Baking Thick Chocolate Chip Cookies is a delightful way to spend your day. So gather your ingredients and get ready to indulge in these yummy bites of joy!

Thick Chocolate Chip Cookies

Deliciously soft and chewy cookies filled with gooey chocolate chips, perfect for sharing or enjoying alone.

Dry Ingredients

  • 2 cups all-purpose flour (Sifted for best results)
  • 1 teaspoon baking soda
  • 1 teaspoon salt

Wet Ingredients

  • 1 cup unsalted butter (At room temperature)
  • 3/4 cup brown sugar (Packed)
  • 3/4 cup granulated sugar
  • 1 teaspoon vanilla extract
  • 2 large eggs (At room temperature)

Add-ins

  • 2 cups chocolate chips (Use semi-sweet or your favorite type)

Preparation

  1. Preheat your oven to 350°F (175°C).
  2. In a bowl, mix together the flour and baking soda, then set aside.
  3. In a large mixing bowl, cream together the butter, brown sugar, and granulated sugar until light and fluffy.
  4. Add in the vanilla extract and eggs, mixing well.
  5. Gradually add the dry ingredients to the wet ingredients, stirring until just combined.
  6. Fold in the chocolate chips.
  7. Scoop tablespoons of cookie dough onto a baking sheet lined with parchment paper.

Baking

  1. Bake for about 10-12 minutes, or until the edges are golden brown.
  2. Let them cool for a few minutes on the baking sheet before transferring to a wire rack to cool completely.

For thicker cookies, chill the dough for about 30 minutes before baking. Feel free to mix in different types of chocolate chips or chopped nuts for extra flavor.

Dessert, Snack
American
Baking, Chocolate Chip Cookies, Cookies, Dessert, Sweet Treats

Cowboy Cookies

Delicious homemade cowboy cookies with chocolate chips and oats

Cowboy cookies bring a taste of the wild west right into your kitchen. These cookies are like little bundles of joy, packed with all the sweetness and crunch you could want. With a perfect combination of oats, chocolate chips, and nuts, Cowboy Cookies have a little bit of everything to satisfy anyone’s cravings. They are perfect for sharing at parties, or just enjoying at home with a glass of milk. Once you take a bite of these delicious cookies, you are sure to fall in love with their hearty texture and robust flavor. So, grab your apron and get ready to whip up a batch of The Best Cowboy Cookies, they are fun and easy to make, and you won’t want to stop at just one!

How to Prepare The Best Cowboy Cookies

To get started, gather your ingredients: 1 cup of softened butter, 1 cup of brown sugar, 1 cup of granulated sugar, 2 large eggs, 1 teaspoon of vanilla extract, 3 cups of all-purpose flour, 1 teaspoon of baking soda, 1 teaspoon of salt, 2 cups of rolled oats, 1 cup of chocolate chips, and 1 cup of chopped nuts (like walnuts or pecans).

First, preheat your oven to 350°F (175°C). In a large mixing bowl, cream together the softened butter, brown sugar, and granulated sugar until fluffy. Then, add in the eggs one at a time, mixing well after each addition. Pour in the vanilla extract and stir until combined. In another bowl, whisk together the flour, baking soda, and salt. Gradually add this dry mixture into the wet ingredients, gently folding it in. Next, mix in the rolled oats, chocolate chips, and chopped nuts until everything is well combined.

Shape the dough into balls and place them on a baking sheet lined with parchment paper. Bake for 10 to 12 minutes, or until the edges are golden brown. Let them cool on the baking sheet for a few minutes before transferring them to a wire rack to cool completely. Enjoy your homemade Cowboy Cookies warm.

Why You’ll Love The Best Cowboy Cookies

There are many reasons to adore these Cowboy Cookies. First, their unique combination of flavors and textures creates a delightful experience with every bite. The chewiness from the oats combined with the smooth chocolate and the crunch of nuts makes them truly special. Plus, they are easy to make and perfect for both adults and kids. Whether you are baking for a crowd or just for yourself, these cookies hit the spot. They also store well and can be enjoyed for days, making them a convenient treat to have on hand. Each bite is a little taste of adventure, reminding you of warm campfires and fun gatherings, encouraging everyone to grab another!

Tips for Success

To make sure your Cowboy Cookies turn out perfectly, consider these tips for success. First, be sure your butter is softened enough before creaming it with the sugars; this helps create a light and fluffy cookie. You might want to use a mix of both dark and milk chocolate chips for a balanced sweetness. When measuring your flour, don’t scoop directly from the bag — instead, spoon it into the measuring cup and level it off with a knife for accuracy. If you prefer a softer cookie, bake them for the lower end of the time range. For extra flavor, feel free to add in a teaspoon of cinnamon or a pinch of nutmeg. Lastly, allow your cookies to cool on the baking sheet for a few minutes before moving them, as they will set as they cool.

Serving Suggestions

There are many delightful ways to serve The Best Cowboy Cookies. These cookies are fantastic on their own, but you can elevate the experience even more. Try serving them with a scoop of vanilla ice cream for a simple yet delicious dessert. Drizzle some melted chocolate over the cookies for an extra touch of sweetness. You can also package them in a cute tin and present them as a gift for family and friends. For gatherings, pair the cookies with coffee or tea for a lovely afternoon snack. And if you’re feeling extra creative, consider making a dessert bar with different toppings, like sprinkles or fresh fruit, where everyone can customize their cookie experience!

FAQs

1. Can I use a different type of nut?
Yes, you can use any nut you like, such as almonds or hazelnuts. Just chop them into smaller pieces for the best texture.

2. How can I store the cookies?
Store your Cowboy Cookies in an airtight container at room temperature for up to a week. You can also freeze them for up to three months; just make sure to wrap them well.

3. Can I make the dough ahead of time?
Absolutely! You can prepare the dough in advance and store it in the refrigerator for up to 2 days before baking. You can also scoop the dough into balls and freeze them, then bake directly from frozen.

Cowboy Cookies

Delightful and hearty cookies packed with oats, chocolate chips, nuts, and a hint of coconut, perfect for any occasion.

For the Cookie Dough

  • 1 cup unsalted butter, softened (Make sure the butter is at room temperature.)
  • 1 cup brown sugar, packed
  • 1/2 cup granulated sugar
  • 2 large eggs (Beat in one at a time.)
  • 1 teaspoon vanilla extract
  • 2 cups all-purpose flour
  • 1 teaspoon baking soda
  • 1/2 teaspoon salt
  • 2 cups rolled oats
  • 1 cup chocolate chips
  • 1 cup chopped nuts (walnuts or pecans work well) (You can substitute with seeds or dried fruit.)
  • 1/2 cup shredded coconut (optional)

Preparation

  1. Preheat your oven to 350°F (175°C) and line a baking sheet with parchment paper.
  2. In a large bowl, cream together the softened butter, brown sugar, and granulated sugar until smooth.
  3. Beat in the eggs, one at a time, then stir in the vanilla extract.
  4. In another bowl, combine the flour, baking soda, and salt. Gradually add this mixture to the creamed mixture.
  5. Stir in the rolled oats, chocolate chips, chopped nuts, and coconut (if using).
  6. Drop large spoonfuls of dough onto the prepared baking sheet, leaving space between each cookie.
  7. Bake for about 10 to 12 minutes, or until the edges are golden brown.
  8. Let them cool for a few minutes on the baking sheet before transferring to a wire rack to cool completely.

Make sure not to overbake the cookies; they should be golden around the edges but slightly soft in the center. Enjoy with milk, coffee, or ice cream.

Dessert, Snack
American, Baking
Baking, Chocolate Chip Cookies, Cookies, Cowboy Cookies, Dessert