Ultimate Double-Garlic Sourdough Bread

There’s nothing quite like the smell of fresh-baked bread wafting through your home, especially when it’s packed with a delicious double dose of garlic. The Ultimate Double-Garlic Sourdough Bread is sure to steal the spotlight at any gathering. With its crispy crust and soft, flavorful interior, this bread combines the tangy goodness of sourdough with the rich, aromatic taste of garlic. Whether slathered with butter or served alongside your favorite soup, this bread is a crowd-pleaser that will have everyone coming back for seconds. Get ready to roll up your sleeves and whip up a batch of your own delicious sourdough creation!

How to prepare Ultimate Double-Garlic Sourdough Bread

To make the Ultimate Double-Garlic Sourdough Bread, you’ll need to gather a few simple ingredients and follow some easy steps. Here’s how you can bring this amazing bread to life in your very own kitchen.

Ultimate Double-Garlic Sourdough Bread

Ingredients

  • 3 cups all-purpose flour
  • 1 cup active sourdough starter
  • 1 cup water, room temperature
  • 2 teaspoons salt
  • 4 cloves garlic, minced
  • 2 tablespoons olive oil
  • Additional garlic for topping (optional)

Directions

  1. In a large bowl, mix the flour, salt, and minced garlic together.
  2. In another bowl, combine the sourdough starter, water, and olive oil.
  3. Gradually add the wet mixture to the dry ingredients, stirring until a shaggy dough forms.
  4. Knead the dough for about 10 minutes on a floured surface until smooth and elastic.
  5. Place the dough in a lightly greased bowl, cover with a damp cloth, and let it rise for about 4-6 hours or until doubled in size.
  6. Once risen, shape the dough into a round loaf and place it on a baking sheet lined with parchment paper.
  7. Let the loaf rise for another hour, covered.
  8. Preheat your oven to 450°F (230°C).
  9. Optional: sprinkle additional minced garlic on top before baking.
  10. Bake in the preheated oven for 30-35 minutes, or until the bread is golden brown and sounds hollow when tapped.
  11. Let it cool on a wire rack before slicing.

Why You’ll Love Ultimate Double-Garlic Sourdough Bread

The Ultimate Double-Garlic Sourdough Bread is not only easy to make, but it is also incredibly satisfying to eat. The burst of flavor from the garlic pairs perfectly with the tangy essence of the sourdough. Each bite is a delightful mix of crunchy crust and soft, fluffy bread that will leave you craving more. Plus, the aroma that fills your kitchen will have everyone asking for the recipe!

Tips for success

  • Make sure your sourdough starter is active and bubbly to ensure the best rise.
  • Adjust the garlic amount to suit your taste; more garlic means more flavor!
  • Allow the bread to cool completely before slicing to maintain its texture.

Ultimate Double-Garlic Sourdough Bread

Serving Suggestions

This bread is fantastic served warm with butter, or alongside your favorite pasta dishes and soups. It also makes a great base for sandwiches, especially with roasted vegetables or cheeses. Enjoy it at your next dinner party, barbecue, or cozy family meal!

FAQs

Can I use fresh garlic instead of minced?

Yes, fresh finely chopped garlic works great for this recipe, just remember to use it sparingly if you’re concerned about the strength of the flavor!

How long does the bread last?

This bread stays fresh for up to 3 days at room temperature. For longer storage, wrap it tightly and freeze.

Can I add herbs to the bread?

Absolutely! Adding fresh herbs like rosemary or thyme can elevate the flavor even further. Just mix them in with the garlic.

Get ready, because your kitchen is about to become the new favorite spot for baking! Enjoy making the Ultimate Double-Garlic Sourdough Bread and share it with friends and family for a lovely bonding experience.

Ultimate Double-Garlic Sourdough Bread

A deliciously aromatic and flavorful sourdough bread loaded with garlic, featuring a crispy crust and a soft interior.

Main ingredients

  • 3 cups all-purpose flour
  • 1 cup active sourdough starter (Make sure the starter is active and bubbly.)
  • 1 cup water, room temperature
  • 2 teaspoons salt
  • 4 cloves garlic, minced (Adjust garlic amount to suit taste.)
  • 2 tablespoons olive oil

Topping (optional)

  • additional garlic for topping (Optional, for enhanced garlic flavor.)

Preparation

  1. In a large bowl, mix the flour, salt, and minced garlic together.
  2. In another bowl, combine the sourdough starter, water, and olive oil.
  3. Gradually add the wet mixture to the dry ingredients, stirring until a shaggy dough forms.
  4. Knead the dough for about 10 minutes on a floured surface until smooth and elastic.
  5. Place the dough in a lightly greased bowl, cover with a damp cloth, and let it rise for about 4-6 hours or until doubled in size.

Baking

  1. Once risen, shape the dough into a round loaf and place it on a baking sheet lined with parchment paper.
  2. Let the loaf rise for another hour, covered.
  3. Preheat your oven to 450°F (230°C).
  4. Optional: sprinkle additional minced garlic on top before baking.
  5. Bake in the preheated oven for 30-35 minutes, or until the bread is golden brown and sounds hollow when tapped.
  6. Let it cool on a wire rack before slicing.

Allow the bread to cool completely before slicing to maintain its texture. This bread pairs wonderfully with butter, soups, or as the base for sandwiches.
Bread, Side Dish
American
Baking, Easy Bread Recipe, Garlic Bread, Homemade Bread, sourdough

Sourdough Bread

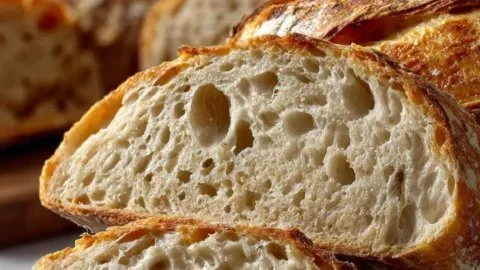
Freshly baked sourdough bread with a crispy crust and fluffy interior

Sourdough bread is warm, tangy, and full of life. It feels old fashioned, but making it is simple if you take it slow. The bread gets a crisp crust, soft inside, and a bright sour note from the starter. This Sourdough Bread recipe is a crowd-pleaser, perfect for toast, soup, or sandwiches. If you like rustic home bread, you may also enjoy this Amish apple fritter bread recipe. Try it once, and you will want to bake it again.

How to prepare Sourdough Bread

Ingredients

  • 500 g strong bread flour
  • 350 g water, room temp
  • 100 g active sourdough starter, bubbly
  • 10 g salt

Directions

  1. Feed your starter 6 to 12 hours before, so it is active and bubbly.
  2. In a big bowl, mix the flour and water until no dry flour shows, rest 30 minutes.
  3. Add the starter and salt, mix until combined.
  4. Do a set of gentle folds every 30 minutes for 2 hours, this builds gluten.
  5. Let the dough rise, covered, at room temp for 3 to 5 hours, until it grows by about 50%.
  6. Turn the dough onto a floured surface, shape into a round loaf. Let rest 20 minutes, then shape tight.
  7. Place the shaped loaf in a proofing basket or bowl, cover, and refrigerate overnight or proof at room temp for 2 to 4 hours.
  8. Heat your oven to 475°F (245°C) with a Dutch oven inside for 30 minutes.
  9. Carefully transfer the loaf into the hot Dutch oven, score the top with a sharp blade.
  10. Bake covered for 20 minutes, then uncover and bake 20 to 25 more minutes, until deep brown.
  11. Cool on a rack at least 1 hour before slicing, so the crumb sets and the flavor opens.


Sourdough Bread

Why You’ll Love Sourdough Bread

  • Natural flavor, from the starter, not from fast yeast.
  • Long shelf life, it stays fresh and tasty for days.
  • Crunchy crust and chewy crumb, a great texture mix.
  • Good for simple meals, it lifts even plain butter.

tips for success

  • Use an active starter, bubbly and at its peak. Feed it before you start.
  • Measure by weight for steady results, scales give best repeatability.
  • Be patient with fermentation, slow rise gives better taste.
  • Use folds not hard kneads, folding makes a strong dough without effort.
  • Score the dough just before baking to control the oven rise.
  • Let the loaf cool fully, hot bread slices can be gummy.

Serving Suggestions

  • Slice and toast with butter and jam for breakfast.
  • Make hearty sandwiches with roasted veggies and cheese.
  • Serve with soup or stew, it soaks up broth nicely.
  • Turn stale slices into croutons or breadcrumbs.


Sourdough Bread

FAQs

Q: How do I know my starter is ready? A: A ready starter is bubbly and doubles in size within 4 to 8 hours after feeding. It should smell fresh and slightly tangy.

Q: Can I use whole wheat flour? A: Yes, but start with 20 to 30% whole wheat. Whole grain soaks more water and can make the dough heavier.

Q: Do I need a Dutch oven? A: A Dutch oven helps make a great crust, but you can bake on a hot baking stone with steam from a pan of water.

Q: How long can I keep the dough in the fridge? A: You can retard the shaped dough 12 to 24 hours, sometimes up to 48 hours. Longer proofing deepens flavor but watch for overfermentation.

Q: Why is my crumb dense? A: Dense crumb can come from underproofing, weak starter, or not enough folding. Give more rise time and strengthen the dough with folds.

Conclusion

If you want a clear beginner guide with photos and extra tips, check this Sourdough Bread: A Beginner’s Guide – The Clever Carrot. It pairs well with this simple recipe and gives more detail on starter care and shaping.

Sourdough Bread

This Sourdough Bread recipe is a crowd-pleaser, perfect for toast, soup, or sandwiches, featuring a crisp crust and a soft inside with a bright sour note from the starter.

Main Ingredients

  • 500 g strong bread flour
  • 350 g water, room temp
  • 100 g active sourdough starter, bubbly (Feed your starter 6 to 12 hours before use.)
  • 10 g salt

Preparation

  1. Feed your starter 6 to 12 hours before, so it is active and bubbly.
  2. In a big bowl, mix the flour and water until no dry flour shows, then rest for 30 minutes.
  3. Add the starter and salt, then mix until combined.
  4. Do a set of gentle folds every 30 minutes for 2 hours.
  5. Let the dough rise, covered, at room temp for 3 to 5 hours, until it grows by about 50%.
  6. Turn the dough onto a floured surface and shape into a round loaf. Let rest for 20 minutes, then shape tightly.
  7. Place the shaped loaf in a proofing basket or bowl, cover, and refrigerate overnight or proof at room temp for 2 to 4 hours.

Baking

  1. Heat your oven to 475°F (245°C) with a Dutch oven inside for 30 minutes.
  2. Carefully transfer the loaf into the hot Dutch oven and score the top with a sharp blade.
  3. Bake covered for 20 minutes, then uncover and bake for an additional 20 to 25 minutes, until deep brown.
  4. Cool on a rack for at least 1 hour before slicing to let the crumb set and the flavor open.

Use an active starter for the best results. Be patient with fermentation for improved flavor. Let the loaf cool fully to avoid gummy slices.

Bread, Snack
American, European
Artisan Bread, Baking, Homemade Bread, Rustic Bread, Sourdough Bread

Croissant Inspired Breads

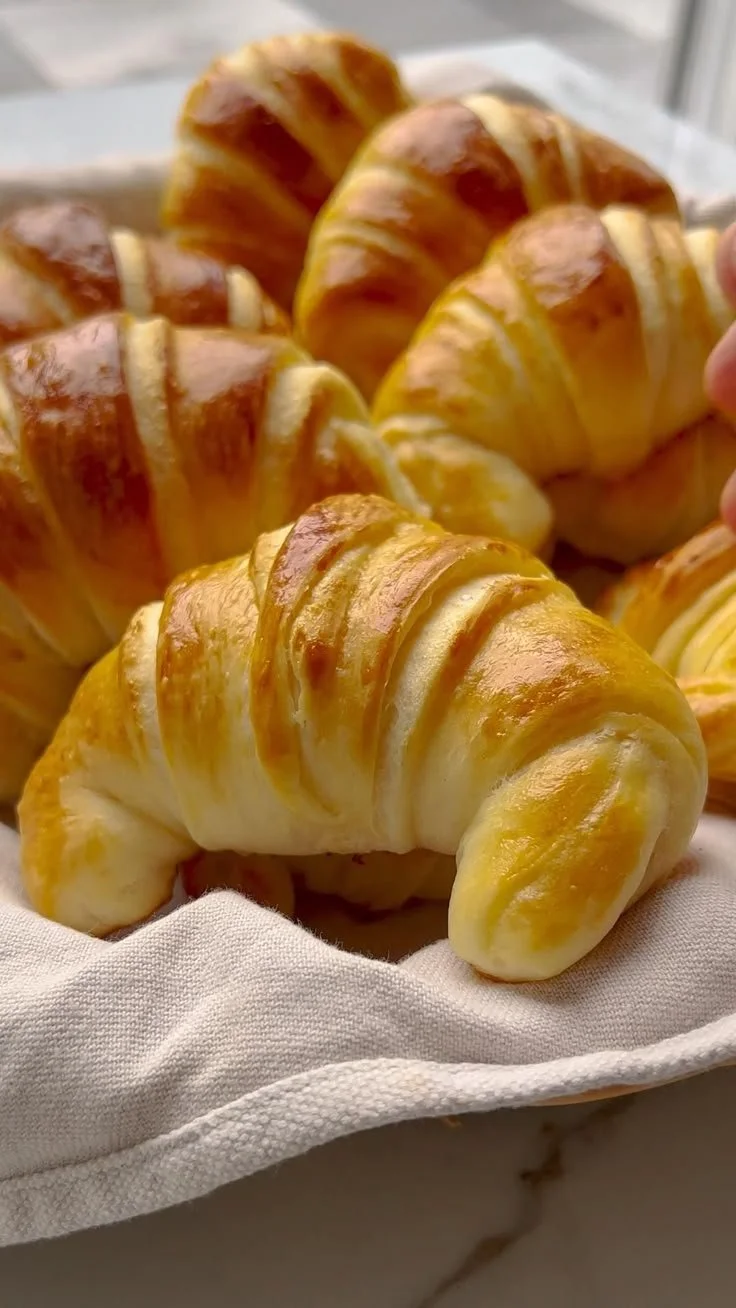
Freshly baked croissant inspired breads displayed on a wooden table.

I love a warm, flaky bread that smells like butter and makes the kitchen feel cozy. Croissant Inspired Breads are just that, soft inside, with crisp, buttery layers on the outside. This crowd pleaser tastes like a bakery treat, but you can make it at home with a bit of time and care. It is flaky, rich, and great for breakfast or a snack. If you like simple comfort food, you might also enjoy a bright soup to go with it, like this Thai inspired chicken soup. Get ready to make a loaf or rolls that will have people asking for more, and enjoy the warm, flaky bites.

how to prepare Croissant Inspired Breads

  1. Mix flour, sugar, salt, yeast, milk, and egg to make a soft dough. Knead until smooth, about 5 to 8 minutes.
  2. Chill the dough for 1 hour, wrapped in plastic. Keep it cold, so the butter stays firm later.
  3. Pound and roll cold butter into a thin square. Place the butter on the rolled dough, fold the dough over, and seal the edges. This makes the laminated dough, which gives flaky layers.
  4. Roll the dough into a long rectangle, then fold it like a letter, this is a single turn. Wrap and chill 30 minutes. Repeat rolling and folding 2 to 3 more times, chilling between turns.
  5. After the final chill, roll the dough to about 1/4 inch thick. Cut into shapes for a loaf, buns, or classic croissant shapes.
  6. Place shaped pieces on a baking tray. Let them proof until puffy, about 1 to 2 hours, but do not overproof.
  7. Brush with beaten egg for a shiny crust. Bake at 375°F (190°C) for 18 to 25 minutes, until deep golden and crisp. Cool a bit before serving, so the layers set.

Croissant Inspired Breads

Why You’ll Love Croissant Inspired Breads

  • Flaky layers give a nice crunch, while the inside stays soft and tender.
  • Rich, buttery flavor feels like a special treat, yet you can make it at home.
  • It works as a breakfast pastry, sandwich bread, or a party snack.
  • You can shape it many ways, from a loaf to rolls or classic crescent shapes, so it fits any meal.

tips for success

  • Keep the butter cold, it helps form nice flaky layers.
  • Use a light touch when rolling, press evenly to avoid tearing the dough.
  • Chill the dough between folds, this keeps the butter from melting into the dough.
  • Measure ingredients by weight if you can, it gives better results than cups.
  • Do not overproof, proof until the dough is puffed but not collapsed.
  • Bake until a deep golden brown, that color means the butter and sugar have cooked well.

Serving Suggestions

  • Serve warm with butter and jam for a simple breakfast.
  • Use slices for a rich ham and cheese sandwich.
  • Pair with coffee or tea for a cozy snack.
  • Offer small pieces at a brunch, guests will love tearing the flaky layers.

Croissant Inspired Breads

FAQs

Q: Can I make the dough ahead of time?

A: Yes, you can make and chill the dough overnight. Cold dough works well and saves time the next day.

Q: Do I need a stand mixer?

A: No, you can mix and knead by hand. A mixer helps, but it is not required.

Q: How do I keep the layers from getting soggy?

A: Keep the butter cold, chill the dough between folds, and bake at the right temperature so the crust becomes crisp.

Q: Can I freeze shaped dough?

A: Yes, freeze shaped pieces on a tray, then store in a bag. Bake from frozen or thaw and proof before baking.

Conclusion

Try a tested croissant bread loaf guide if you want extra help and a video demo, see Sally’s Baking Addiction croissant bread loaf recipe for more tips and a clear walkthrough. Enjoy making your own flaky, buttery Croissant Inspired Breads, and share the warm pieces with people you love.

Croissant Inspired Breads

Soft inside with crisp, buttery layers, this Croissant Inspired Bread is a warm, flaky treat perfect for breakfast or a snack.

Dough Ingredients

  • 4 cups all-purpose flour (Measure by weight for best results.)
  • 1 tablespoon sugar (Adjust based on taste preference.)
  • 1 teaspoon salt
  • 1 tablespoon yeast (Active dry yeast recommended.)
  • 1 cup milk (Warm milk helps activate the yeast.)
  • 1 large egg (For an enriched dough.)

Butter Layer

  • 1 cup cold butter (Must be cold to create flaky layers.)

Preparation

  1. Mix flour, sugar, salt, yeast, milk, and egg to make a soft dough.
  2. Knead until smooth, about 5 to 8 minutes.
  3. Chill the dough for 1 hour, wrapped in plastic to keep it cold.

Laminating the Dough

  1. Pound and roll cold butter into a thin square.
  2. Place the butter on the rolled dough, fold the dough over, and seal the edges.
  3. Roll the dough into a long rectangle, then fold it like a letter for a single turn.
  4. Wrap and chill for 30 minutes. Repeat rolling and folding 2 to 3 more times, chilling between each turn.

Shaping and Baking

  1. After the final chill, roll the dough to about 1/4 inch thick.
  2. Cut into shapes for a loaf, buns, or classic croissant shapes.
  3. Place shaped pieces on a baking tray and let them proof until puffy, about 1 to 2 hours.
  4. Brush with beaten egg for a shiny crust.
  5. Bake at 375°F (190°C) for 18 to 25 minutes until deep golden and crisp.
  6. Cool a bit before serving to allow the layers to set.

Keep the butter cold for flaky layers. Use a light touch when rolling to avoid tearing the dough. Chill the dough between folds to prevent butter melting. Do not overproof, proof until the dough is puffed but not collapsed. Bake until a deep golden brown for best results.

Breakfast, Snack
French
Baking, Bread, Comfort Food, Croissant, Pastry

Strawberry Crumb Bars: 7 Irresistible Tips for Perfection

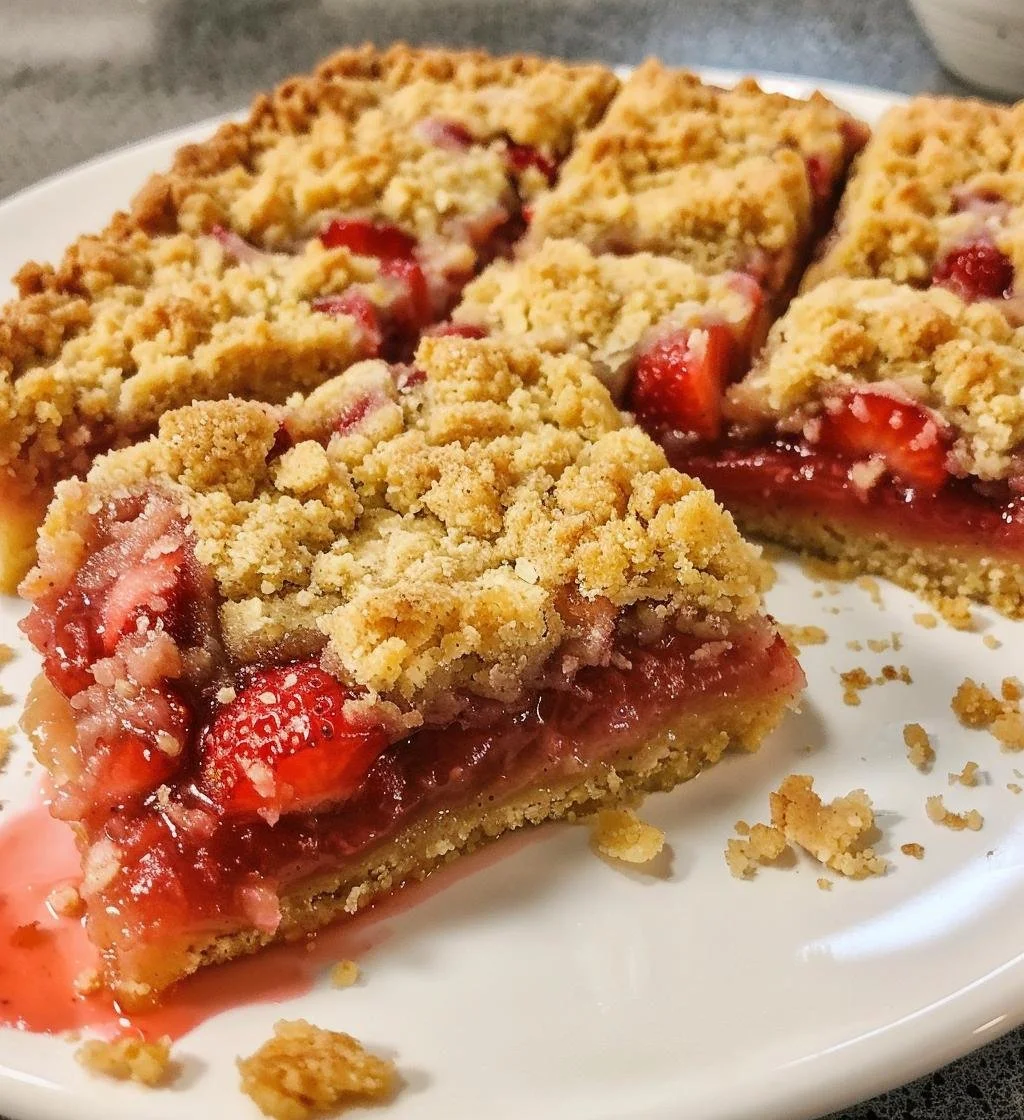
Delicious homemade strawberry crumb bars with buttery crumb topping

how to prepare Strawberry Crumb Bars

Making Strawberry Crumb Bars is easier than you might think! Start by preheating your oven to 350°F (175°C). Here’s a simple breakdown of how to get these delicious bars ready:

  1. Prepare the Crust: In a mixing bowl, combine flour, sugar, and cold butter until you have a crumbly texture. Press about two-thirds of this mixture into the bottom of a baking dish to form the crust.

  2. Make the Strawberry Filling: In another bowl, mix fresh strawberries, sugar, and a bit of cornstarch. Spread this mixture evenly over the crust.

  3. Top with Crumbs: Use the remaining crumb mixture to sprinkle over the strawberry filling.

  4. Bake: Place in the preheated oven and bake for about 35-40 minutes or until the top is golden brown.

  5. Cool and Serve: Allow the bars to cool completely before cutting into squares. Enjoy your homemade treat!

Strawberry Crumb Bars: 7 Irresistible Tips for Perfection

Why You’ll Love Strawberry Crumb Bars

Strawberry Crumb Bars are a delightful dessert that brings a taste of summer to any day. The combination of crumbly crust, sweet strawberries, and crunchy topping makes it a favorite for families and gatherings. They are not only simple to make, but they also look gorgeous and mouth-watering on the table. Serve them at parties, picnics, or even as a cozy treat at home, and watch everyone reach for seconds!

tips for success

  1. Use Fresh Strawberries: Fresh strawberries will give the best flavor. If they are out of season, you can use frozen ones, but make sure to thaw and drain them first.

  2. Don’t Overmix the Dough: When making the crust and topping, mix just until combined to keep it crumbly and flaky.

  3. Chill the Dough: If your butter is too warm, the dough won’t hold together well. Chill it for about 30 minutes before pressing it into the pan.

  4. Add Lemon Zest: A little lemon zest in the filling will brighten the flavor of the strawberries.

  5. Allow to Cool Completely: This ensures that the bars set properly and are easy to cut.

  6. Experiment with Flavors: Try adding different fruits like blueberries or raspberries for a twist on the classic recipe.

  7. Serve with Ice Cream: These bars are extra delightful when paired with a scoop of vanilla ice cream on top!

Serving Suggestions

Strawberry Crumb Bars can be served in various delightful ways. Enjoy them chilled alongside a cup of tea or coffee. For a festive touch, serve them warm with a scoop of ice cream or whipped cream on top. You can also sprinkle powdered sugar for a beautiful presentation. These bars are perfect for summer picnics or as a sweet treat at gatherings.

FAQs

Can I use other fruits instead of strawberries?
Absolutely! Feel free to try blueberries, raspberries, or peaches for a different flavor.

How do I store the leftover bars?
Store the bars in an airtight container in the fridge for up to a week. You can also freeze them for longer storage.

Can I make these bars ahead of time?
Yes, you can prepare the bars a day in advance. Just remember to let them cool completely before storing.

Let your kitchen fill with the sweet aroma of strawberry goodness, and make these crumb bars today. You’ll be glad you did!

Strawberry Crumb Bars

Delightful strawberry crumb bars with a crumbly crust and sweet strawberry filling, perfect for summer gatherings.

For the Crust and Topping

  • 2 cups all-purpose flour (Fresh or organic flour for best results.)
  • 3/4 cup sugar
  • 1/2 cup cold butter (Cut into cubes for easier mixing.)

For the Strawberry Filling

  • 4 cups fresh strawberries (Sliced, can substitute with thawed frozen strawberries.)
  • 1/4 cup sugar (Adjust to taste.)
  • 2 tablespoons cornstarch (To thicken the filling.)

Preparation

  1. Preheat your oven to 350°F (175°C).
  2. In a mixing bowl, combine flour, sugar, and cold butter until crumbly.
  3. Press about two-thirds of the mixture into the bottom of a baking dish to form the crust.

Filling and Topping

  1. In another bowl, mix fresh strawberries, sugar, and cornstarch.
  2. Spread the strawberry mixture evenly over the crust.
  3. Sprinkle the remaining crumb mixture over the strawberry filling.

Baking

  1. Bake in the preheated oven for about 35-40 minutes, or until golden brown.

Serving

  1. Allow the bars to cool completely before cutting into squares.
  2. Serve as is, or with a scoop of ice cream for extra delight.

For best results, use fresh strawberries and avoid overmixing the dough. Chill if necessary, and consider adding lemon zest for enhanced flavor. Experiment with other fruits for different variations.

Dessert, Snack
American
Dessert Bars, Easy Recipes, Fruit Desserts, Strawberry Crumb Bars, Summer Treat