
No-Bake Oreo Cheesecake

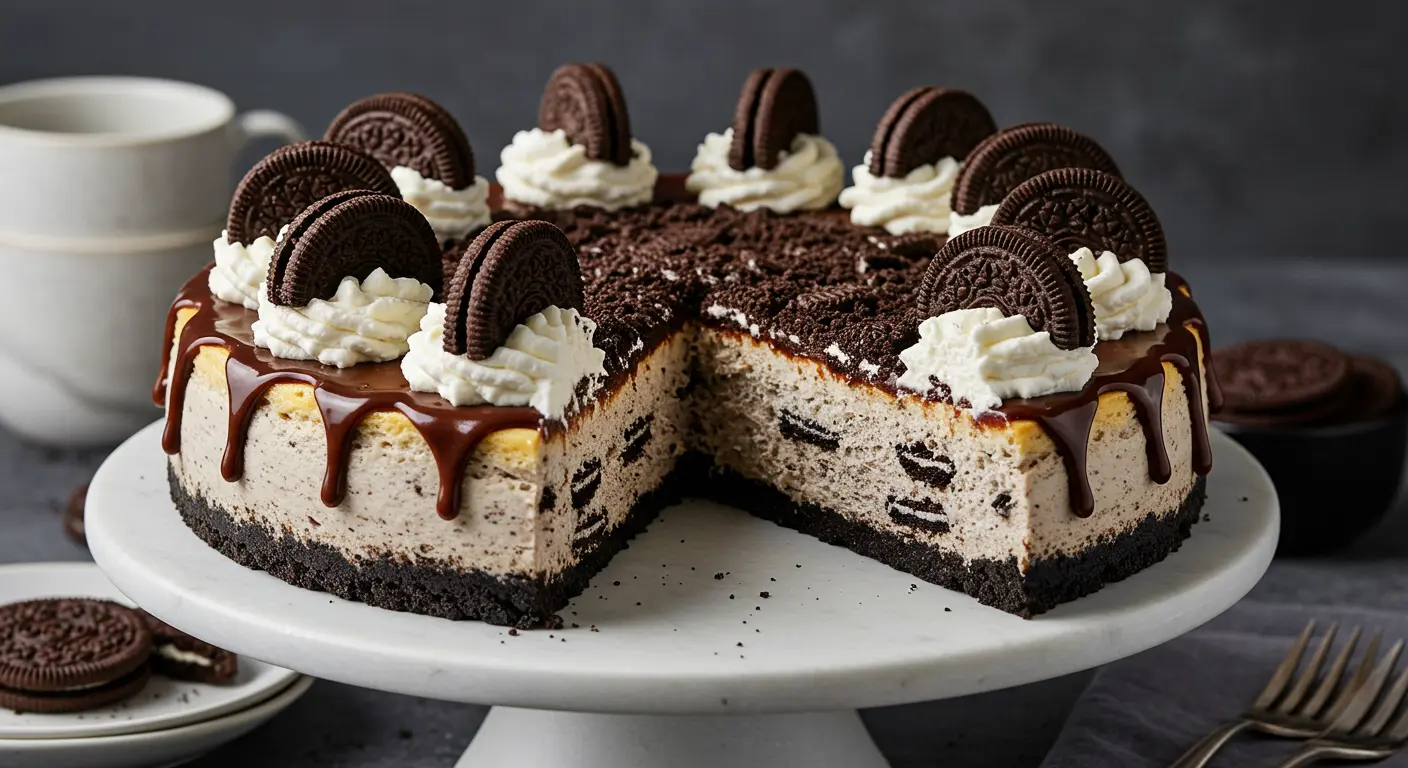
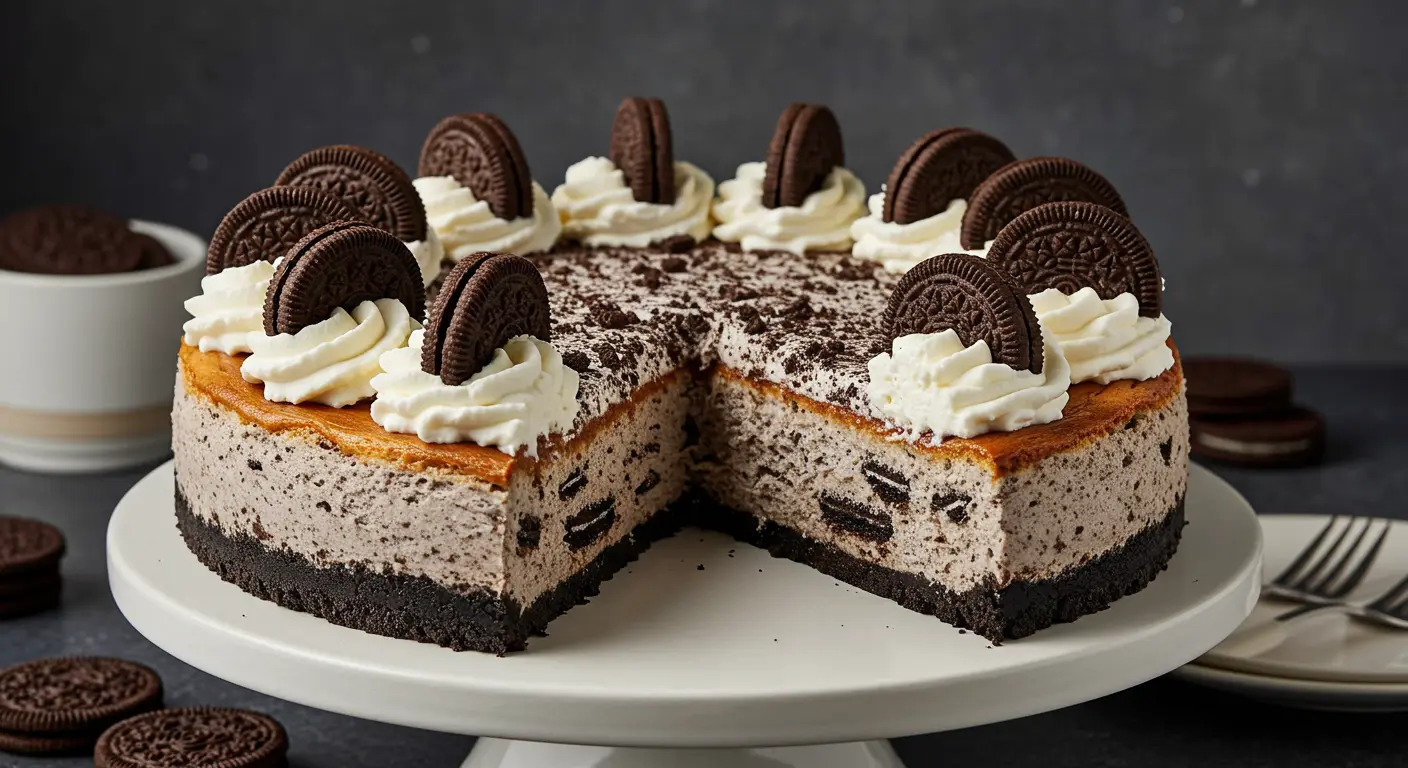
If you’re craving something sweet, rich, and oh so chocolatey, then No-Bake Oreo Cheesecake is your answer. This dessert is a delightful treat that everyone loves, making it a perfect addition to any gathering. With its creamy texture and bits of crunchy Oreo cookies throughout, it’s hard to resist this delicious creation! Not only is it simple to prepare, but it also leaves your guests wanting more. How can you say no to a dessert like this? Let’s dive into how you can make this crowd-pleaser yourself.

How to prepare No-Bake Oreo Cheesecake

To prepare this delightful cheesecake, you will need a few simple ingredients and some easy steps to follow. First, gather your ingredients, which include cream cheese, sugar, whipped cream, and, of course, Oreo cookies.

  1. Start by crushing the Oreos into fine crumbs. You can do this using a food processor or by placing them in a sealed bag and crushing them with a rolling pin.
  2. In a mixing bowl, combine the crushed Oreos with melted butter to form a crust. Press this mixture into the bottom of your cheesecake pan.
  3. For the filling, mix together cream cheese and sugar until smooth. Gradually fold in whipped cream until the mixture thickens.
  4. Add in some more crushed Oreos for that extra flavor and texture.
  5. Pour this filling over your Oreo crust and smooth the top with a spatula.
  6. Let it chill in the refrigerator for at least four hours or until set.

No-Bake Oreo Cheesecake

Why You’ll Love No-Bake Oreo Cheesecake

There are many reasons to love this treat! The combination of creamy cheesecake and crunchy Oreos creates a perfect balance of textures. Additionally, the fact that it doesn’t require baking makes it an excellent choice for anyone who may be short on time or just doesn’t feel like turning on the oven. Every bite is filled with dreamy sweetness, making it a great dessert for any occasion. Plus, if you like creative twists, check out other Oreo recipes like pastel Oreo cheesecake cups!

Tips for success

To ensure your No-Bake Oreo Cheesecake turns out perfect, keep these tips in mind:

  • Use room temperature cream cheese for a smoother filling.
  • Be patient while chilling; allowing it to set overnight will improve the texture.
  • Experiment with different toppings like chocolate drizzle or more crushed Oreos to give it a fun twist.

No-Bake Oreo Cheesecake

Serving Suggestions

When it comes to serving, you can slice this cheesecake into generous pieces and perhaps add a dollop of whipped cream on top. Garnish with whole Oreos or chocolate shavings for a stunning presentation.

FAQs

1. Can I make this cheesecake a day ahead of time?

Absolutely! In fact, it often tastes even better when made a day in advance, allowing the flavors to meld together.

2. How do I store leftovers?

Keep your No-Bake Oreo Cheesecake covered in the refrigerator for up to three days.

3. Can I switch the Oreos for another type of cookie?

Sure! You can use any cookie you like; just keep in mind that the taste and texture will change based on the cookie you choose.

Enjoy crafting this amazing No-Bake Oreo Cheesecake, and watch how it becomes a favorite for everyone who tries it!

No-Bake Oreo Cheesecake

A sweet and creamy dessert featuring a crunchy Oreo crust and rich cheesecake filling, perfect for any gathering.

For the crust

  • 24 pieces Oreo cookies (Crushed into fine crumbs)
  • 1/2 cup butter (Melted)

For the filling

  • 8 oz cream cheese (Room temperature for smoother texture)
  • 1/2 cup sugar
  • 2 cups whipped cream (Folded into the mixture)
  • 8 pieces Oreo cookies (Additional crushed Oreo cookies for filling)

Preparation

  1. Crush the Oreos into fine crumbs using a food processor or by placing them in a sealed bag and smashing them with a rolling pin.
  2. In a mixing bowl, combine the crushed Oreos with melted butter to form a crust.
  3. Press the mixture into the bottom of a cheesecake pan.

Filling

  1. In another bowl, mix together the cream cheese and sugar until smooth.
  2. Gradually fold in the whipped cream until the mixture thickens.
  3. Add in some more crushed Oreos for extra flavor and texture.
  4. Pour the filling over the Oreo crust and smooth the top with a spatula.

Chilling

  1. Let the cheesecake chill in the refrigerator for at least four hours or until set.

For best results, chill overnight. Experiment with toppings like chocolate drizzle or more crushed Oreos.
Dessert
American
Chocolate Dessert, Easy Cheesecake, No-Bake Dessert, Oreo cheesecake, Oreo recipe

No-Bake Pastel Oreo Cheesecake Cups

oreo cheesecake

Why Make This Recipe

No-Bake Pastel Oreo Cheesecake Cups are a delightful treat that not only look pretty but taste amazing too! They are perfect for spring picnics, birthday parties, or just a fun dessert after dinner. The creamy filling combined with the crunchy chocolate cookie base makes these cups irresistible. Plus, they are super easy to make and don’t require turning on the oven!

How to Make No-Bake Pastel Oreo Cheesecake Cups

oreo cheesecake

Ingredients:

  • 20 chocolate sandwich cookies, crushed into fine crumbs
  • 4 tablespoons unsalted butter, melted
  • 16 oz cream cheese, softened
  • 1 cup powdered sugar
  • 1 teaspoon vanilla extract
  • 1 tablespoon lemon juice
  • 1 cup heavy whipping cream, cold
  • 2 cups whipped cream or stabilized frosting
  • Pink and pastel green food coloring
  • Piping bags with star tips
  • Optional toppings: Mini sandwich cookies, Colorful spring sprinkles

Directions:

  1. Start by combining the crushed cookie crumbs with melted butter. Press this mixture into the bottom of your serving cups to create a base.
  2. In a mixing bowl, beat the softened cream cheese until smooth. Then, add the powdered sugar, vanilla, and lemon juice. Mix until well combined.
  3. In a separate bowl, whip the heavy cream until stiff peaks form. Gently fold this whipped cream into the cream cheese mixture until everything is combined.
  4. Divide the filling into three equal portions. Color one portion pink, another green, and leave the third portion white.
  5. Layer the colored fillings into the cups, swirling them gently to create a marbled effect.
  6. Place the cups in the refrigerator for at least 4 hours until they are set.
  7. Once set, pipe some colored whipped cream on top of each cup. You can garnish them with mini cookies and colorful sprinkles if you like!

How to Serve No-Bake Pastel Oreo Cheesecake Cups

Serve these delightful cheesecake cups chilled. They are perfect as a dessert for parties or a sweet treat for family gatherings. Just grab a spoon and enjoy the fluffy, creamy layers!

How to Store No-Bake Pastel Oreo Cheesecake Cups

Store any leftovers in the refrigerator. Make sure to cover them with plastic wrap or a lid. They will stay fresh for about 3-4 days, but they are best enjoyed within the first couple of days.

Tips to Make No-Bake Pastel Oreo Cheesecake Cups

  • Make sure the cream cheese is fully softened to avoid lumps in your filling.
  • When whipping the heavy cream, ensure your mixing bowl and beaters are cold for better results.
  • Feel free to customize the colors to fit any occasion! Use any pastel shades you prefer.

Variation

You can add different flavors to the filling by mixing in your favorite extracts. For example, almond or coconut extract can add a unique twist to the cheesecake flavor.

FAQs

Q: Can I use different cookies for the base?
A: Yes! You can use any flavored cookies you like, such as vanilla wafers or graham crackers.

Q: Is this recipe gluten-free?
A: If you use gluten-free cookies and a gluten-free whipped cream, this recipe can be made gluten-free.

Q: How can I make this recipe dairy-free?
A: Substitute cream cheese with a dairy-free cream cheese and use coconut cream or another vegan heavy cream for the filling.

[tasty-recipe id=”4400″]

No-Bake Pastel Oreo Cheesecake Cups

Delicious and visually appealing cheesecake cups that are perfect for spring picnics, birthday parties, or just a fun dessert after dinner.

For the crust

  • 20 pieces chocolate sandwich cookies, crushed into fine crumbs
  • 4 tablespoons unsalted butter, melted

For the filling

  • 16 oz cream cheese, softened (Make sure it’s fully softened to avoid lumps.)
  • 1 cup powdered sugar
  • 1 teaspoon vanilla extract
  • 1 tablespoon lemon juice
  • 1 cup heavy whipping cream, cold (Keep the mixing bowl and beaters cold for better results.)
  • 2 cups whipped cream or stabilized frosting
  • Pink and pastel green food coloring (Feel free to customize the colors.)

Optional Toppings

  • Mini sandwich cookies
  • Colorful spring sprinkles

Preparation

  1. Combine the crushed cookie crumbs with melted butter and press this mixture into the bottom of serving cups to create a base.
  2. In a mixing bowl, beat the softened cream cheese until smooth. Add the powdered sugar, vanilla, and lemon juice, and mix until well combined.
  3. In a separate bowl, whip the heavy cream until stiff peaks form, then gently fold this whipped cream into the cream cheese mixture until fully combined.
  4. Divide the filling into three equal portions. Color one portion pink, another green, and leave the third portion white.
  5. Layer the colored fillings into the cups, swirling them gently to create a marbled effect.
  6. Refrigerate the cups for at least 4 hours until they are set.
  7. Once set, pipe some colored whipped cream on top of each cup and garnish with mini cookies and colorful sprinkles if desired.

Store any leftovers in the refrigerator, covered with plastic wrap or a lid. Best enjoyed within the first couple of days.

Dessert, Sweet Treat
American
Cheesecake Cups, No-Bake Cheesecake, Oreo Cups, Pastel Desserts, Spring Desserts